Remove Background | Adobe Photoshop Tutorial
Overview
Removing the background from an image to create a clean cut PNG file is essential when looking to design something for your business. Whether you’re creating a flyer, business cards, or social media post, having the ability to isolate specific elements and move them around your design is key. Here is our super-simple tutorial on removing the background on your images with Photoshop.
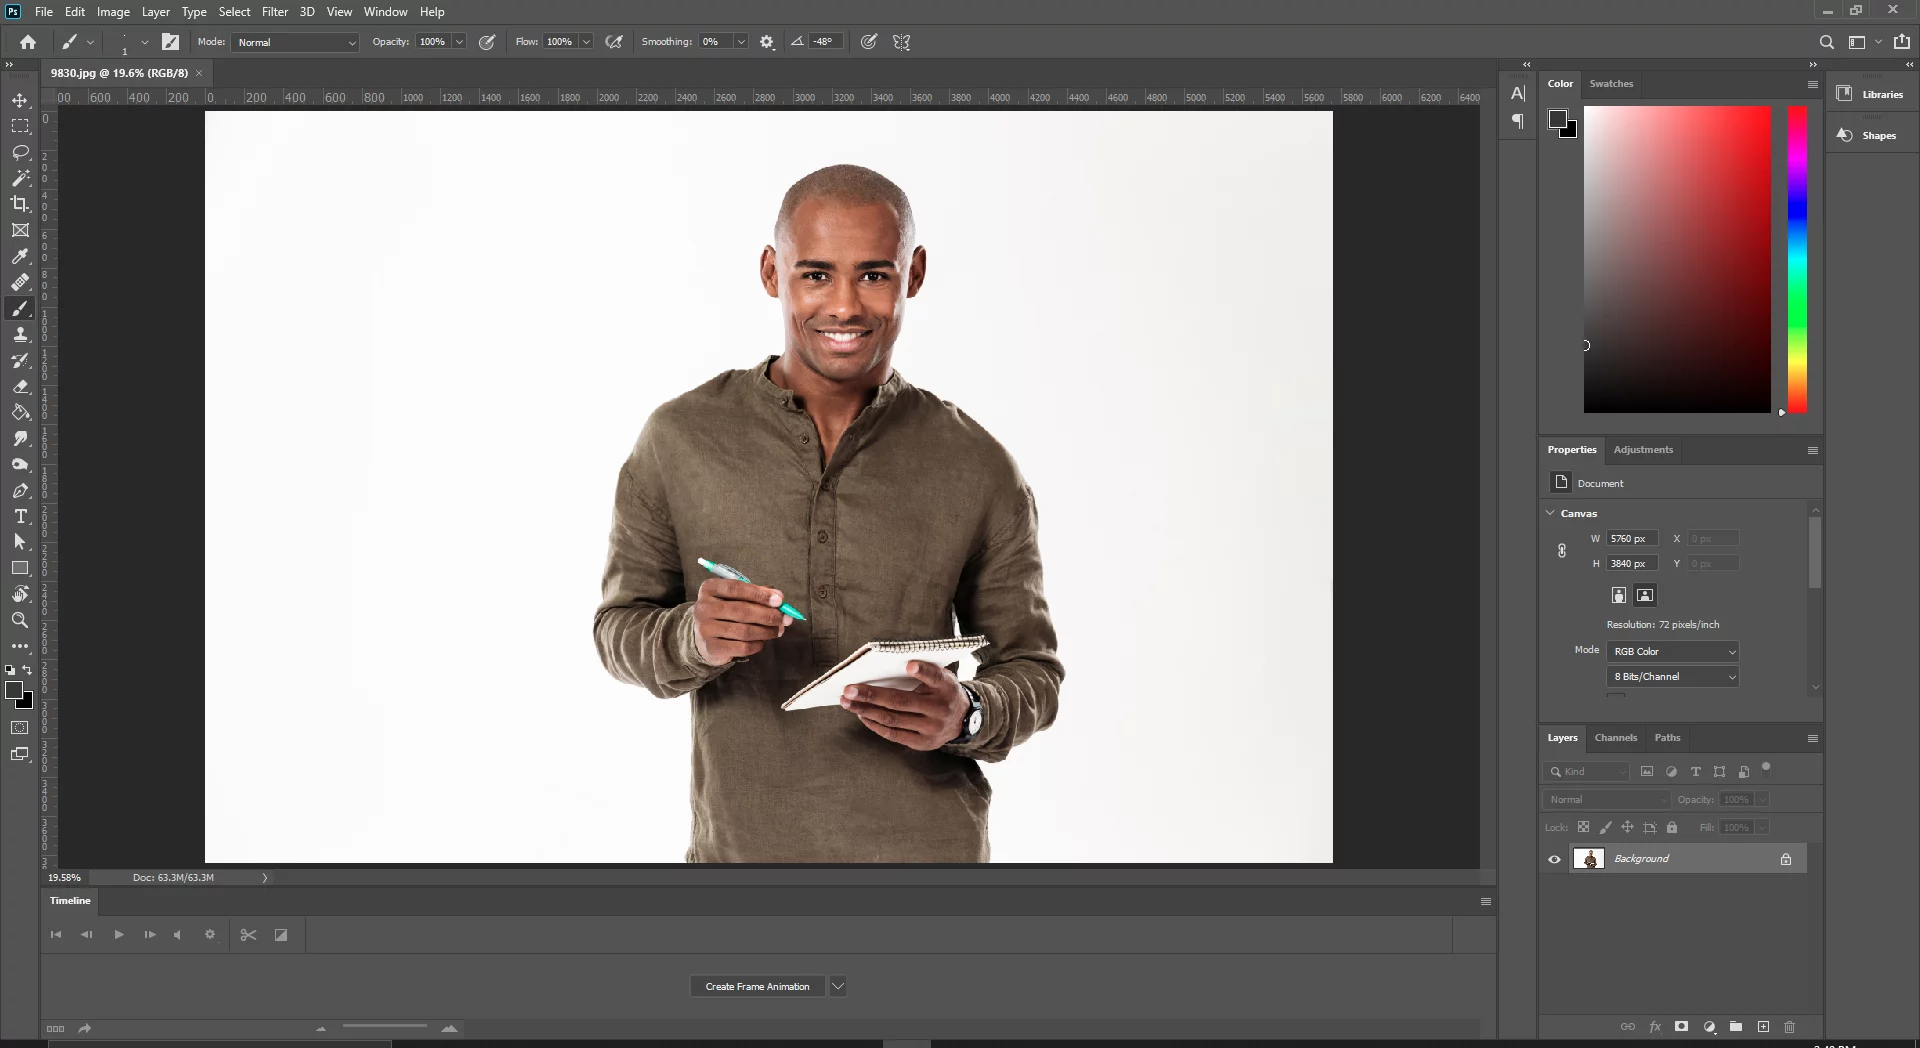
Step One: Import the Image
Import whatever image into photoshop you wish to remove the background on.


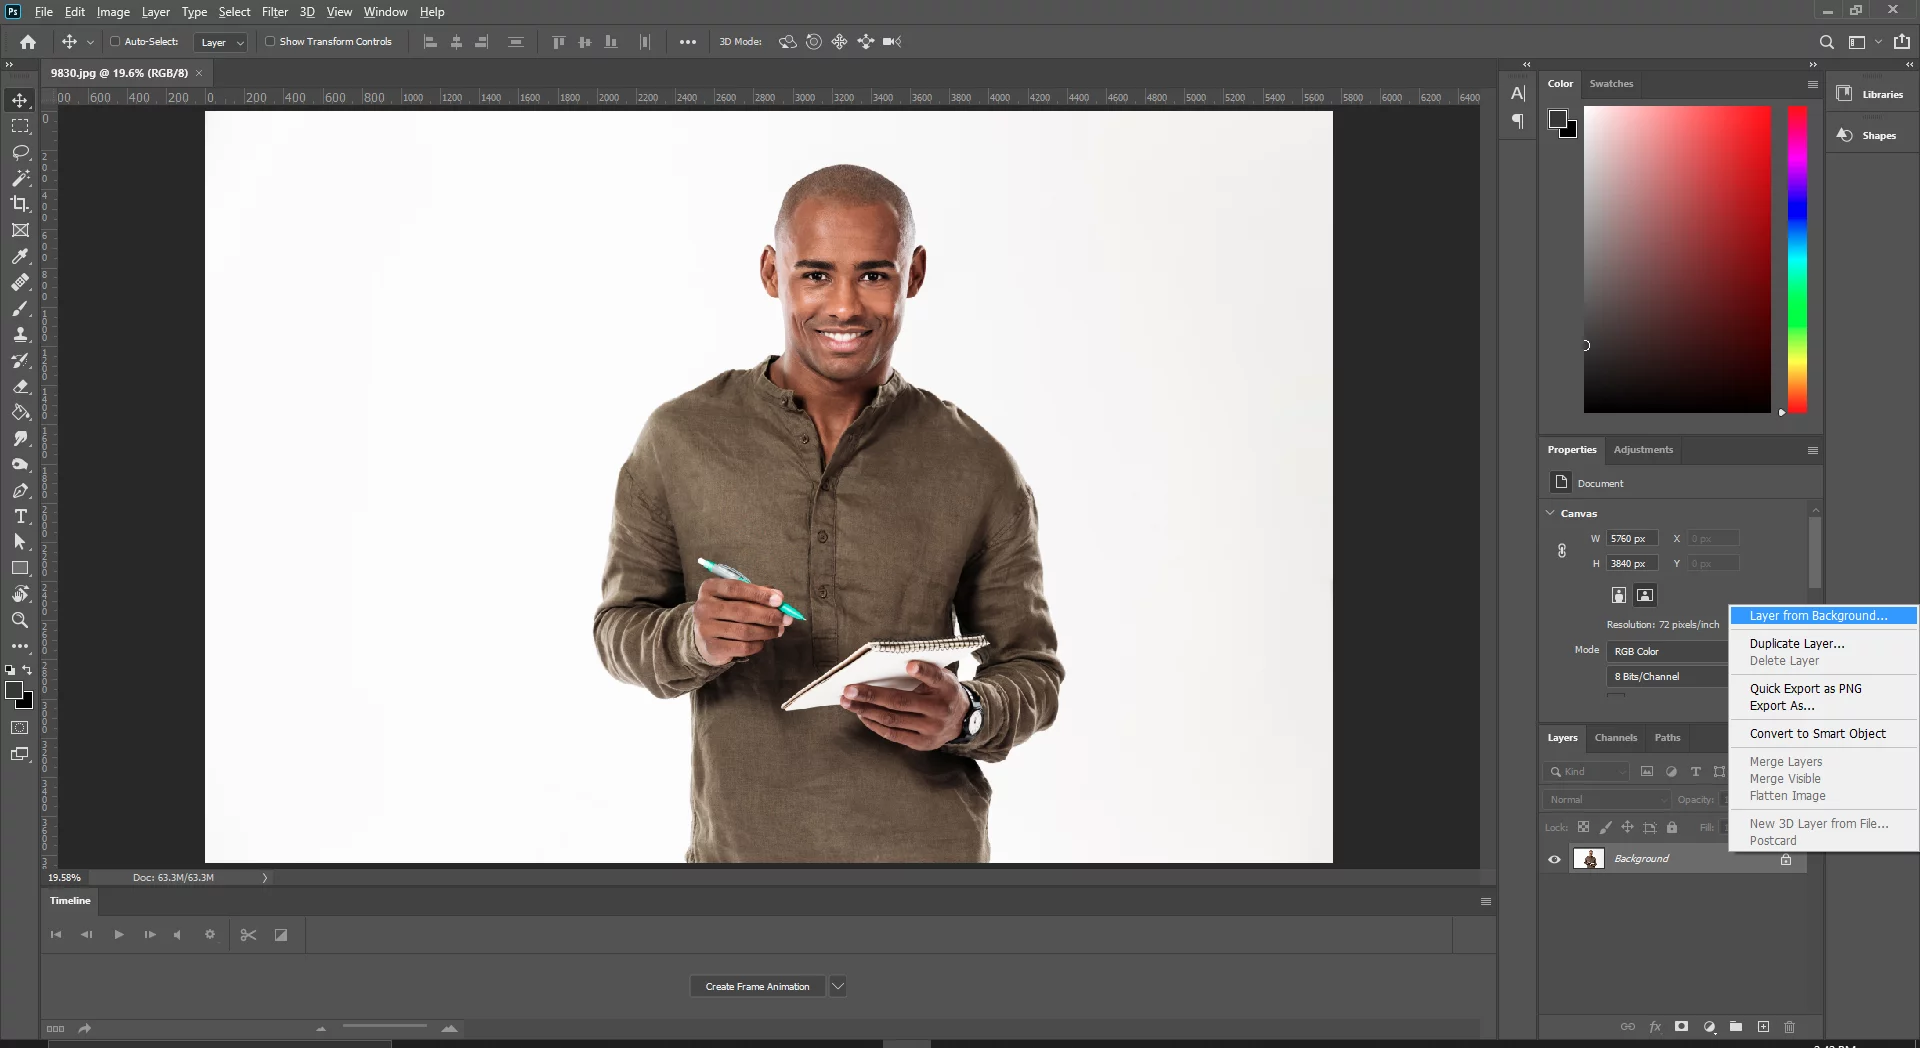
If the image imports as a background layer we will have to unlock the layer so go ahead and unlock the layer now.
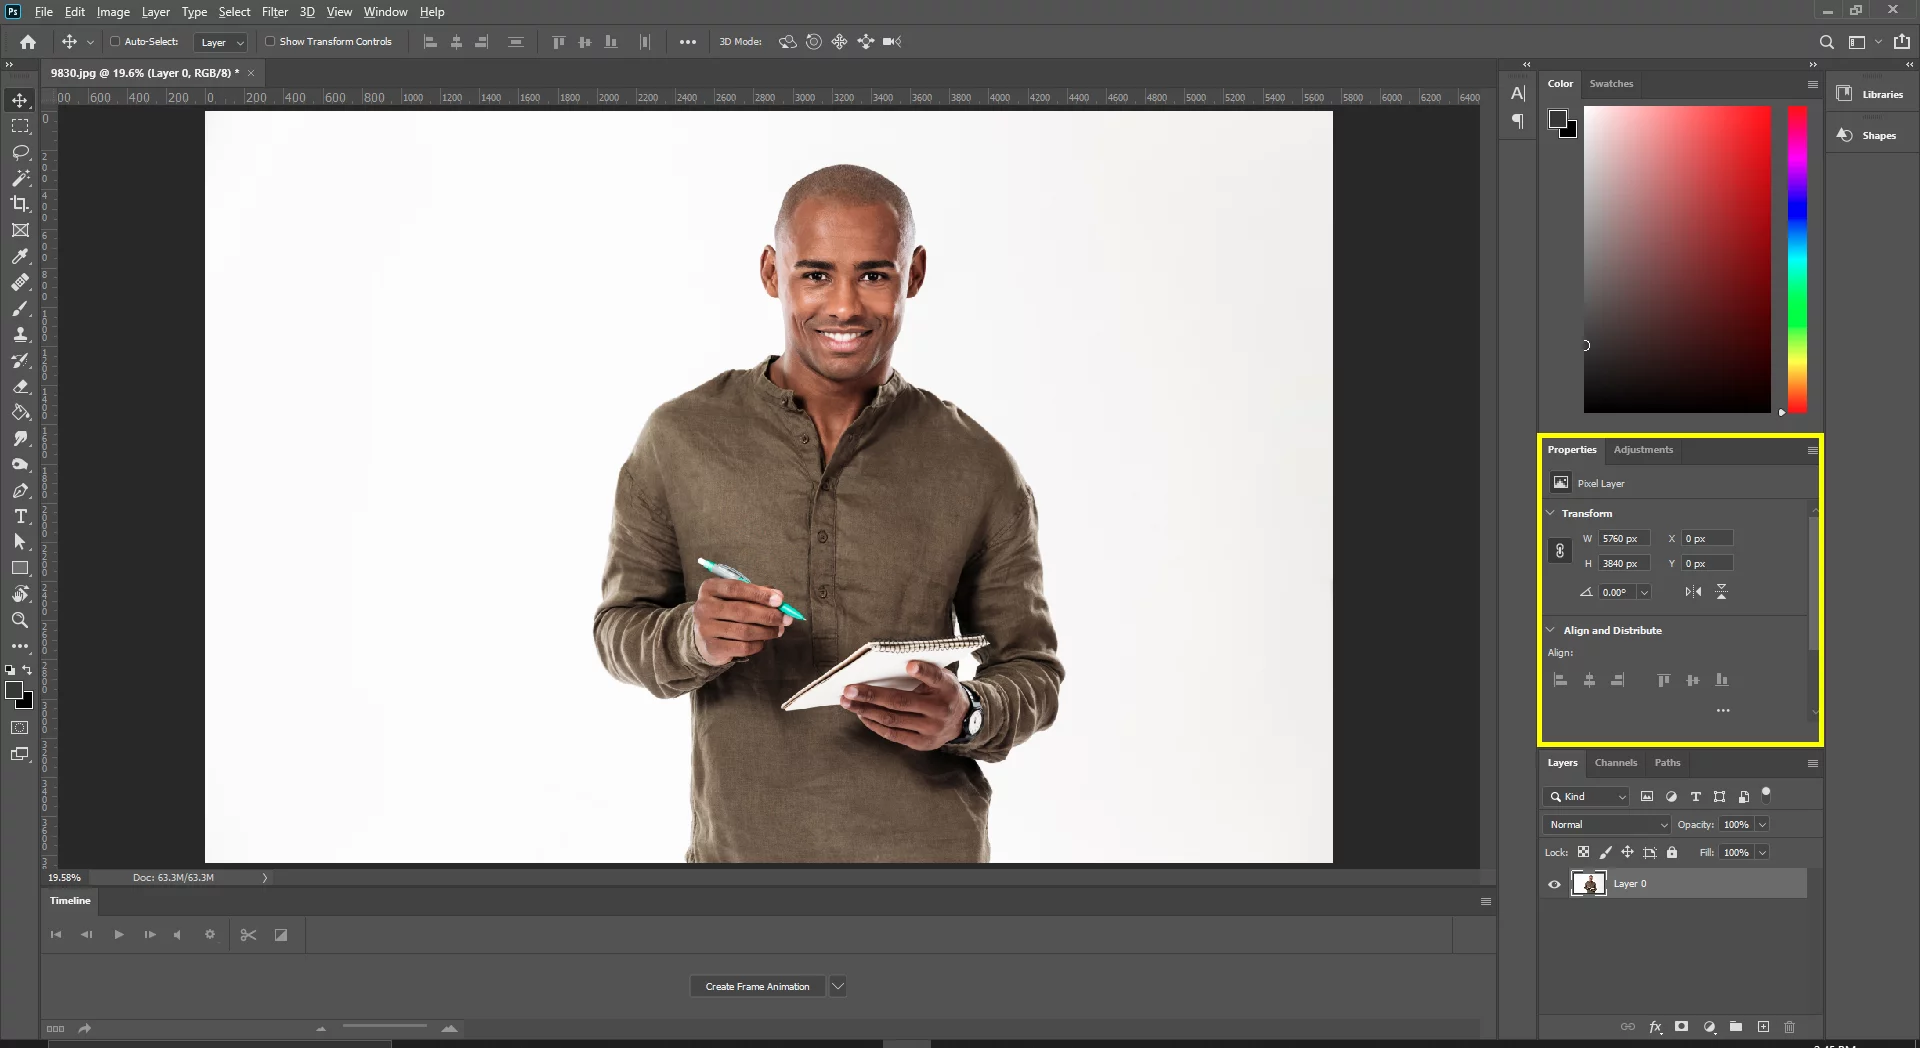
Step Three: Open the Properties Panel
Open the properties panel, if it’s not on the right, go to window > properties.


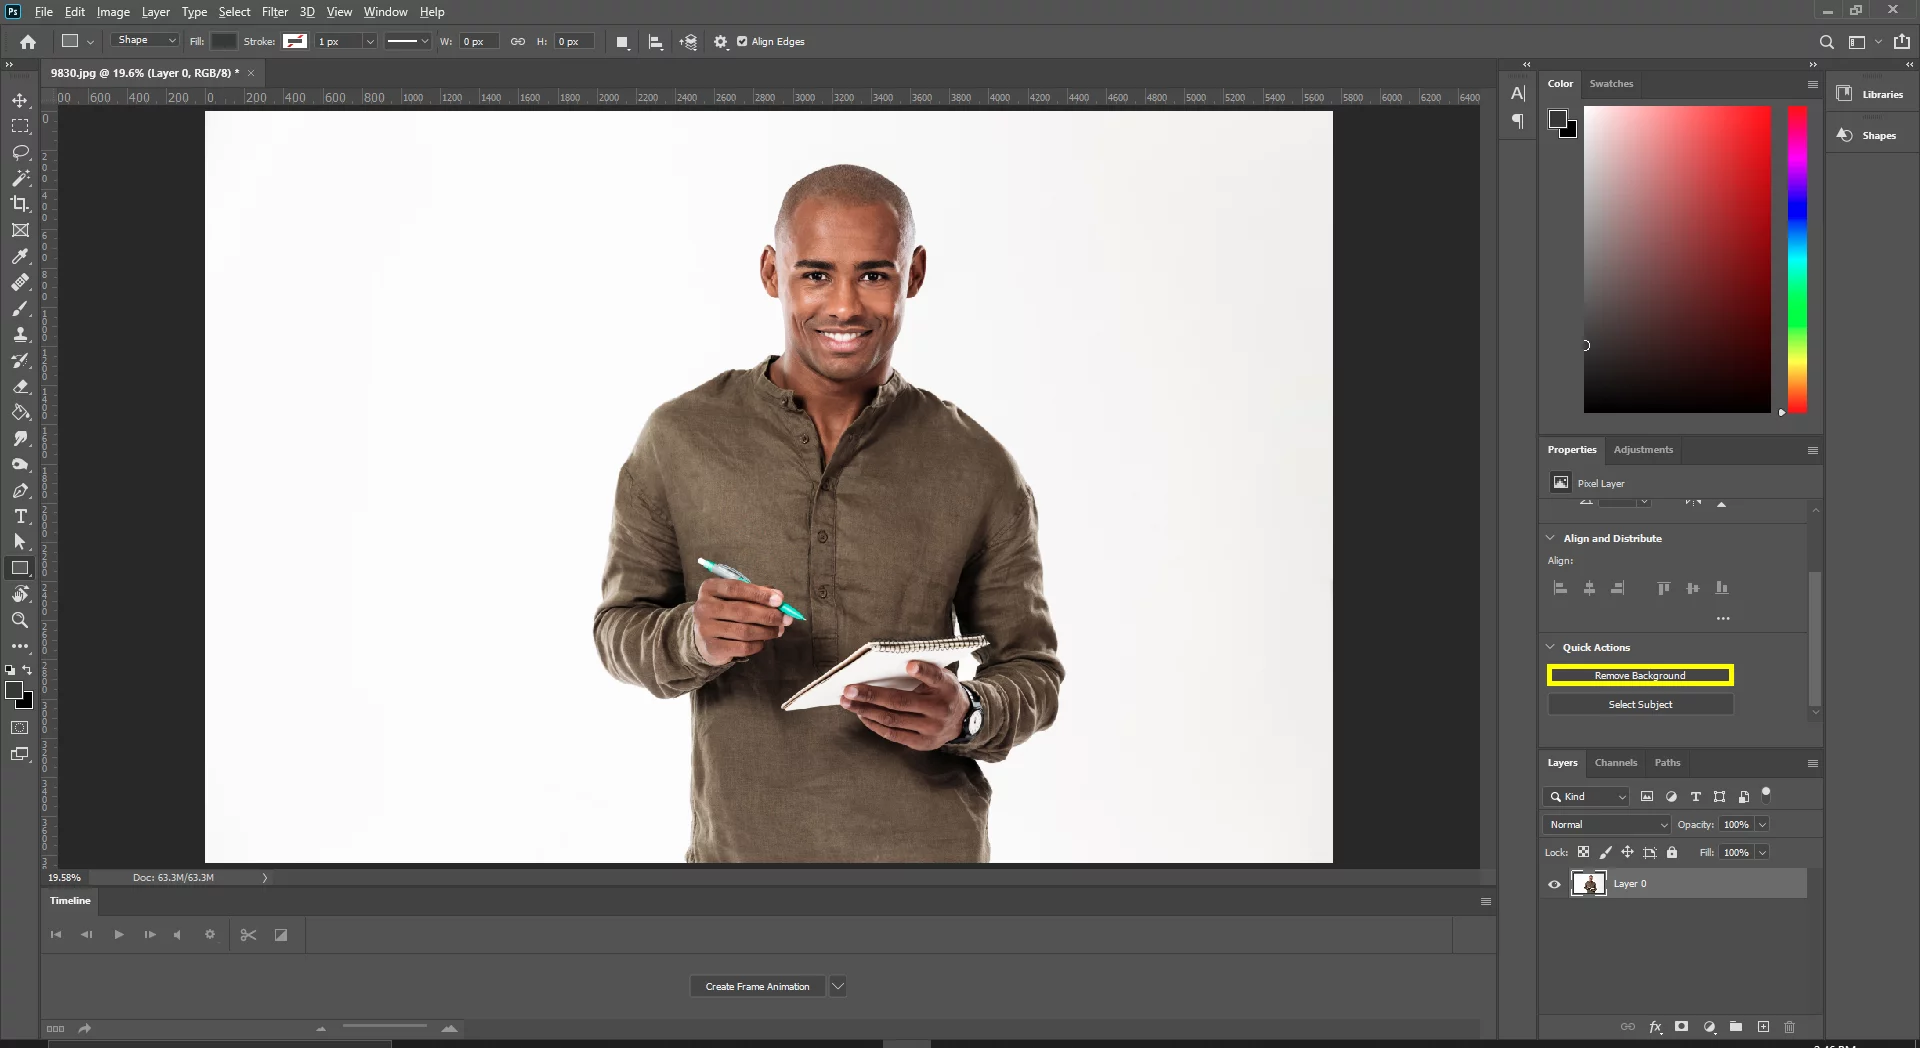
Step Four: Remove Background
Scroll to the bottom of the properties panel and click remove background.

Conclusion
Overall this new tool in Adobe Photoshop is a wonderful feature that saves a lot of time and hassle for designers. While it has been overlooked by many, and not heavily publicized by Adobe it is a simple solution to a complex problem. The tool isn’t perfect and the mask may need to be modified slightly, but it’s good enough to get a starting point. Also, the final result often will have a halo around the selection, and removing this is simple, just go through and refine the edges as you would any normal selection. It does seem to work better on men than women, but that’s just here-say from personal usage as the issue usually seems to be with longer/curly hair.

