Blend Modes Part 4 | Photoshop Tutorials 101
Overview
This week’s photoshop tutorial is all about utilizing the contrasting blend modes to get the boost in contrast that these modes give to an image. These modes can both brighten and darken certain parts of an image in order to get the effect.
Overlay
The ‘Overlay’ blend mode does not replace the base colors but instead mixes the blend color while reflecting the highlights and shadows of the image.

Soft Light
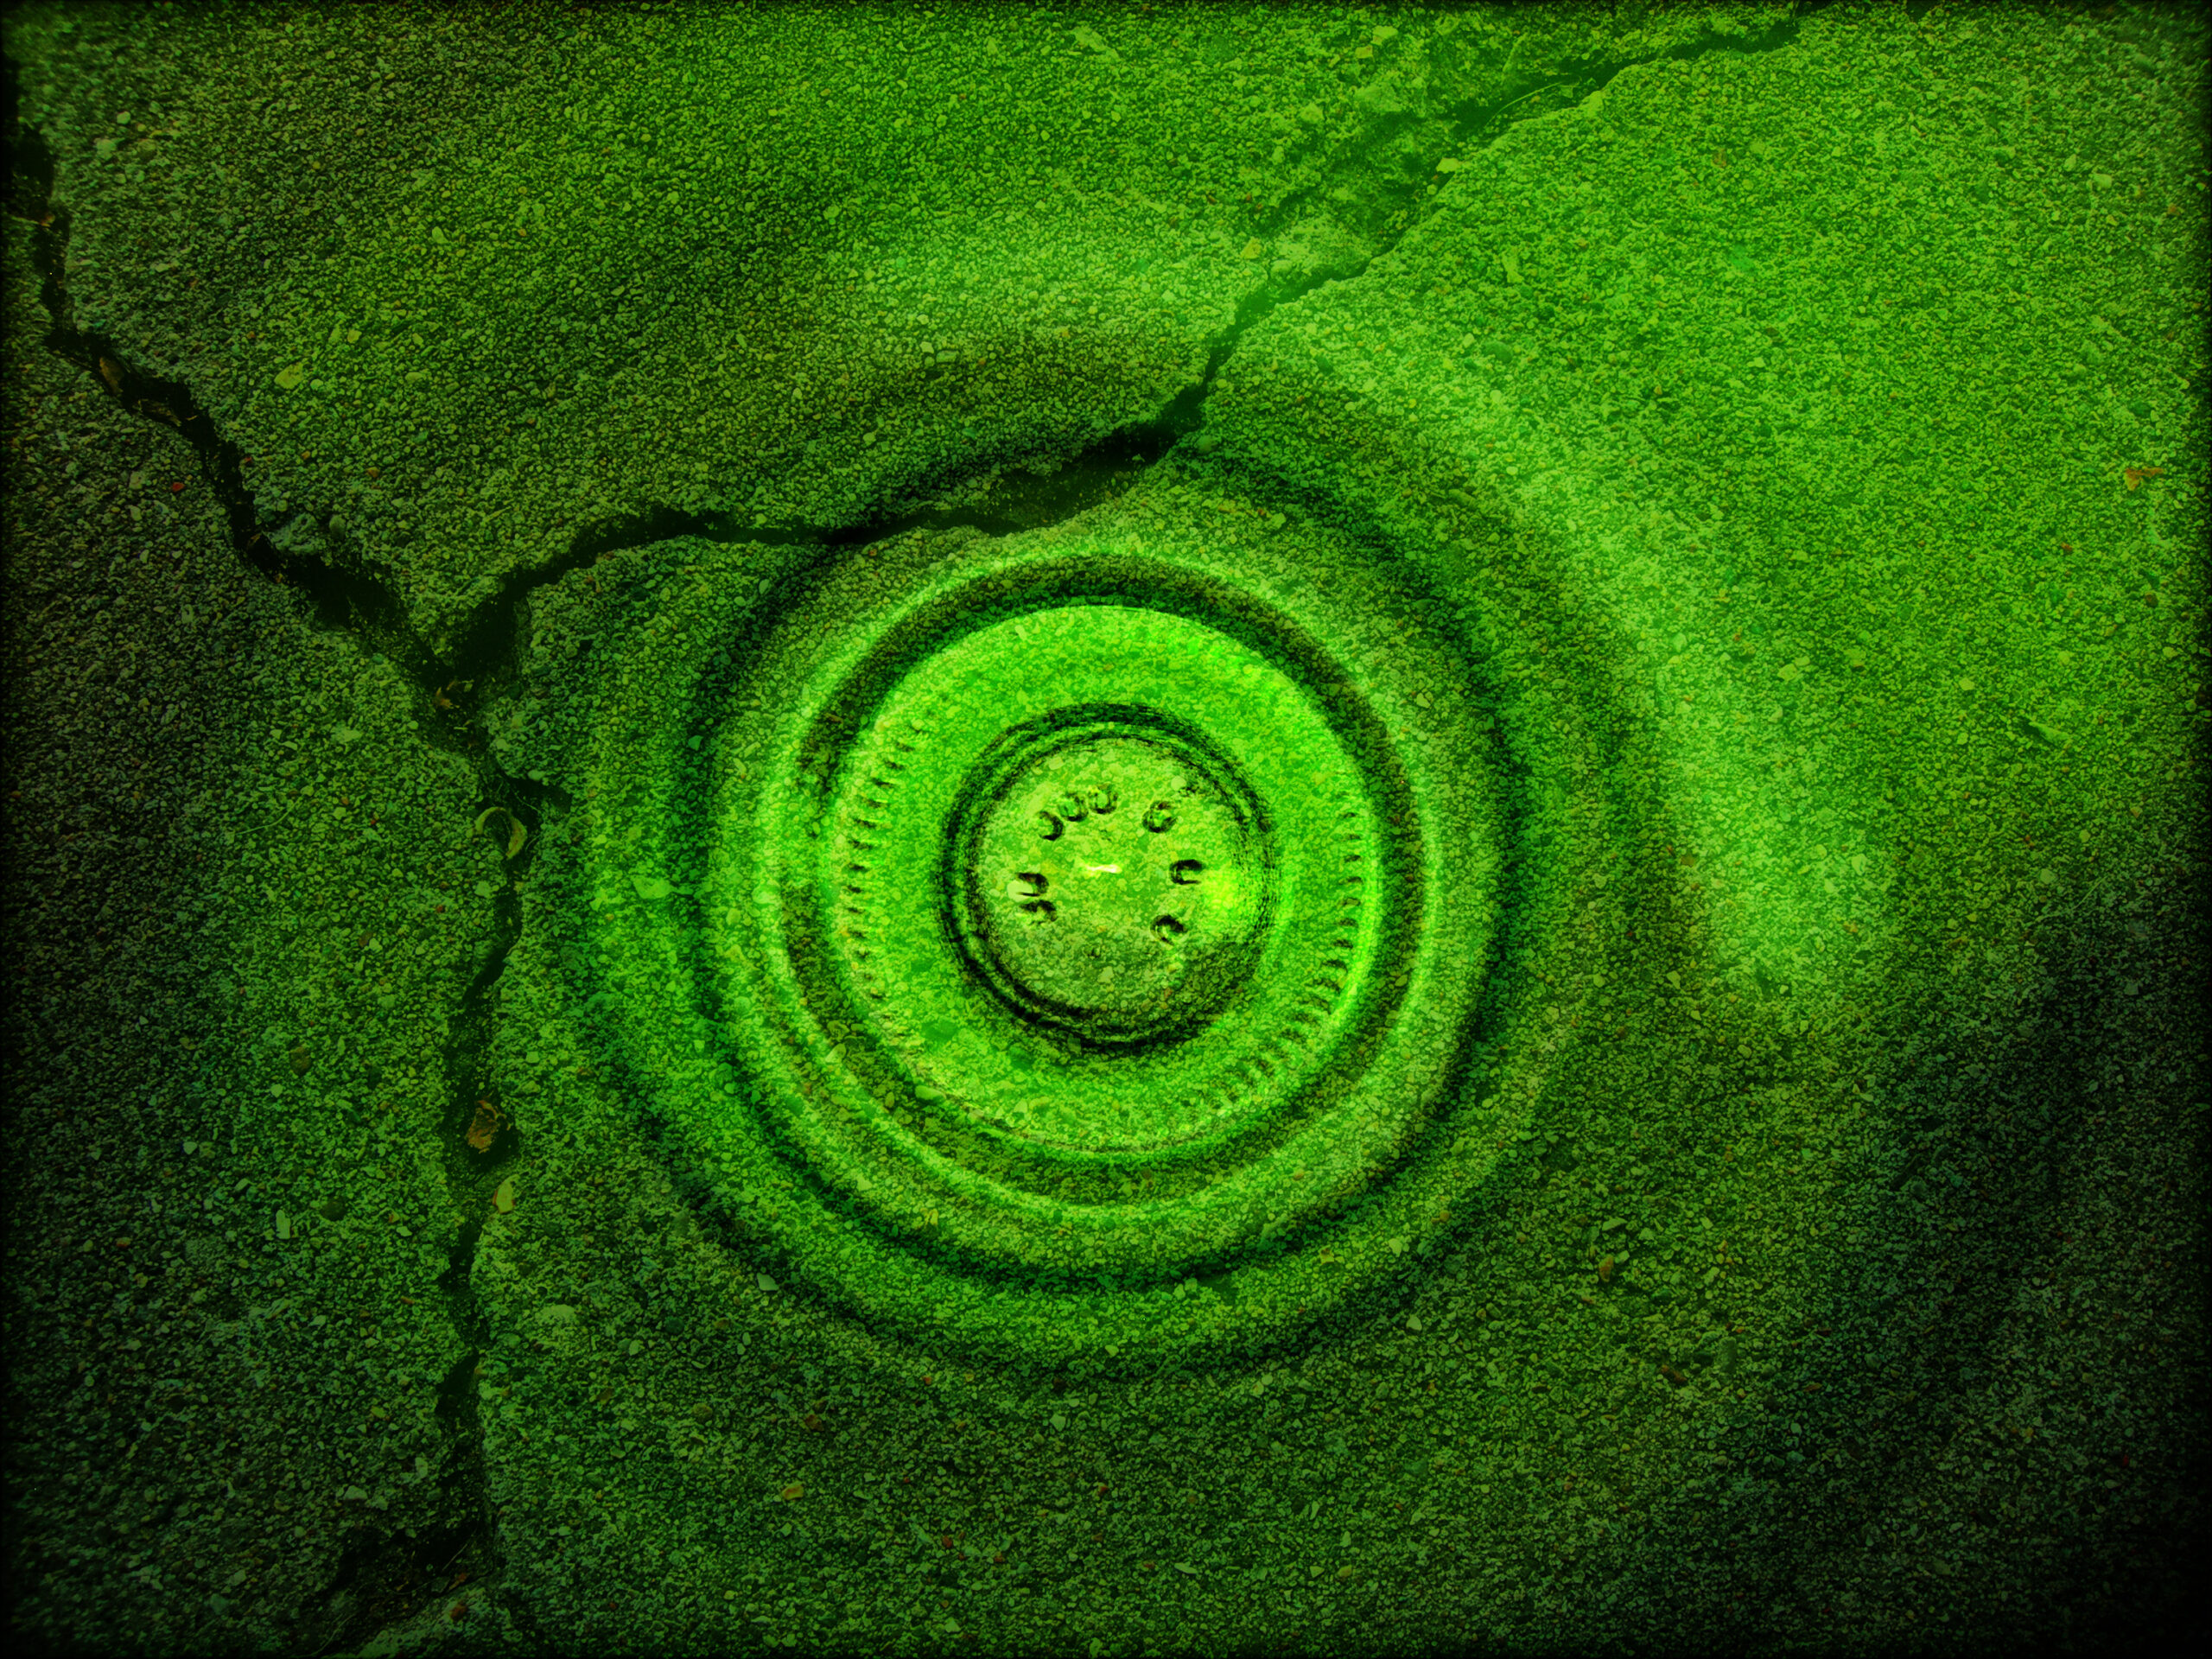
The ‘Soft Light’ blend mode is entirely dependent on the blend color. If the color is lighter than 50% gray then the image appears to be dodged, however if darker than 50% gray the image appears to be burned however taking black or white produces a noticeably darker or lighter part to the image. This effect is similar to putting a soft box light on the image.
Hard Light
The ‘Hard Light’ blend mode works much the same way as the ‘Soft Light’ blend mode, however the effect is harsher as if shining a spotlight on the image. This is a good blend mode for adding shadows to images however using black or white only results in black or white respectfully.

Vivid Light
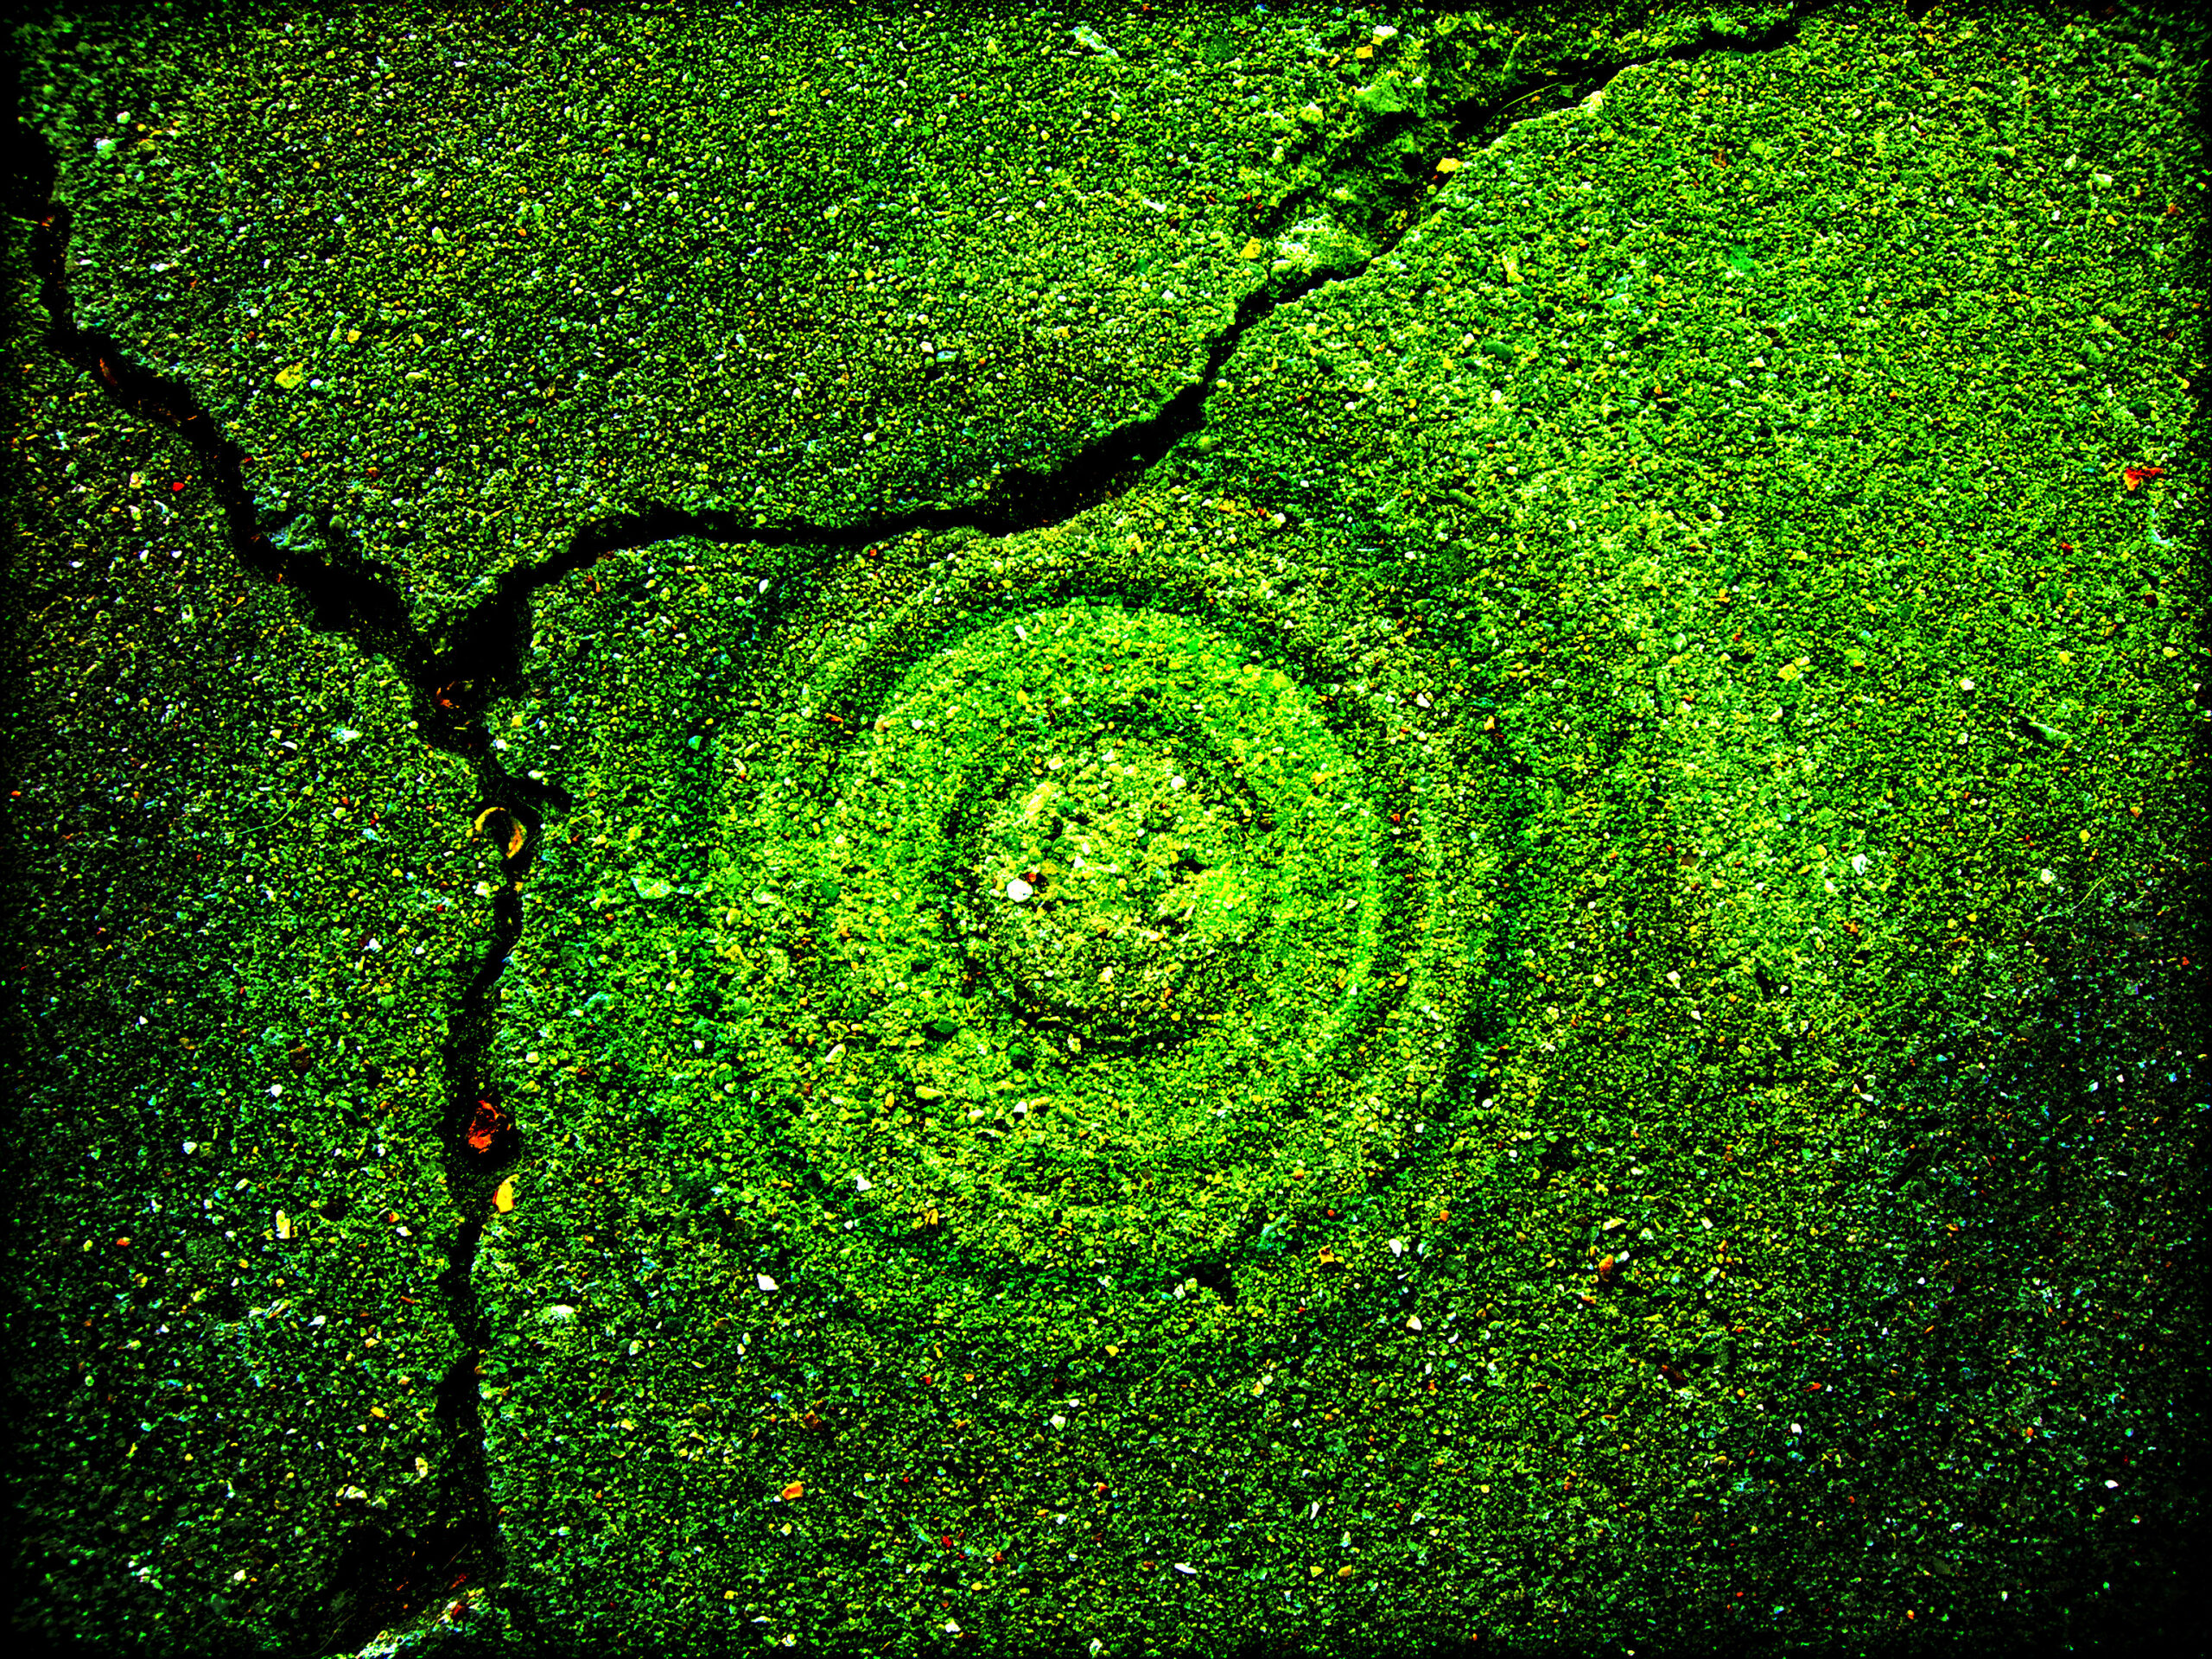
‘Vivid Light’ blending mode use as an increase or decrease in contrast to get a burned or dodged effect, A blend color lighter than 50% gray becomes lighter with a decrease in contrast and the blend color above 50% gray is darkened by an increase in contrast on the image.
Linear Light
The ‘Linear Light’ blending mode works almost identical to the ‘Vivid Light’ mode covered above, except instead of changing contrast this mode changes the brightness. A blend color above 50% gray is lightened by an increase in brightness and a blend color darker than 50% gray results in a darker image through a decrease in the brightness.
Pin Light
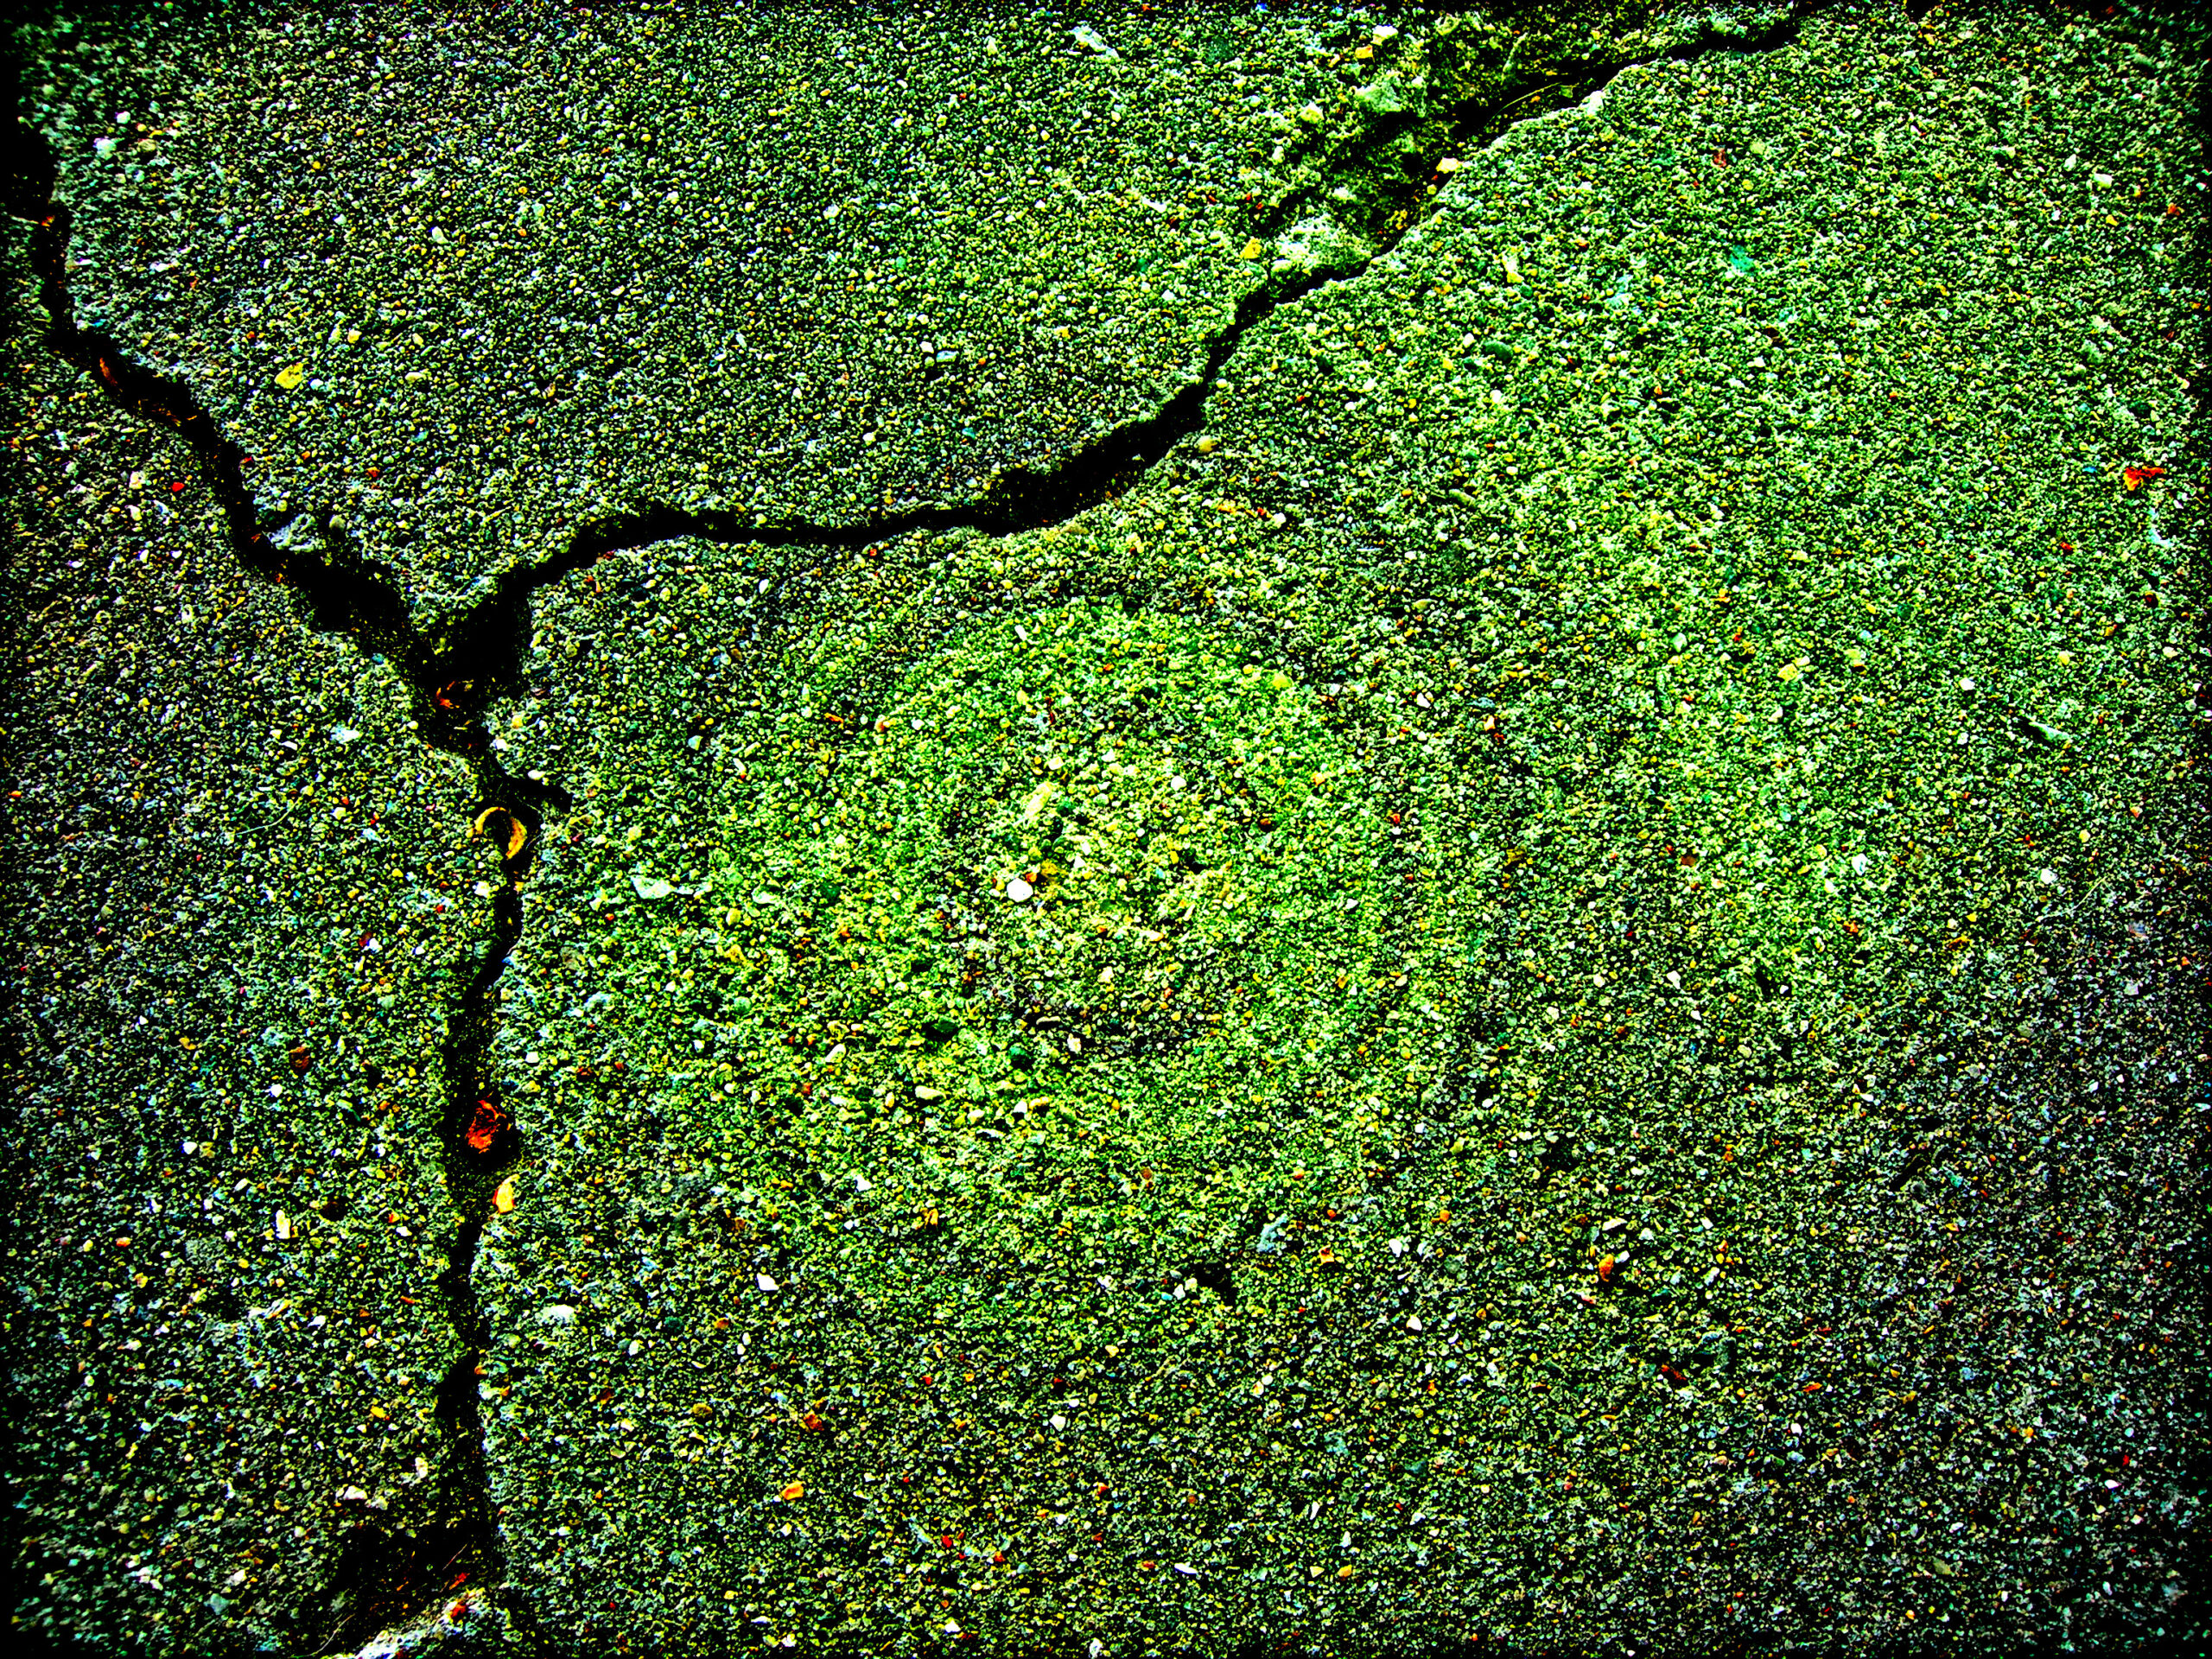
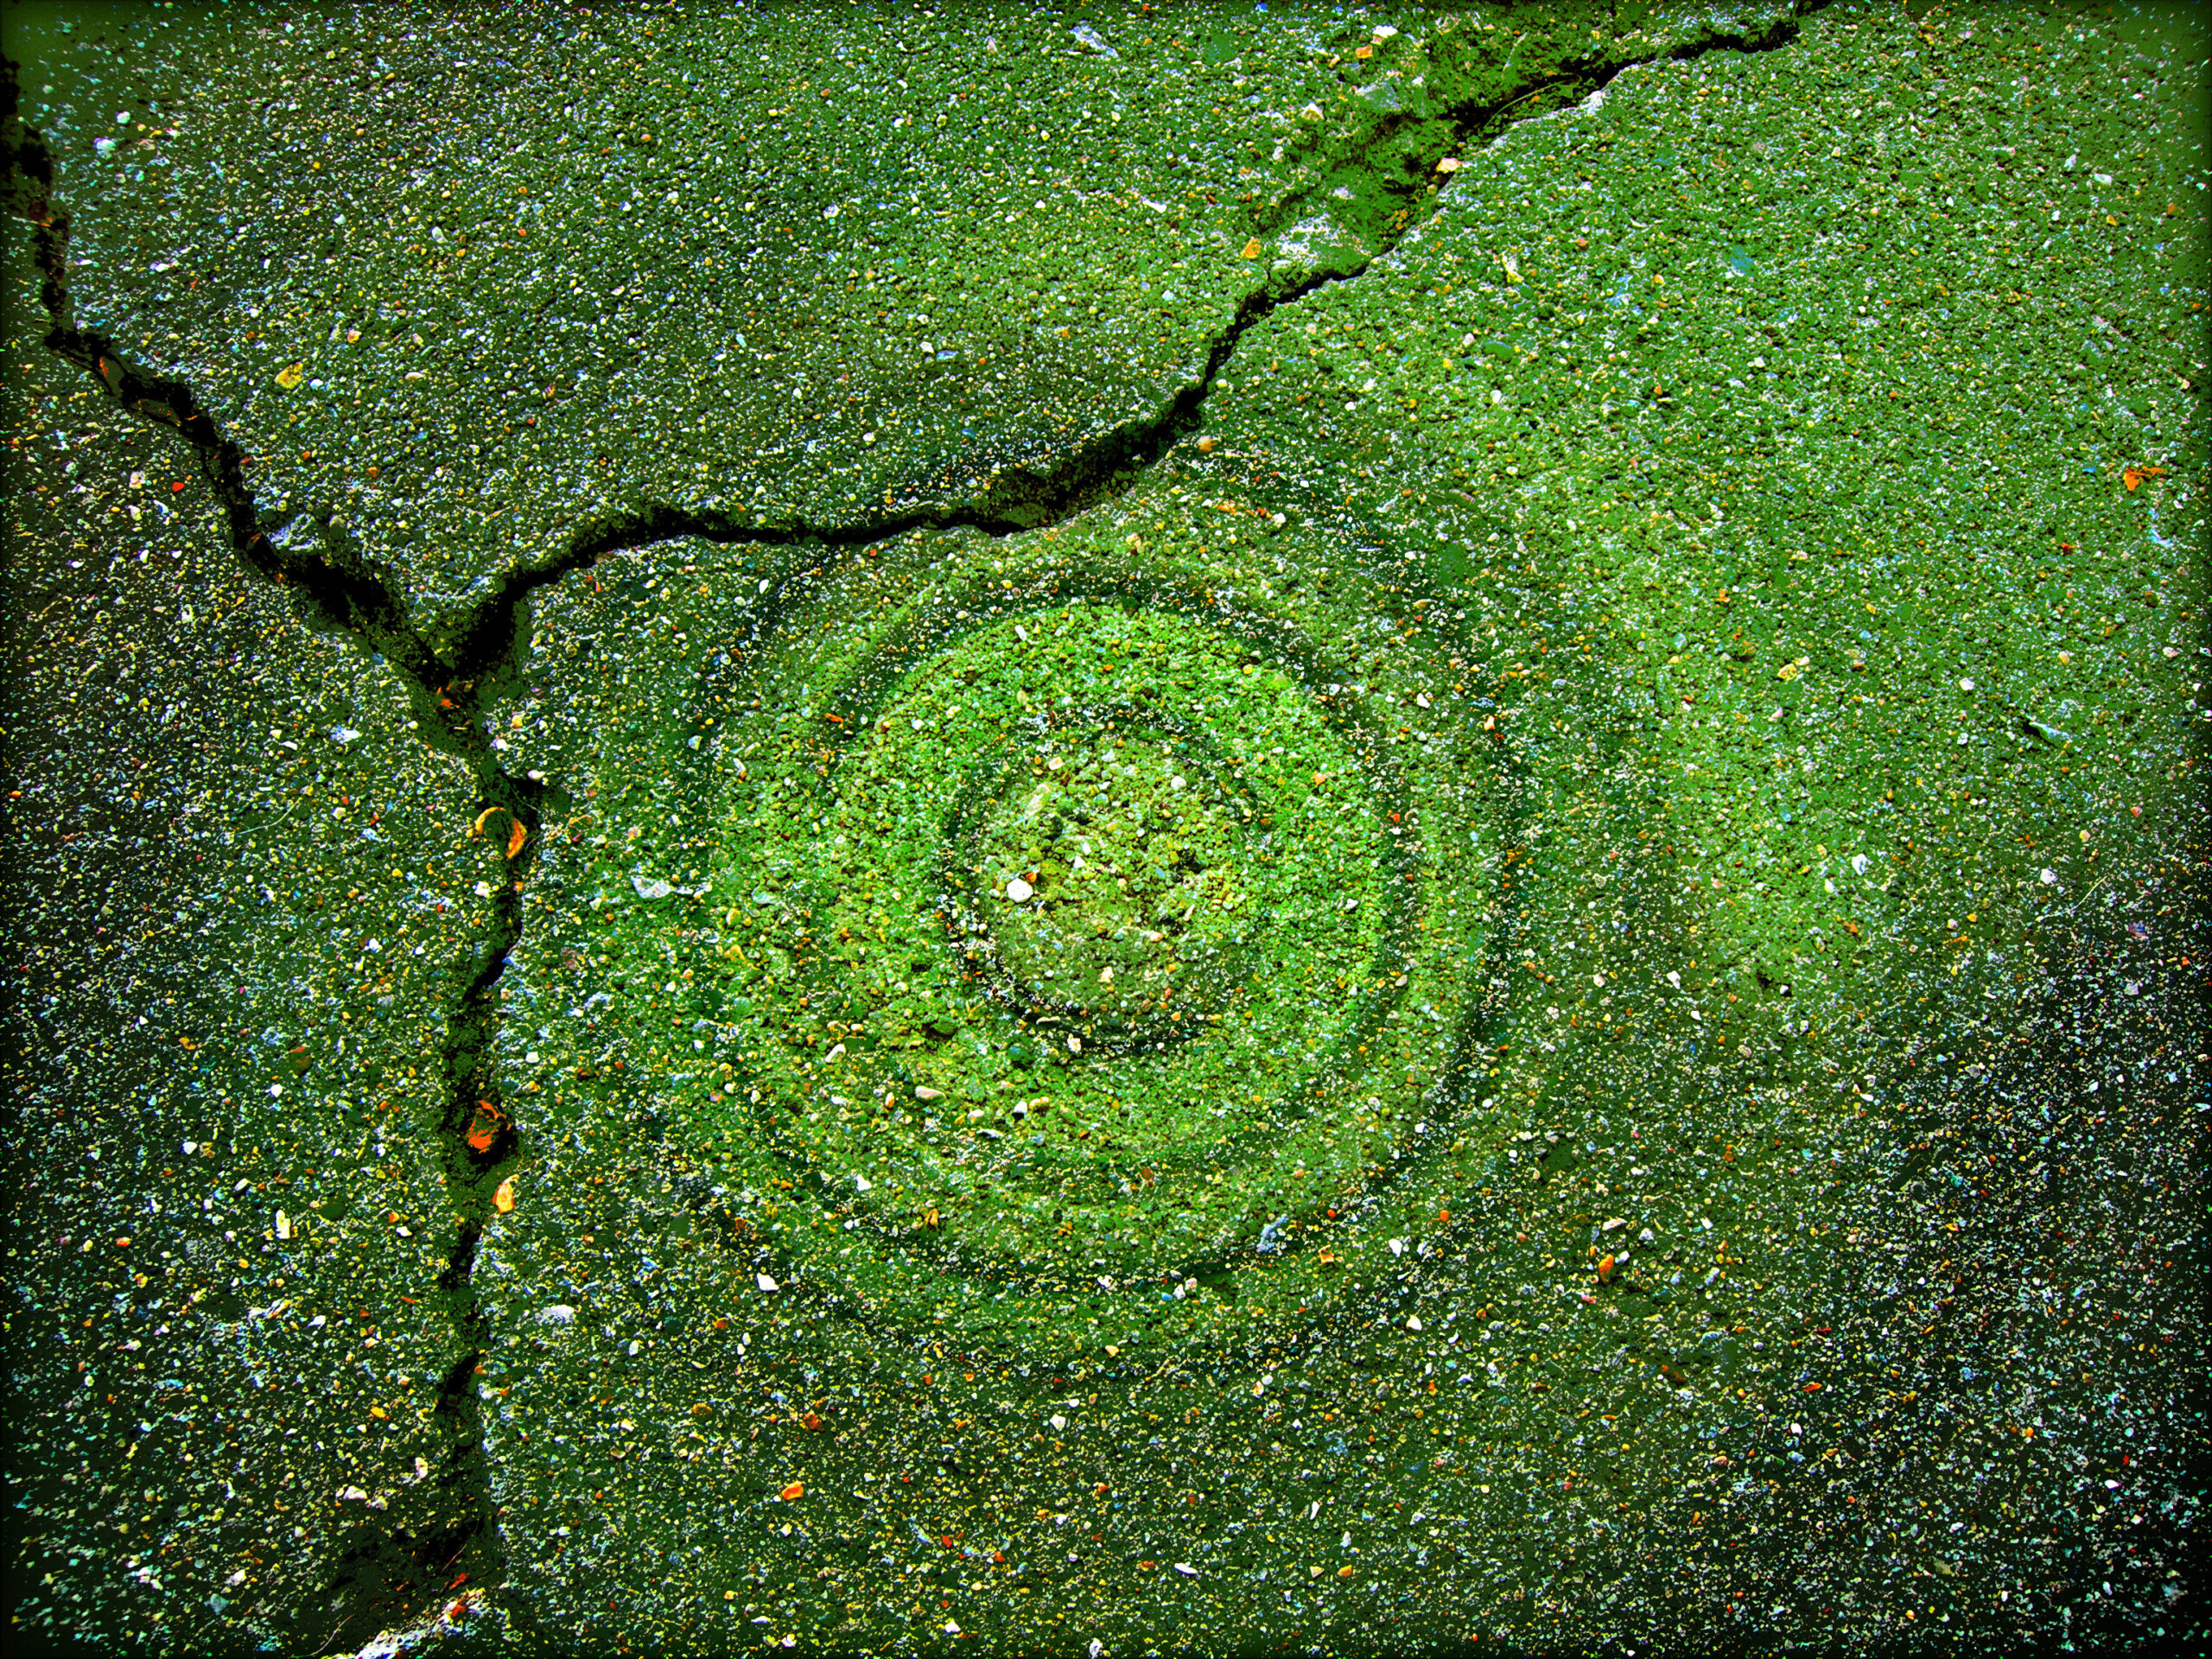
‘Pin Light’ is a color replacement blend mode. When the color is lighter than 50% gray the darker pixels are replaced with the blend color and anything lighter does not change. The opposite is true if the blend color is darker than 50% gray.
Hard Mix
The ‘Hard Mix’ blend mode takes the RGB channel values of the blend color and sums them with the RGB values of the base. Any resulting value above 255 is 255 and anything under 255 is set to 0. This creates harsh colors in the image.


