Photo Restoration Neural Filter | Adobe Photoshop Tutorial
With the release of Adobe Photoshop 24.0 in October 2022 Adobe released the Photo Restoration beta neural filter. This new filter is not necessarily as revolutionary as many others in the current lineup but does offer a nice shortcut for designers. Originally designers would have to mask out the foreground, add a layer of haze behind the foreground and adjust accordingly. Now, that is all a memory of the past with this filter in Photoshop.
How to Use Photo Restoration Filter
Neural Filters can be accessed via the following six steps.
Step One: Open Image in Photoshop
First, open a Photoshop document and select an image. Make sure the image is in an unlocked layer and rasterized.

Step Two: Open Neural Filters
With the image loaded, go up to the top and select Filter > Neural Filters. The Neural Filters panel will load on the right side of Photoshop.

Step Three: Enable Photo Restoration Neural Filter
Next, select Photo Restoration from the list, should be under the restoration section towards the bottom. This filter may need to be downloaded if it hasn’t been used yet. If that is the case, simply click the cloud icon to begin the download process.

Step Four: Adjust Photo Enhancement Options
The first set of controls available will determine how much enhancement is needed on the photo, from contrast adjustments to scratch reductions.
Photo Enhancement Options
Photo Enhancement
Photo enhancement applies the normal adjustments that are required for these types of images such as increasing the contrast.
Enhance Face
Next on the list of options is the enhance face option, which operates similarly to the photo enhancement slider, however is tuned to work on faces so that they don’t become lost in the image.
Scratch Reduction
Scratch reduction is a slider which targets any scratches and works to sample and remove them from the image.

Step Five: Adjust Photo Restoration Options
The second set of controls available will determine how much restoration is needed on the photo, from noise reduction to artifact reduction.
Photo Restoration Options
Noise Reduction
The first slider in the photo restoration options of this filter is noise reduction. This does not specifically target color noise as that is the next option.
Color Noise Reduction
On the other hand, color noise reduction specifically targets any color noise that may be introduced due to the increase in contrast, saturation, etc. either from the photo enhancement option or just the photo itself.
Halftone Artifacts Reduction
Halftone Artifact Reduction works to reduce the circular halftone artifacts caused by various methods of printing usually present in older color photos.
JPEG Artifact Reduction
While there already is a neural filter for this available within Photoshop, this version is included for the sake of the workflow.

Step Six: Select Output Method
Finally, once all changes have been made, go ahead and select an output method. The normal go-to for me is duplicate layer, simply because this means the original image is preserved.

Conclusion
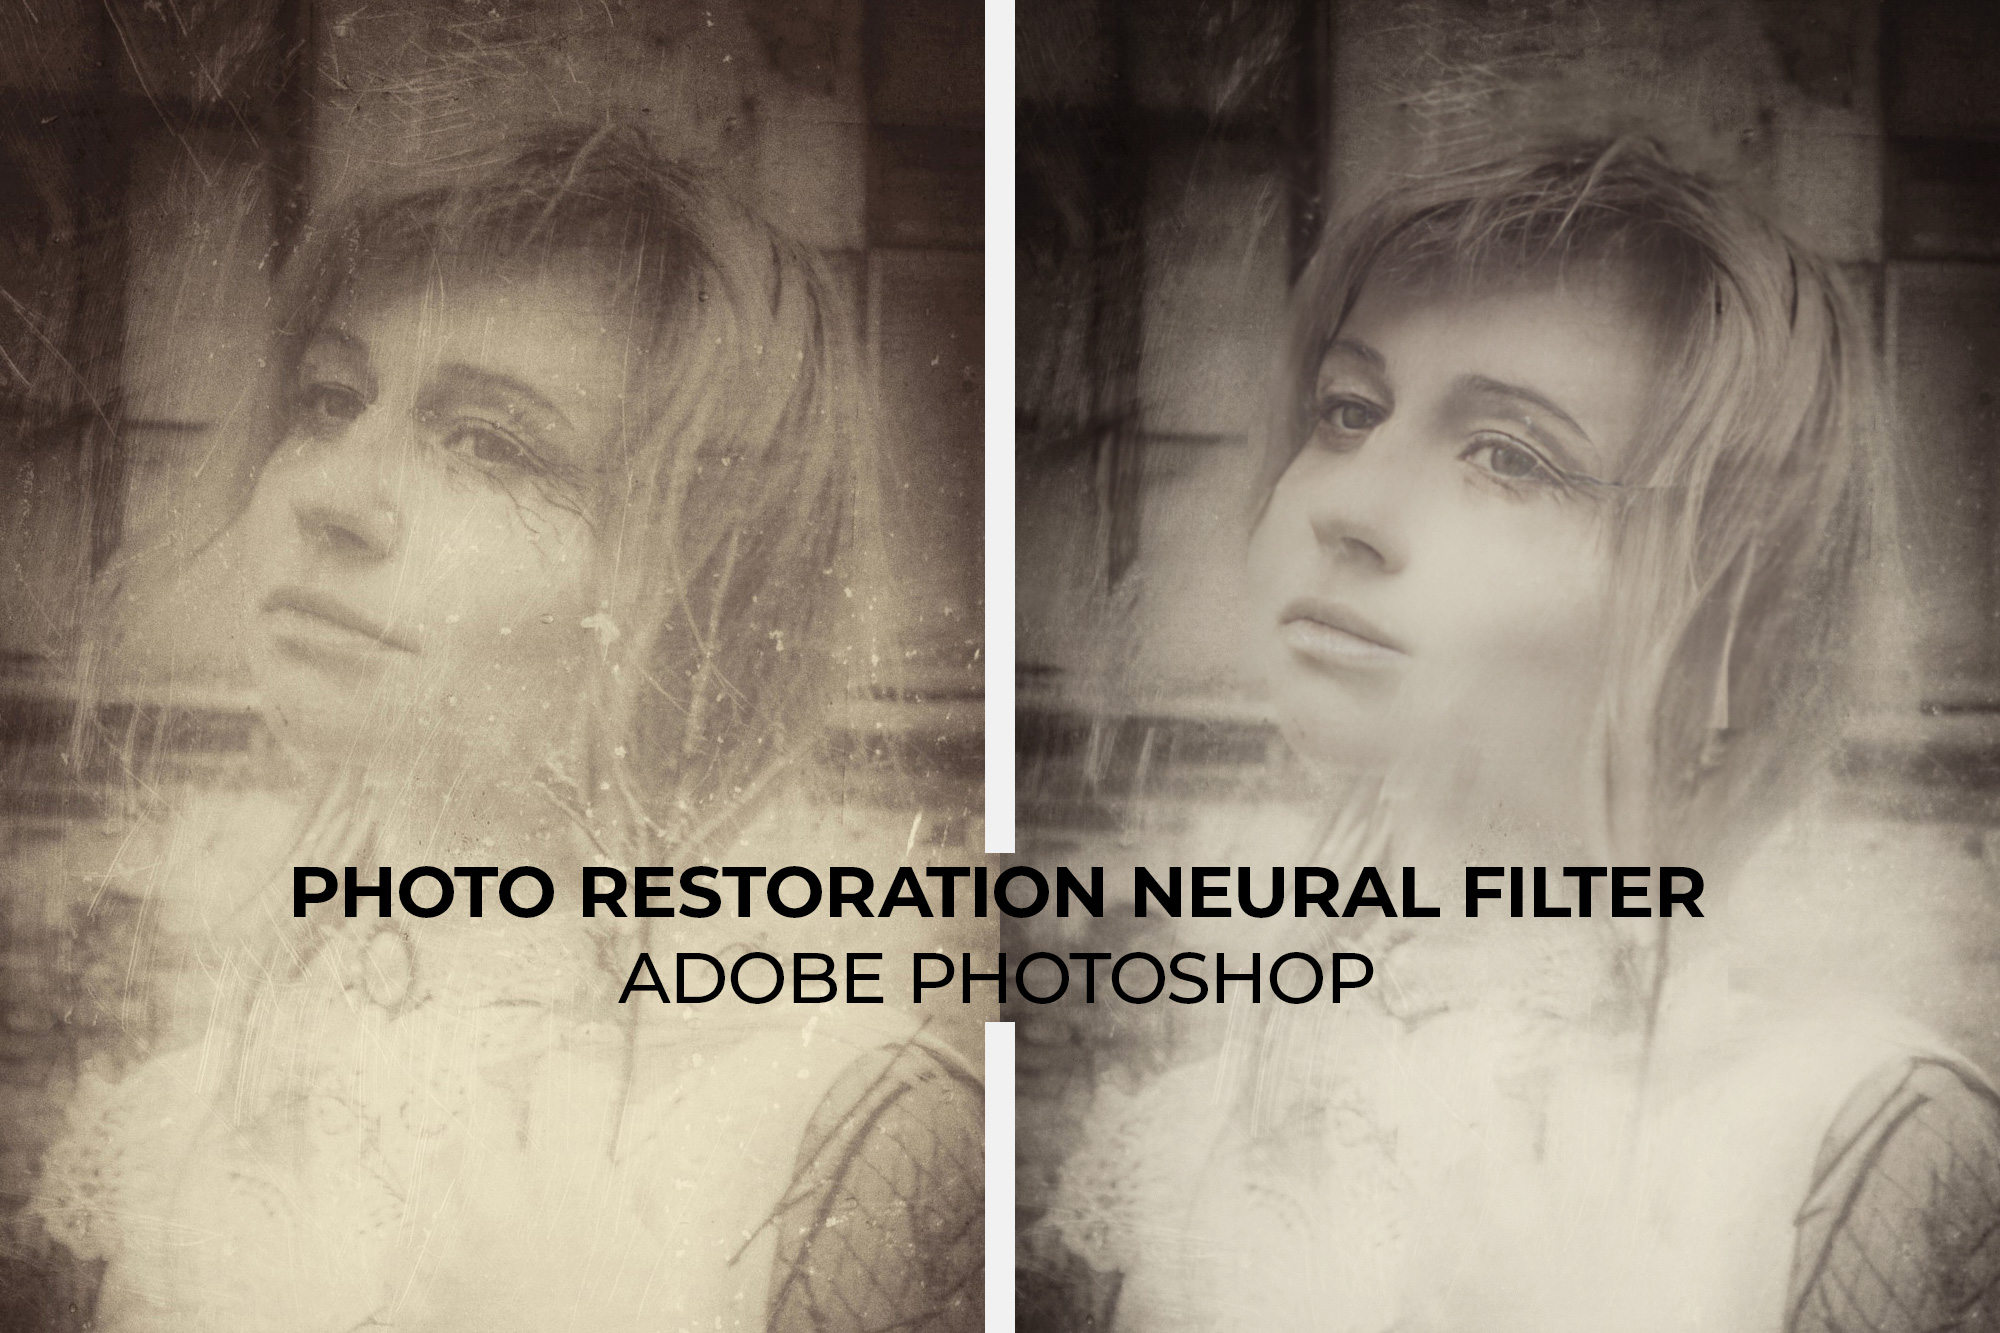
The photo restoration neural filter is a nice addition, however I was hoping for more coming out of this version. Previously we saw two to three powerful neural filters added, and some have been on a waitlist for quite some time. While this is handy in certain niche circumstances, it seems like a majority of the features are still in beta. However, this particular image would probably need to be ran through the filter twice, one for the details in the hand and body, and then once for the face and scratch removal. Check out our other articles on the 24.0 update: improved masking options, one click delete and fill, .