Creating Multiple Versions of Photo Edits | Adobe Lightroom Tutorial
With the release of Adobe Lightroom 4.0 in October 2020 Adobe updated a feature they titled Versions from the 3.3 release with Auto Versions. Versions allows photographers and editors to quickly preview multiple variations of edits across the same photo. Creating Versions as well as working with Auto Versions is simple and the following 7 steps contains all the information needed to use the feature efficiently.
The Problem
Before, if you closed out of the program Lightroom would not create a version of the edit you were working on. Also if you wanted to have multiple versions of edits to a photo you would have to save multiple copies pre Lightroom 3.3.
The Solution
Adobe has since remedied these problems by enabling an autosave of the last version of an edit upon closing the software. They’ve also allowed for users to create multiple edit versions using program metadata to allow for edits to be contained all under one file.
Step 1: Edit the Photo
Open the photo and make the edits within the Edit panel.

Step 2: Open the Versions Panel
At the bottom of the Edit panel select the option labeled Versions to open the panel.

Step 3: Exploring the Versions Panel
Once the panel opens, select the Named tab. This tab lets you generate your own versions of edits manually. Under the Auto tab the versions listed here will be automatically generated from each editing session.
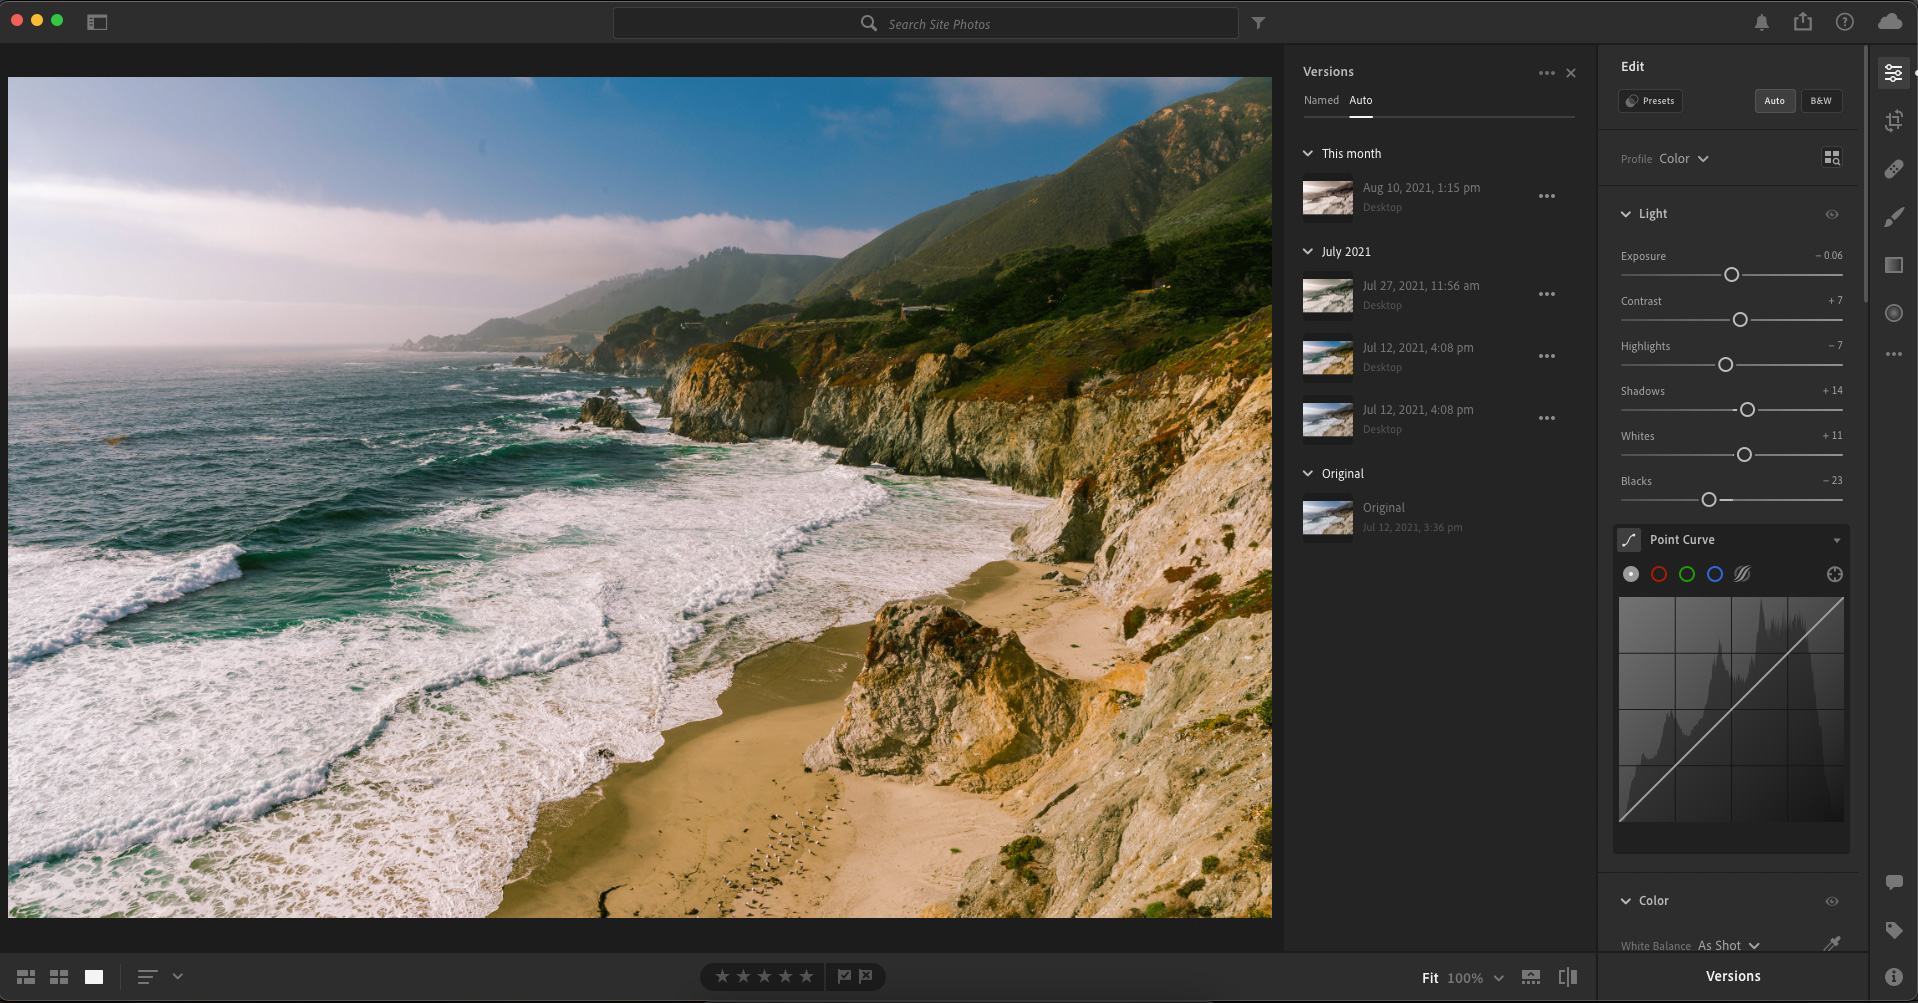
Step 4: Create Version
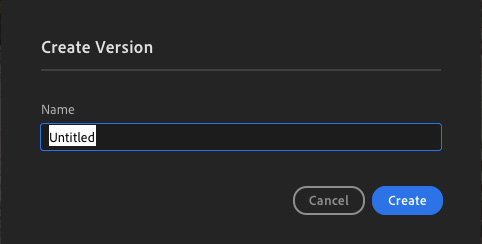
In order to create a version select the Create Version button under the Named tab. A dialog box will then appear, input a name and select Create. A version of the latest edits is now added to the Named tab of the Versions panel. After creating a version, you can continue to create more edits and Versions.
Step 5: Viewing Versions
In order to view an edit version, simply hover over the version in either the Named or Auto tabs. This will generate a preview within the main window.
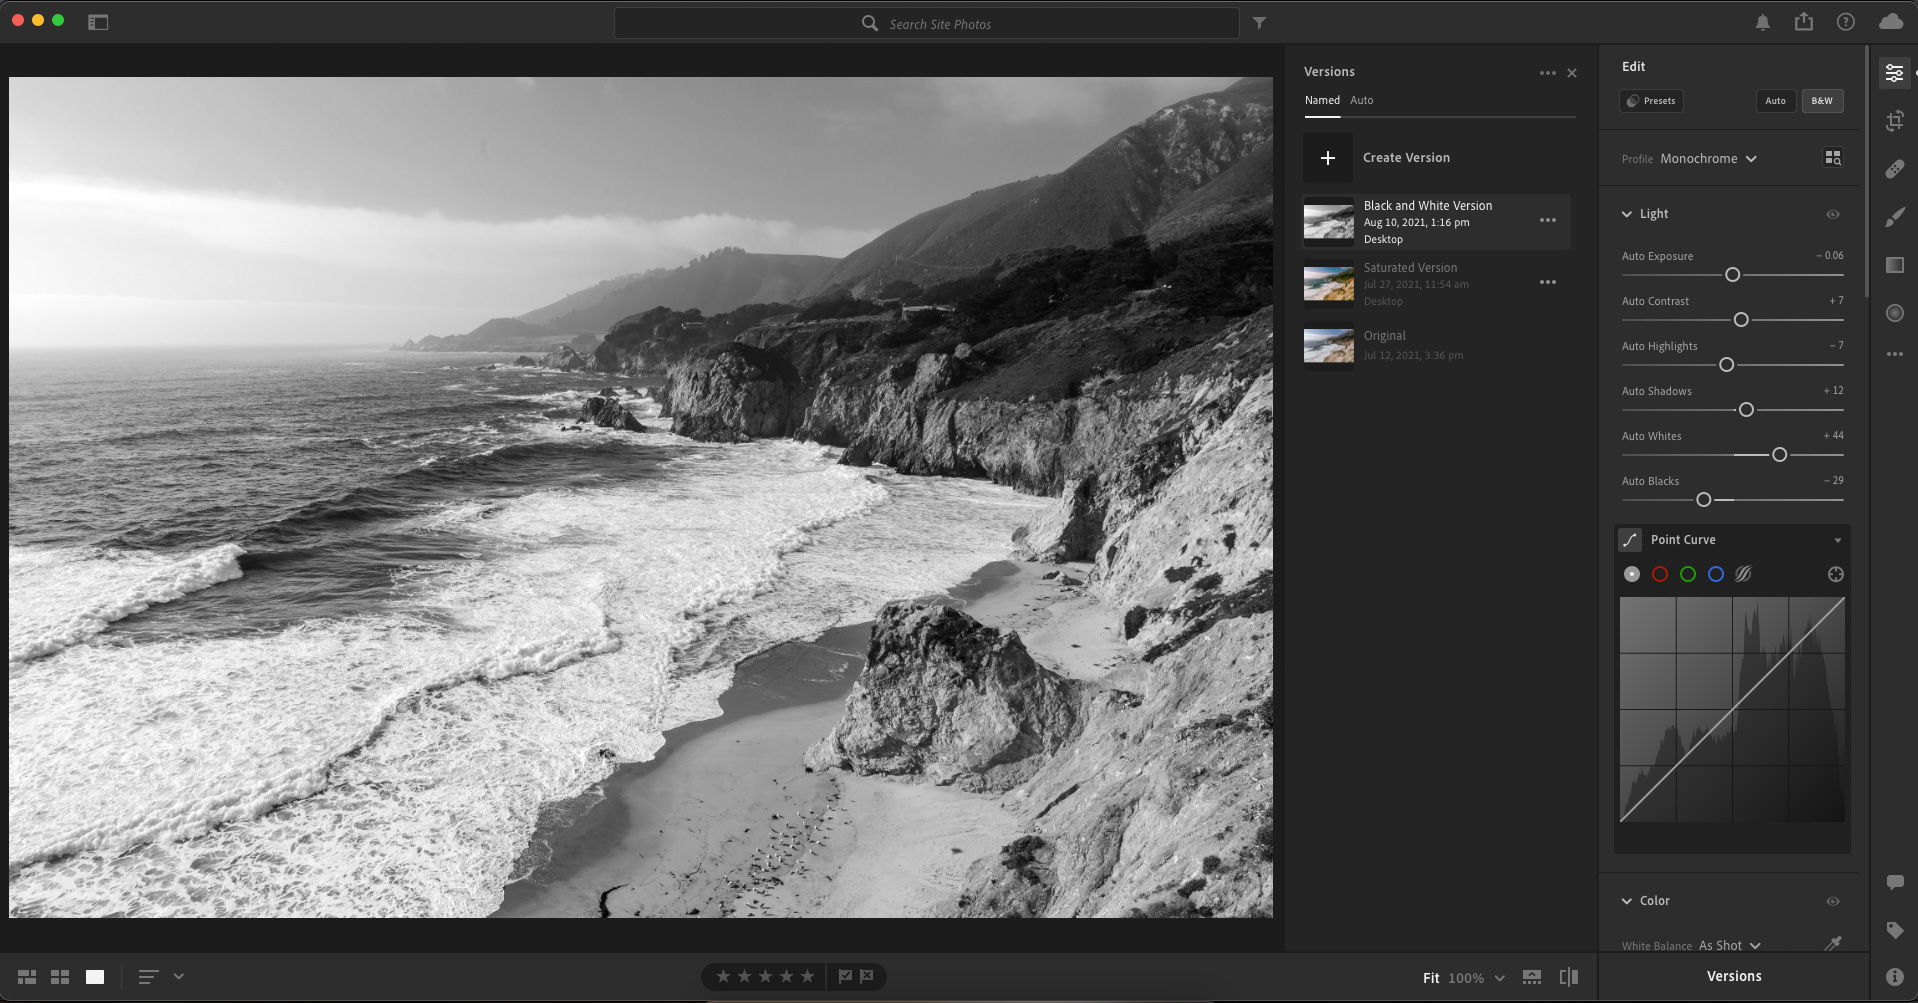
Step 6: Renaming and Deleting Versions
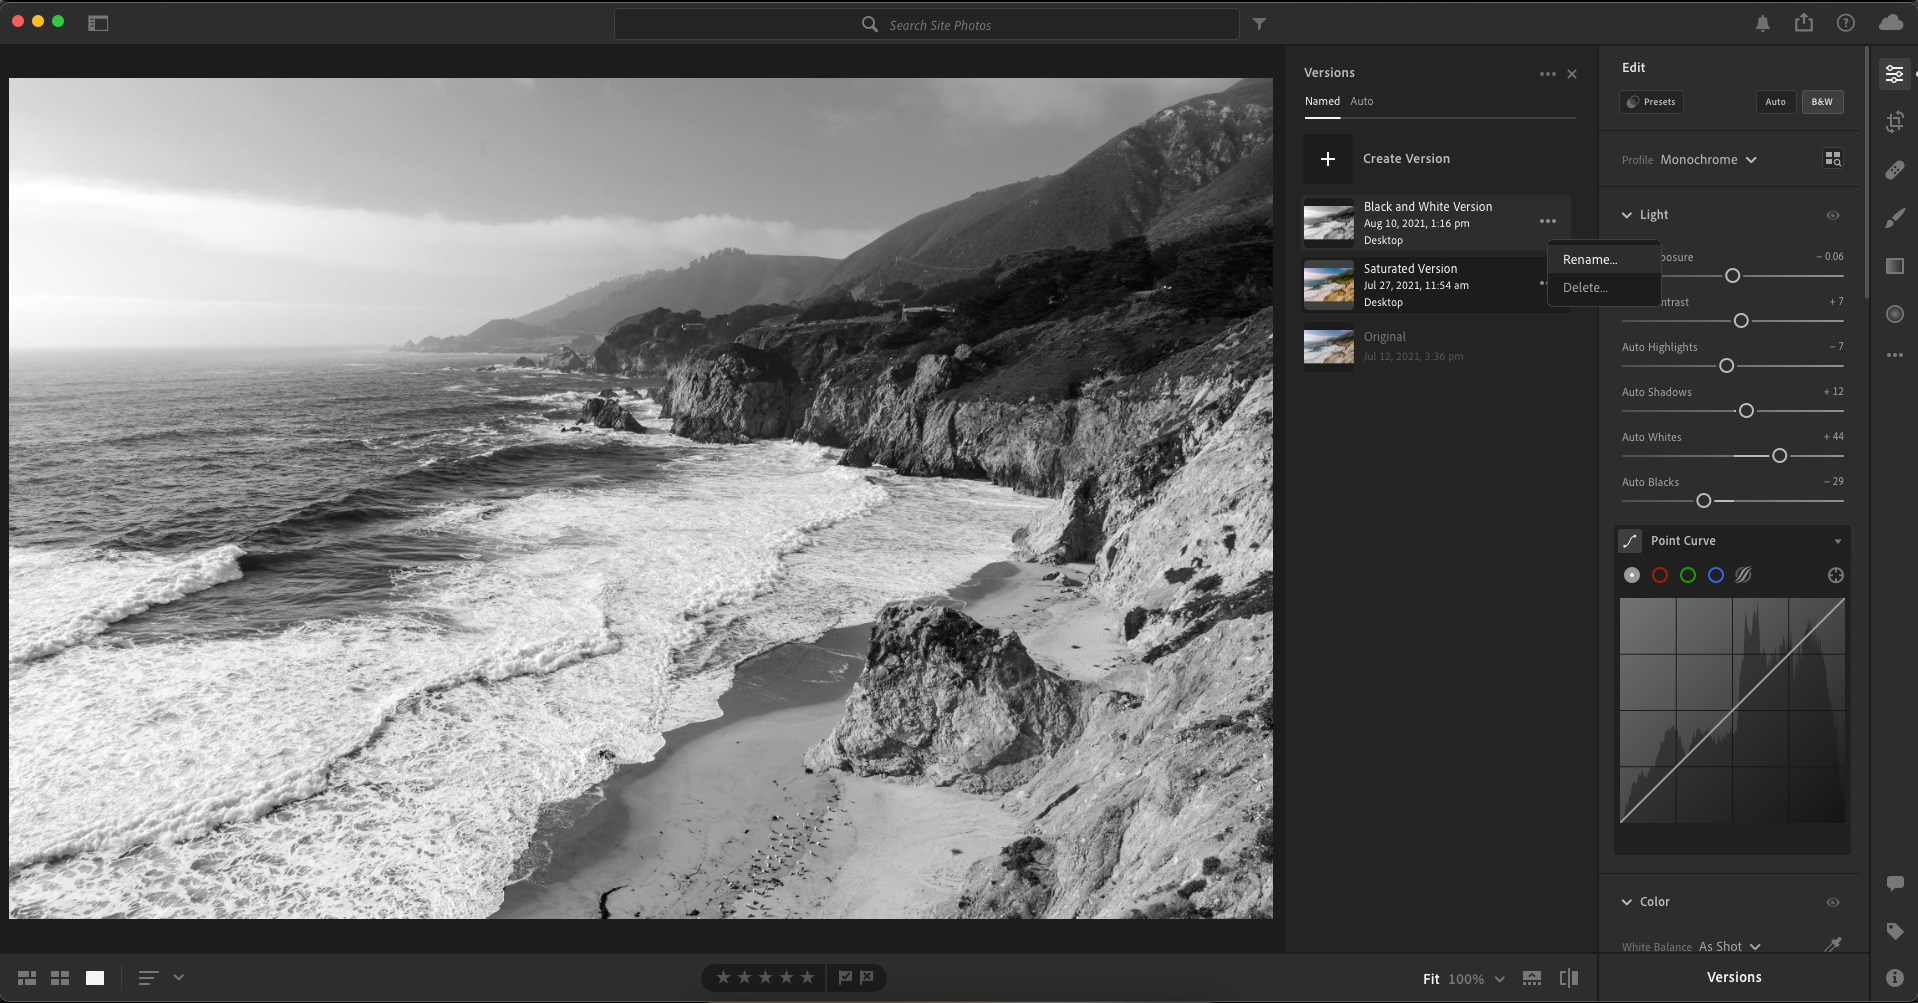
Managing versions requires selecting the ellipsis under the Named tab and choosing either Rename or Delete.
Step 7: Saving a Version
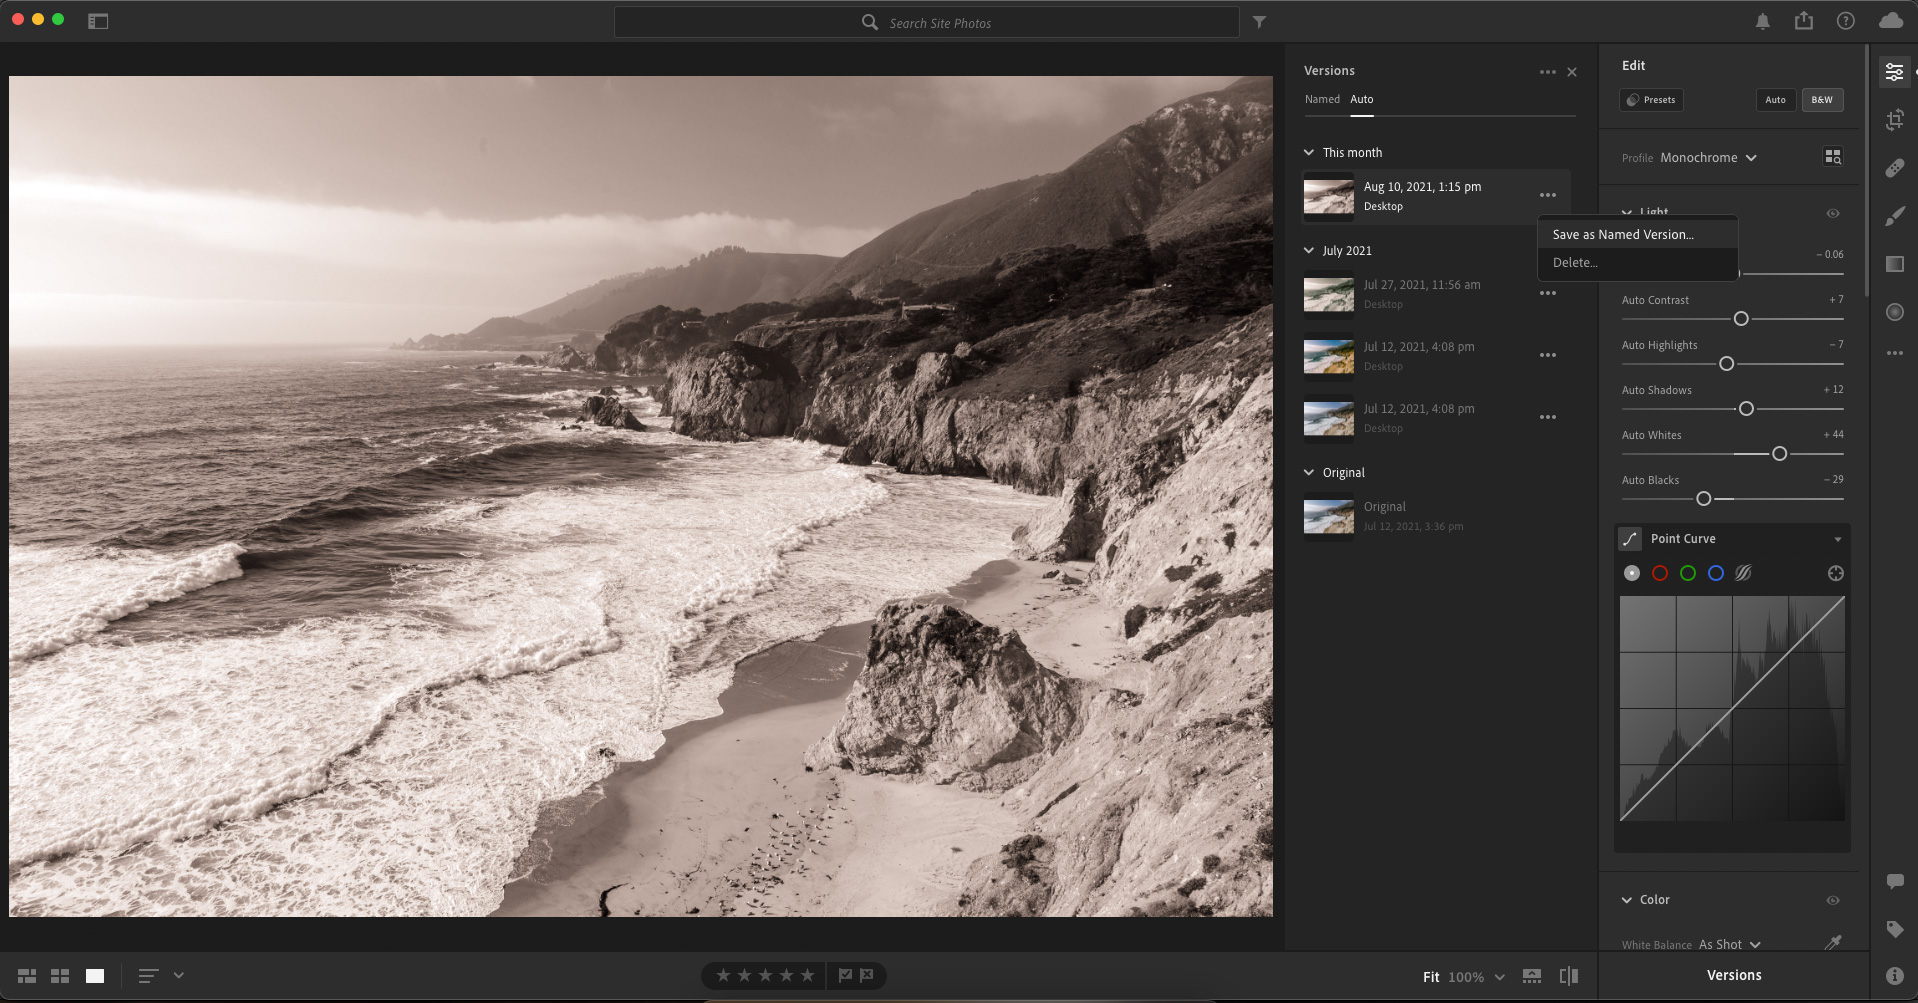
To move an Auto version to a Named version requires selecting the ellipsis under the Auto tab and selecting the Save as Named Version. You can also delete auto versions using the ellipsis.
Conclusion
Overall, Versions in Adobe Lightroom definitely help the edit process. Now it’s no longer a mess of multiple files each being an individual version, saving size and organizational strain. Having Auto Versions also alleviates a major headache before it can even occur. Check out our other articles on the 4.0 update: Graphical Watermarks, Choose Best Photos, and Color Grading.


