How to Locate and Change Colors | Adobe InDesign Tutorial
With the latest major release of Adobe InDesign 16.0 in October 2020 Adobe released a new feature to the Find/Change window enabling you to find and replace colors within documents. This feature allows the user to search and edit every instance of a color. Color searching includes objects, text styles, stokes, and linked assets.
Accessing Find/Change Dialog
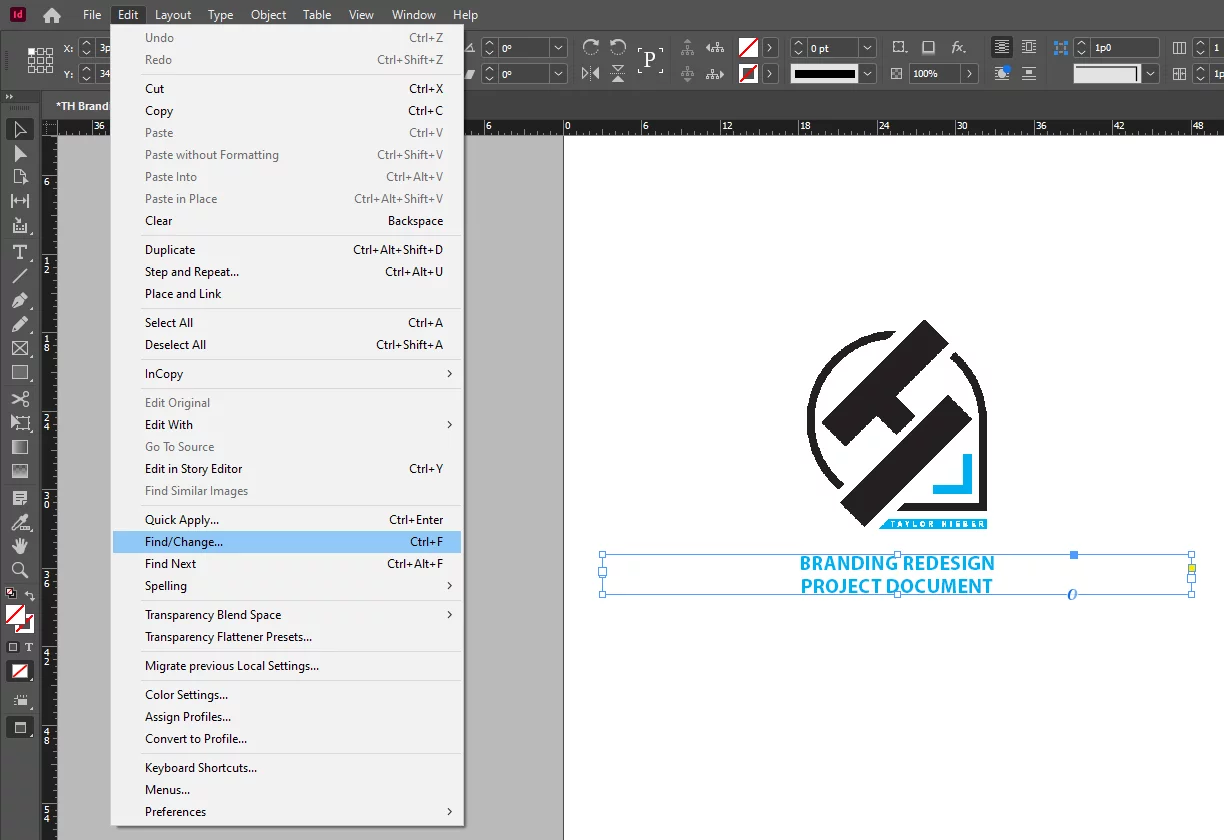
There are two ways to access this color version of the dialog box. First click Color within the Find/Change dialog (this dialog can be opened via Edit > Find/Change or Cmnd/Ctrl + F). Another way to access the option is to use the Swatches panel and right click on the color and select Find this Color.

Tint Range
The first of these options allows us to specify a tint range. A tint is “the addition of white into a color to make it lighter”. With that being said we can specify a range of colors for the finder to look for in the documents.
Searching and Changing Across Multiple Documents
Another option listed is Search: (followed by Document by default) in a dropdown menu. From here users can select whether or not the search happens in the current selected document, or all open documents.
Filter by Type
Second to last we shall discuss the Type: dropdown. From here users can select whether the search happens across all frames, just text frames, just graphic frames, or just unassigned frames. This allows for flexibility in the search so that users don’t change colors on items they don’t want to.
Include Icons
The last option that bares discussion is the icons at the bottom of the dialog box. Going from left to right these options are the following: Include Locked Layers and Objects (Find Only), Include Locked Stories, Include Hidden Layers and Objects, Include Master Pages, and Include Footnotes.

Changing Color
Using this Find Color menu we can see the list of colors in use throughout the document. Select whichever color that needs to be changed. We will then choose between a color in the Change Color menu or Select New Color Swatch to create a swatch. Make sure you hit Add to save the swatch if you do create one.
With that done the next step is to select Find Next to take you to the first instance using the original color. From there you can select from Change, which changes only the one instance, or Change All to change all instances across the document(s).

Conclusion
Locating and changing colors within InDesign is something that I have used more and more since its release and honestly don’t know what I did before it. Now it is easier than ever to change colors across a range of documents saving a multitude of time. Features like these and Adobe’s recent Share for Review feature are why I continually use InDesign and other Adobe products. The focus on Design UX and cutting out the mundane tasks allow for creativity to be at the forefront of the design. Check out the other article on the 16.0 update: Intelligent Subject Detection and Text Wrap.


