How to White Label a WordPress Site with White Label CMS
When creating a WordPress site a need may arise to white label the build whether it be for the client or for consumers. This can include custom login screens as well as separate admin panels and menus. Luckily this process is extremely straightforward and only requires the installation of a single plugin and some basic configuration.
Solution
Step One: Login
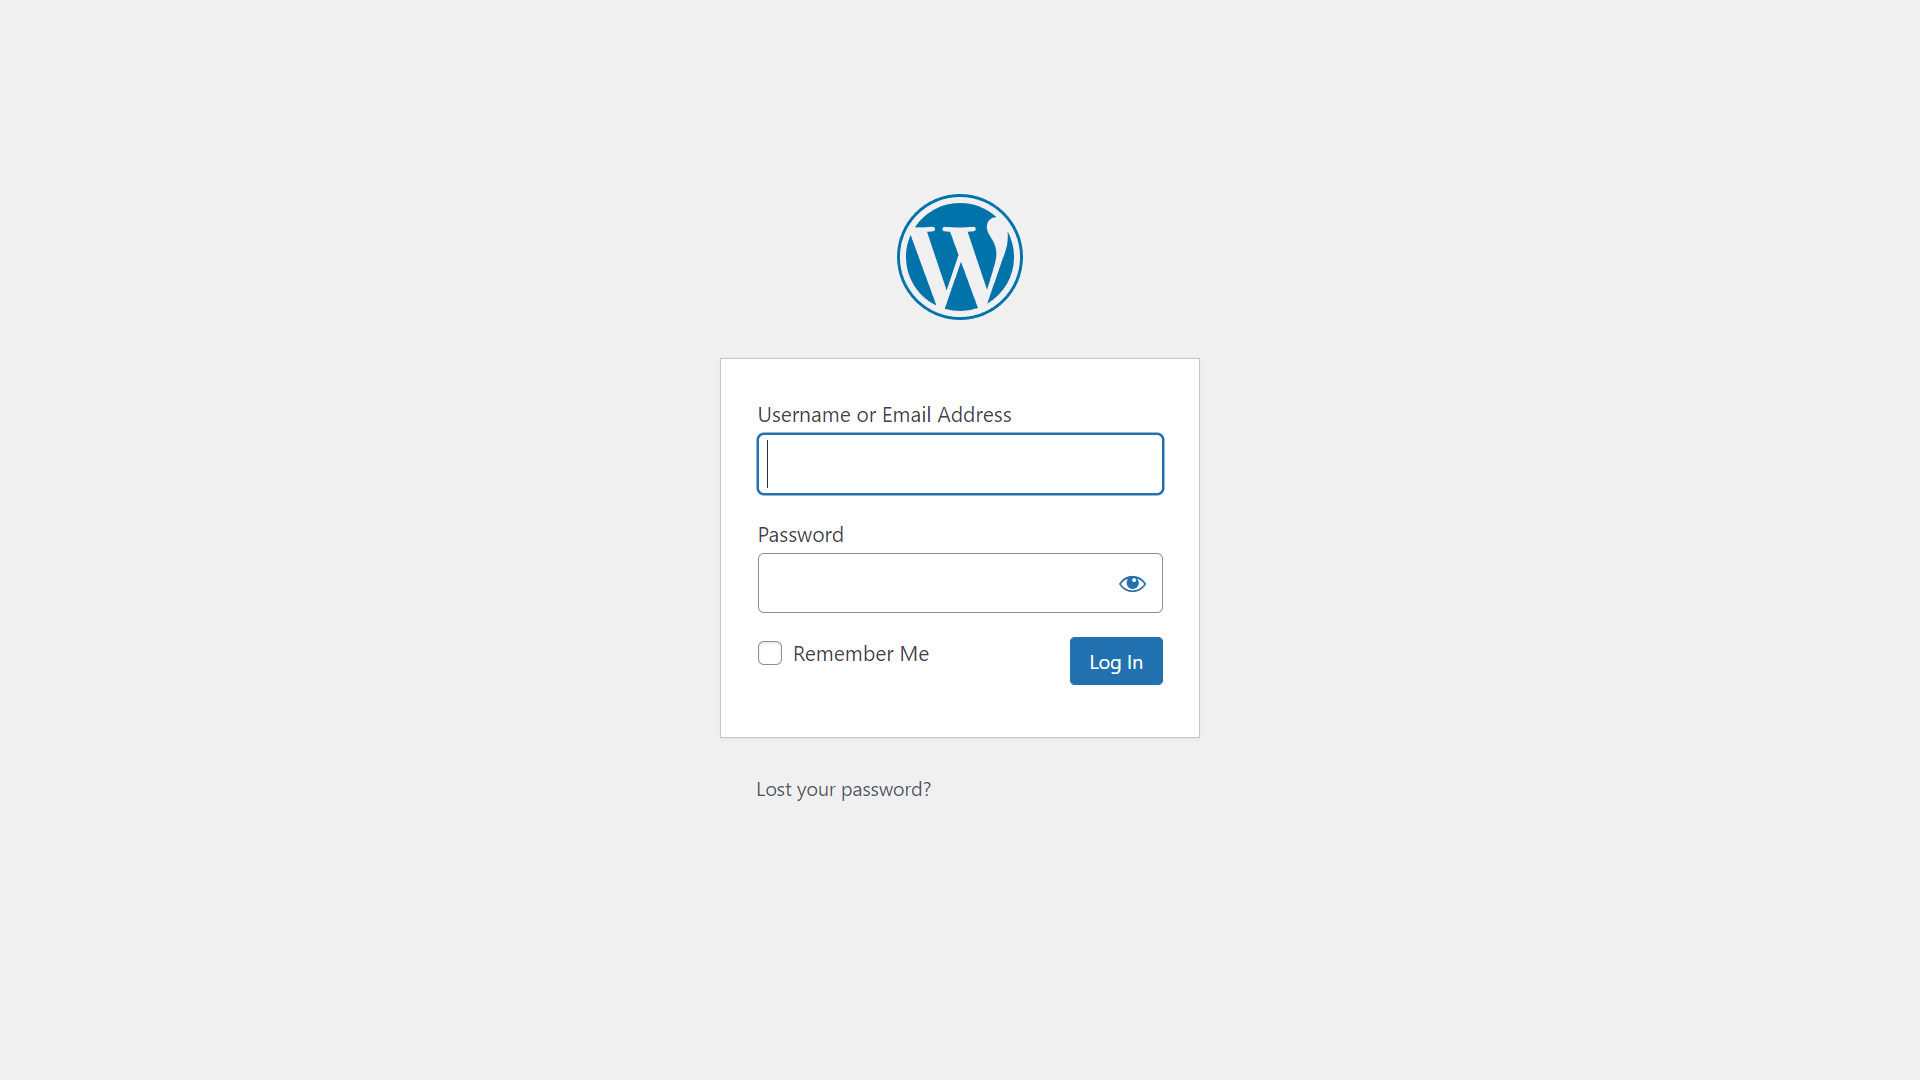
First, login into the wordpress site that needs to be white labeled. Admin privileges are a requirement for this tutorial to work.
Step Two: Navigate to Plugins
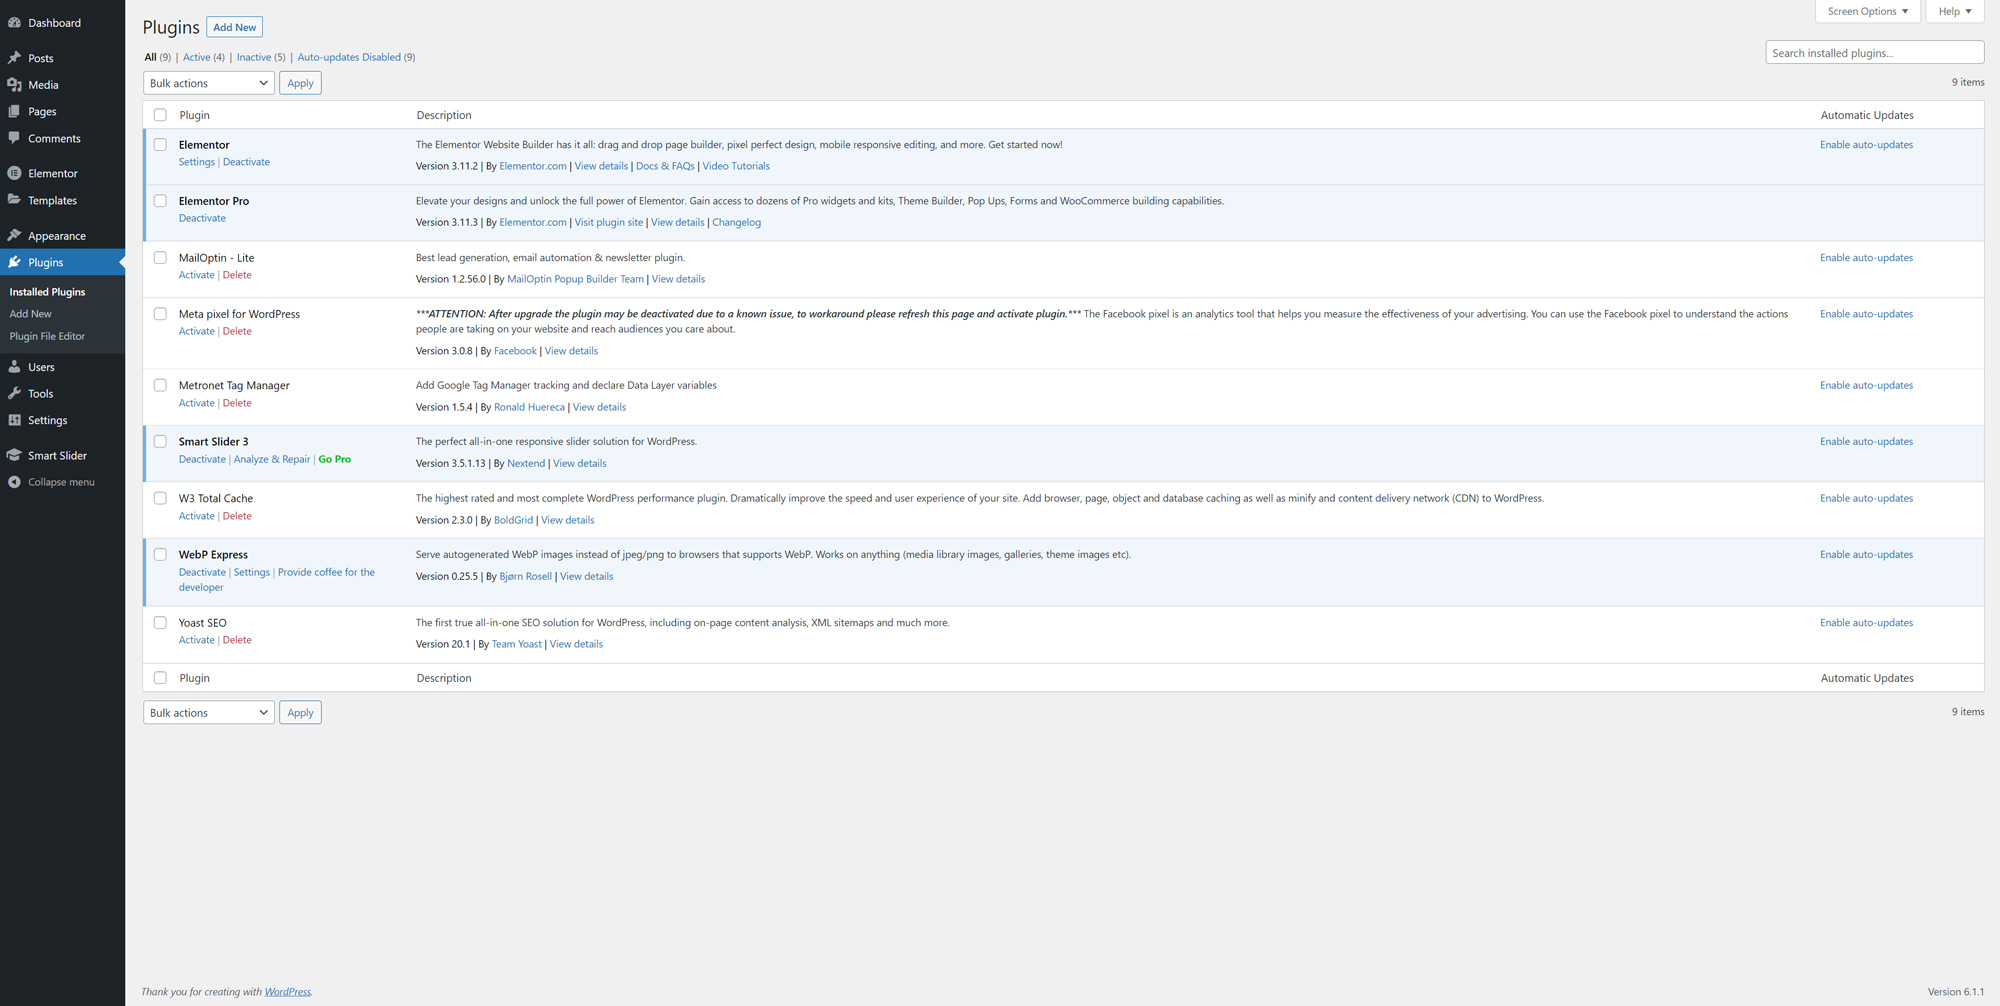
Once in the admin sidebar panel navigate to the left hand side and select Plugins. A new page should load showing all plugins currently installed on this build of the site.
Step Three: Install White Label CMS
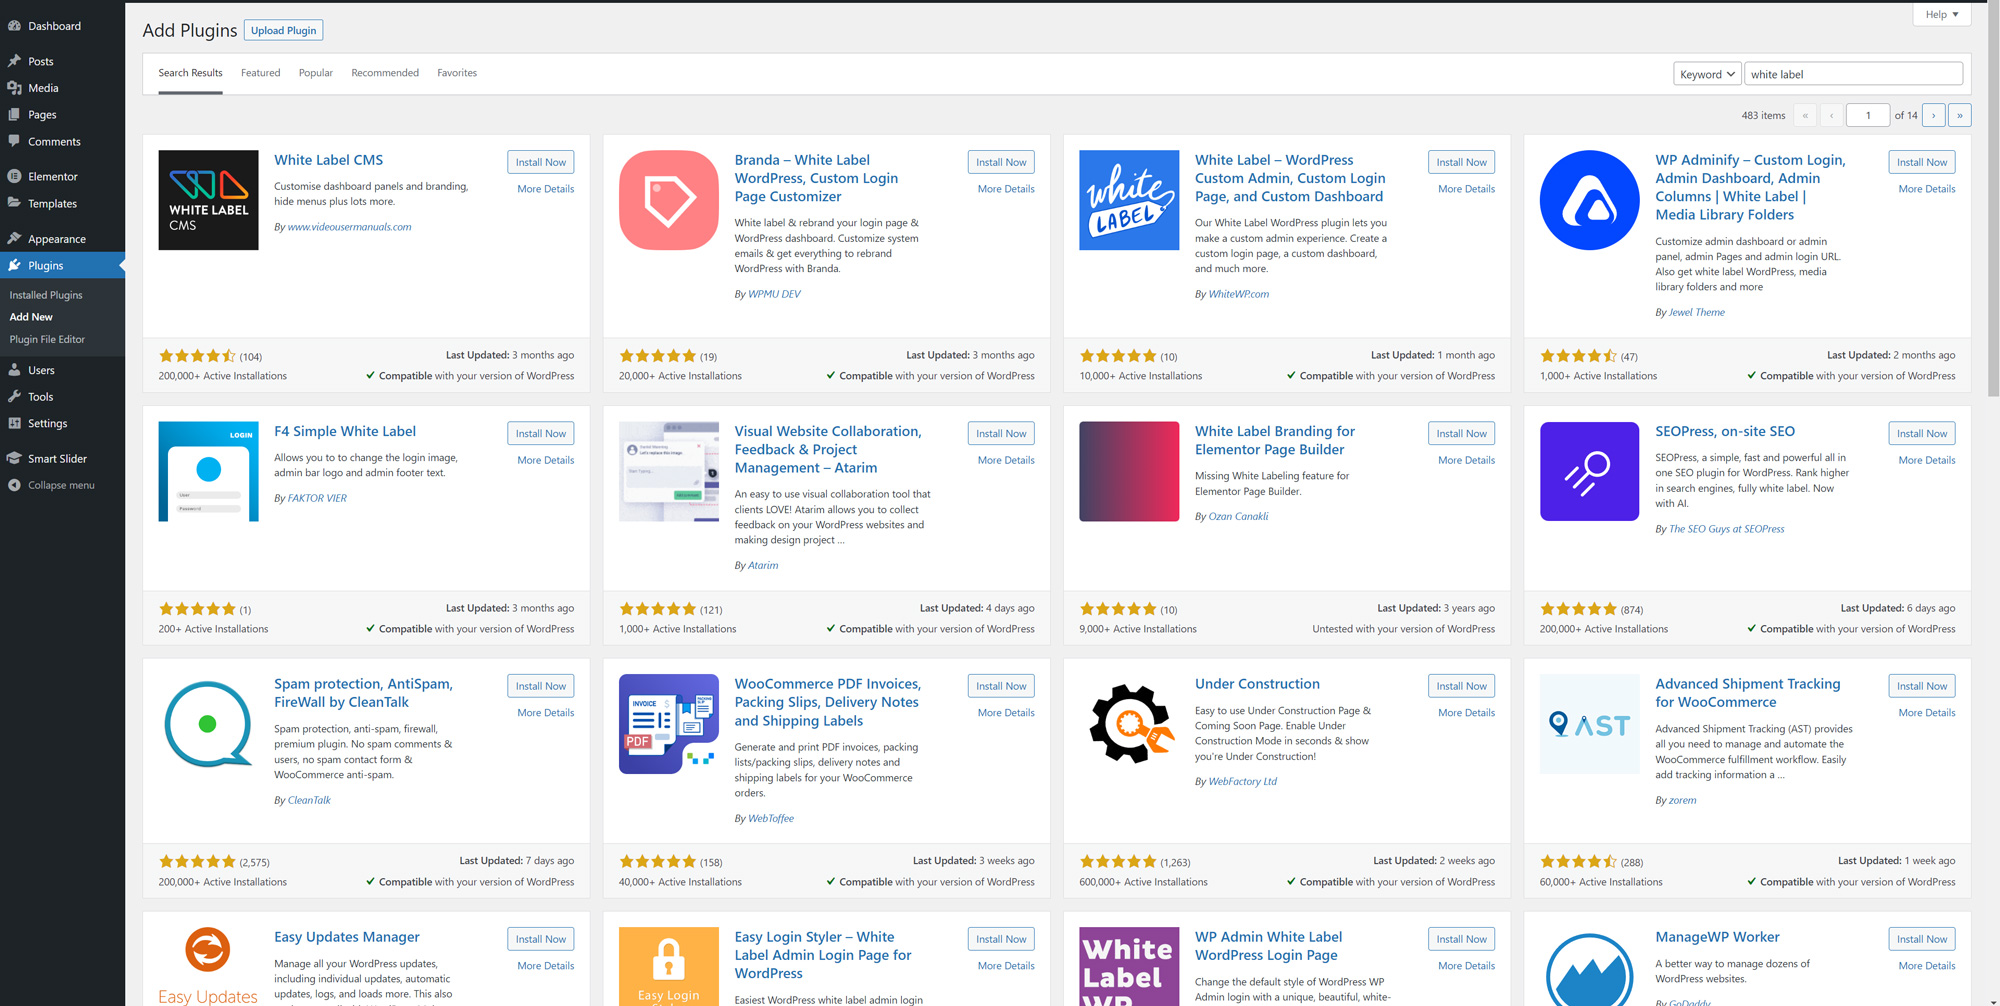
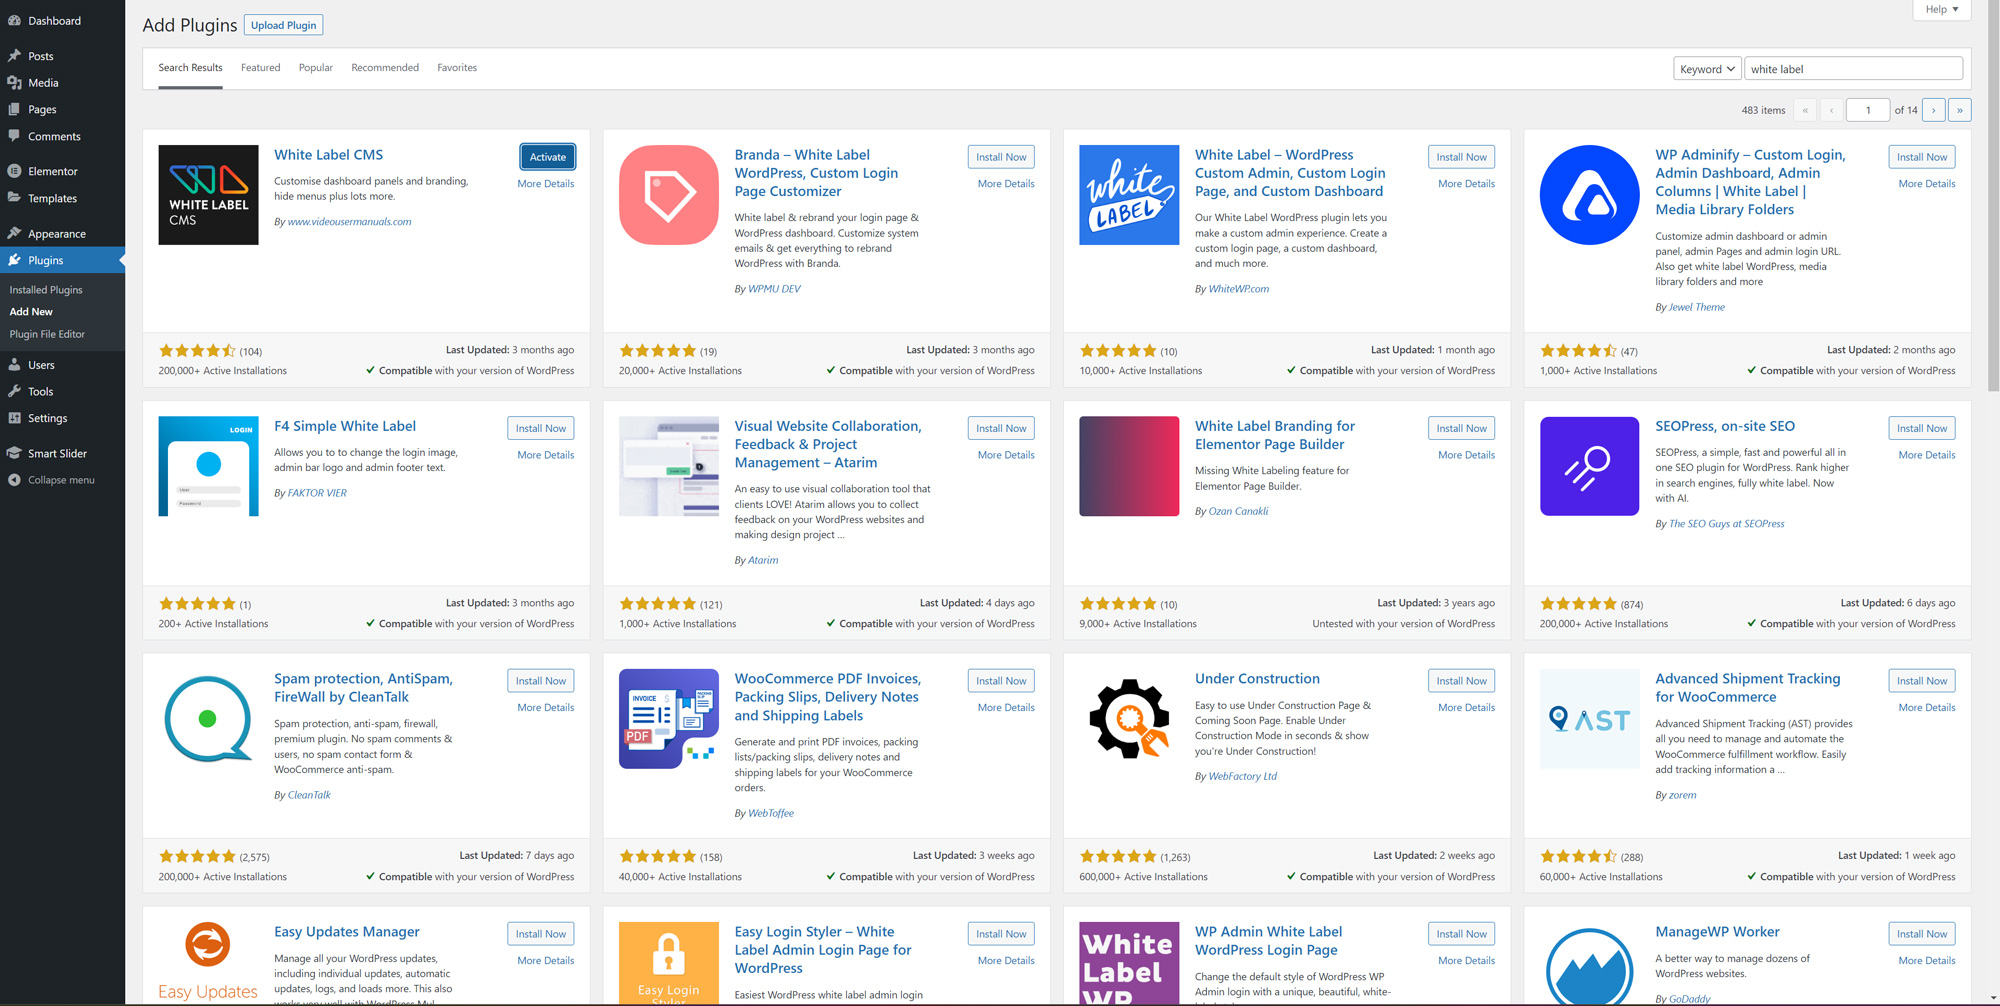
Next, select the blue Add New button that can be found next to Plugin on the plugin page. A page should load showing some popular plugins and a search bar on the right hand side. Go ahead and search “white label” and White Label CMS should appear. Select Install Now to begin the installation process.
Step Four: Activate the Plugin
Once the plugin installs a new button will appear in place of the Install Now simply labeled Activate. Click the Activate button to enable the usage of the plugin on the site.
Step Five: Configure White Label CMS
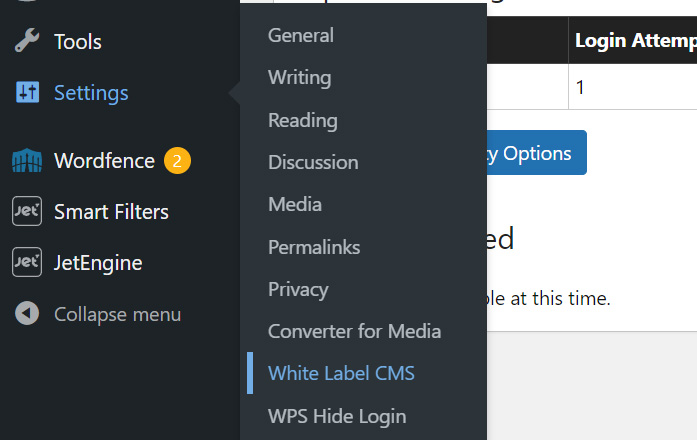
After activation, a simple configuration is needed to utilize the white labeling feature. Hover over settings on the admin sidebar and select White Label CMS. A new page should load with multiple options.
Branding
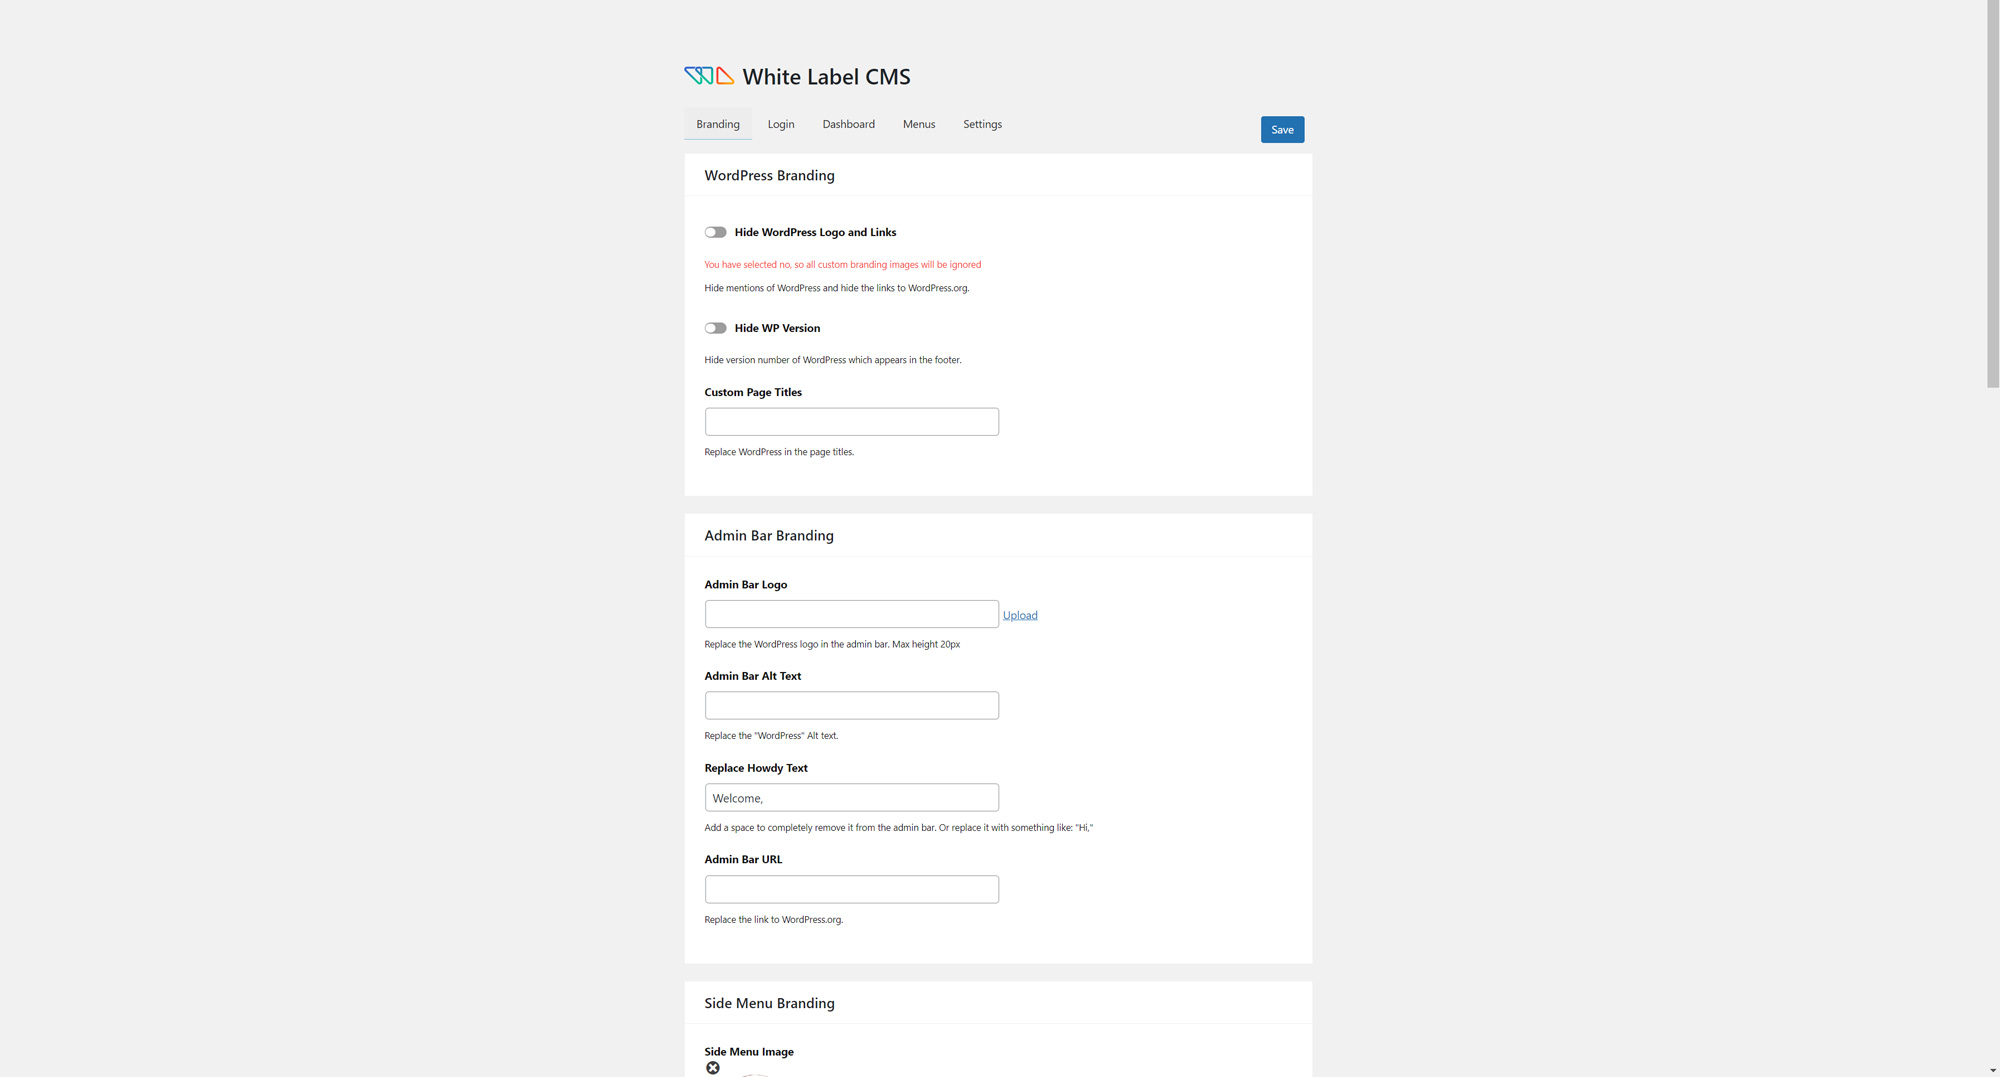
The first screen we are presented with is the branding options. This is where anything related to branding (with the exception of the login page) can be changed including the addition of logos and the removal of WordPress branding from the build.
WordPress Branding
These options allow for developers to remove any branding related to WordPress. This may be necessary in certain instances for consumers to keep them from realizing the site is just a WordPress site. Anything from custom page titles, to hiding the version number as well as logos and links are on the table here.
Admin Bar Branding
The admin bar is the top bar that shows on every page for logged in users. Options available here include a custom logo (height maximum of 20px), alt text, as well as replacing the URL to WordPress.org with a custom URL.
Side Menu Branding
Side menu branding is often helpful as it is the main admin menu. Options available here include a custom logo (width maximum of 160px for expanded and 36px for collapsed menus), alt text, as well as adding a custom URL to the image uploaded.
Gutenberg Branding
This option will only change the exit button on Gutenberg to be either an exit icon, admin bar logo, or custom icon.
Footer Branding
Footer branding can be used to replace the footer “Thank you for creating with WordPress.” (max height 50px), as well as footer text, URL and any custom HTML. These footer changes will show on the admin dashboard.
Login
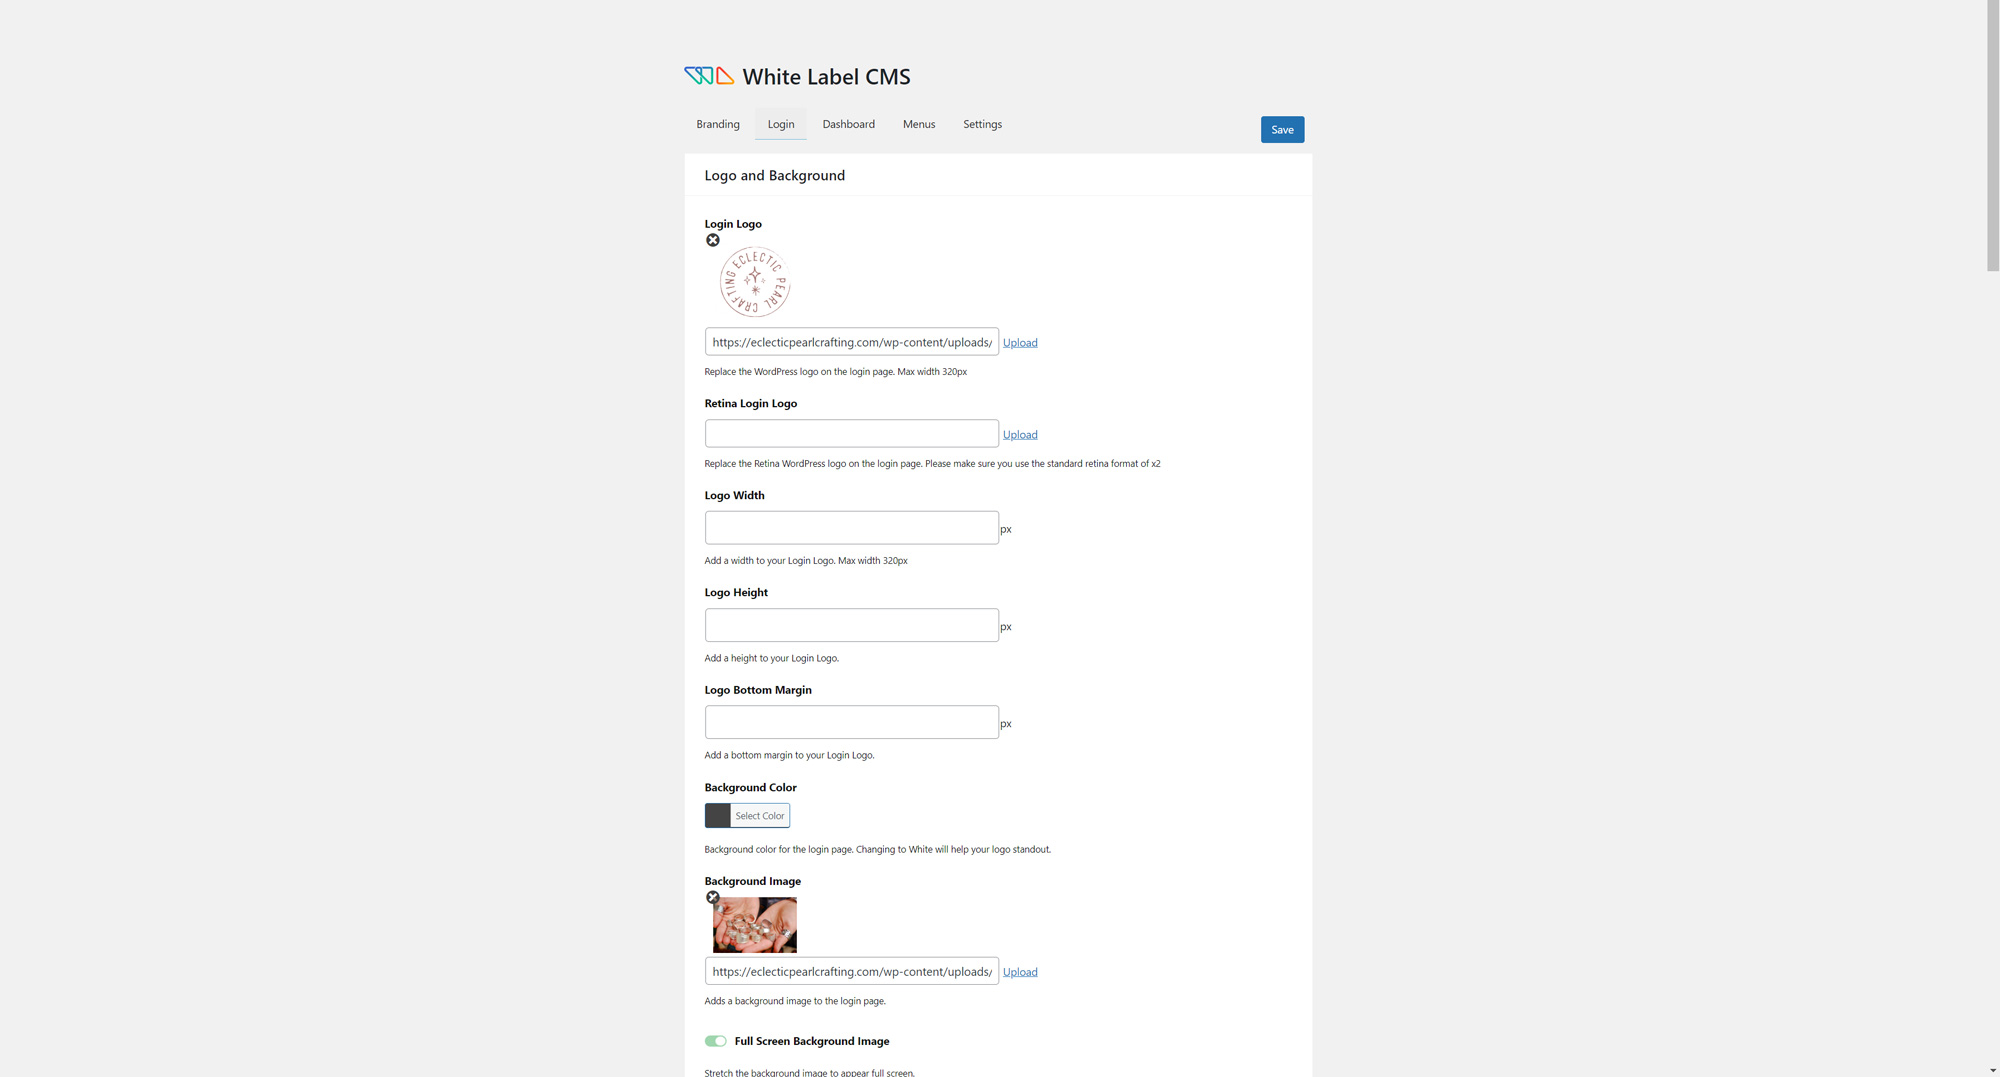
The Login section of this plugin controls anything to do with the branding and functionality of the login page.
Logo and Background
Logo and Background options allow for developers to upload a custom splash screen and logo for the user login as well as customize the images uploaded.
Advanced
Advanced presents developers with the options for custom colors and hiding certain links such as the Lost Password and Back to links.
Custom JS
Allows for any custom JS interactions to be programmed into the login screen.
Custom CSS
Allows for any custom CSS code to be programmed into the login screen.
Dashboard
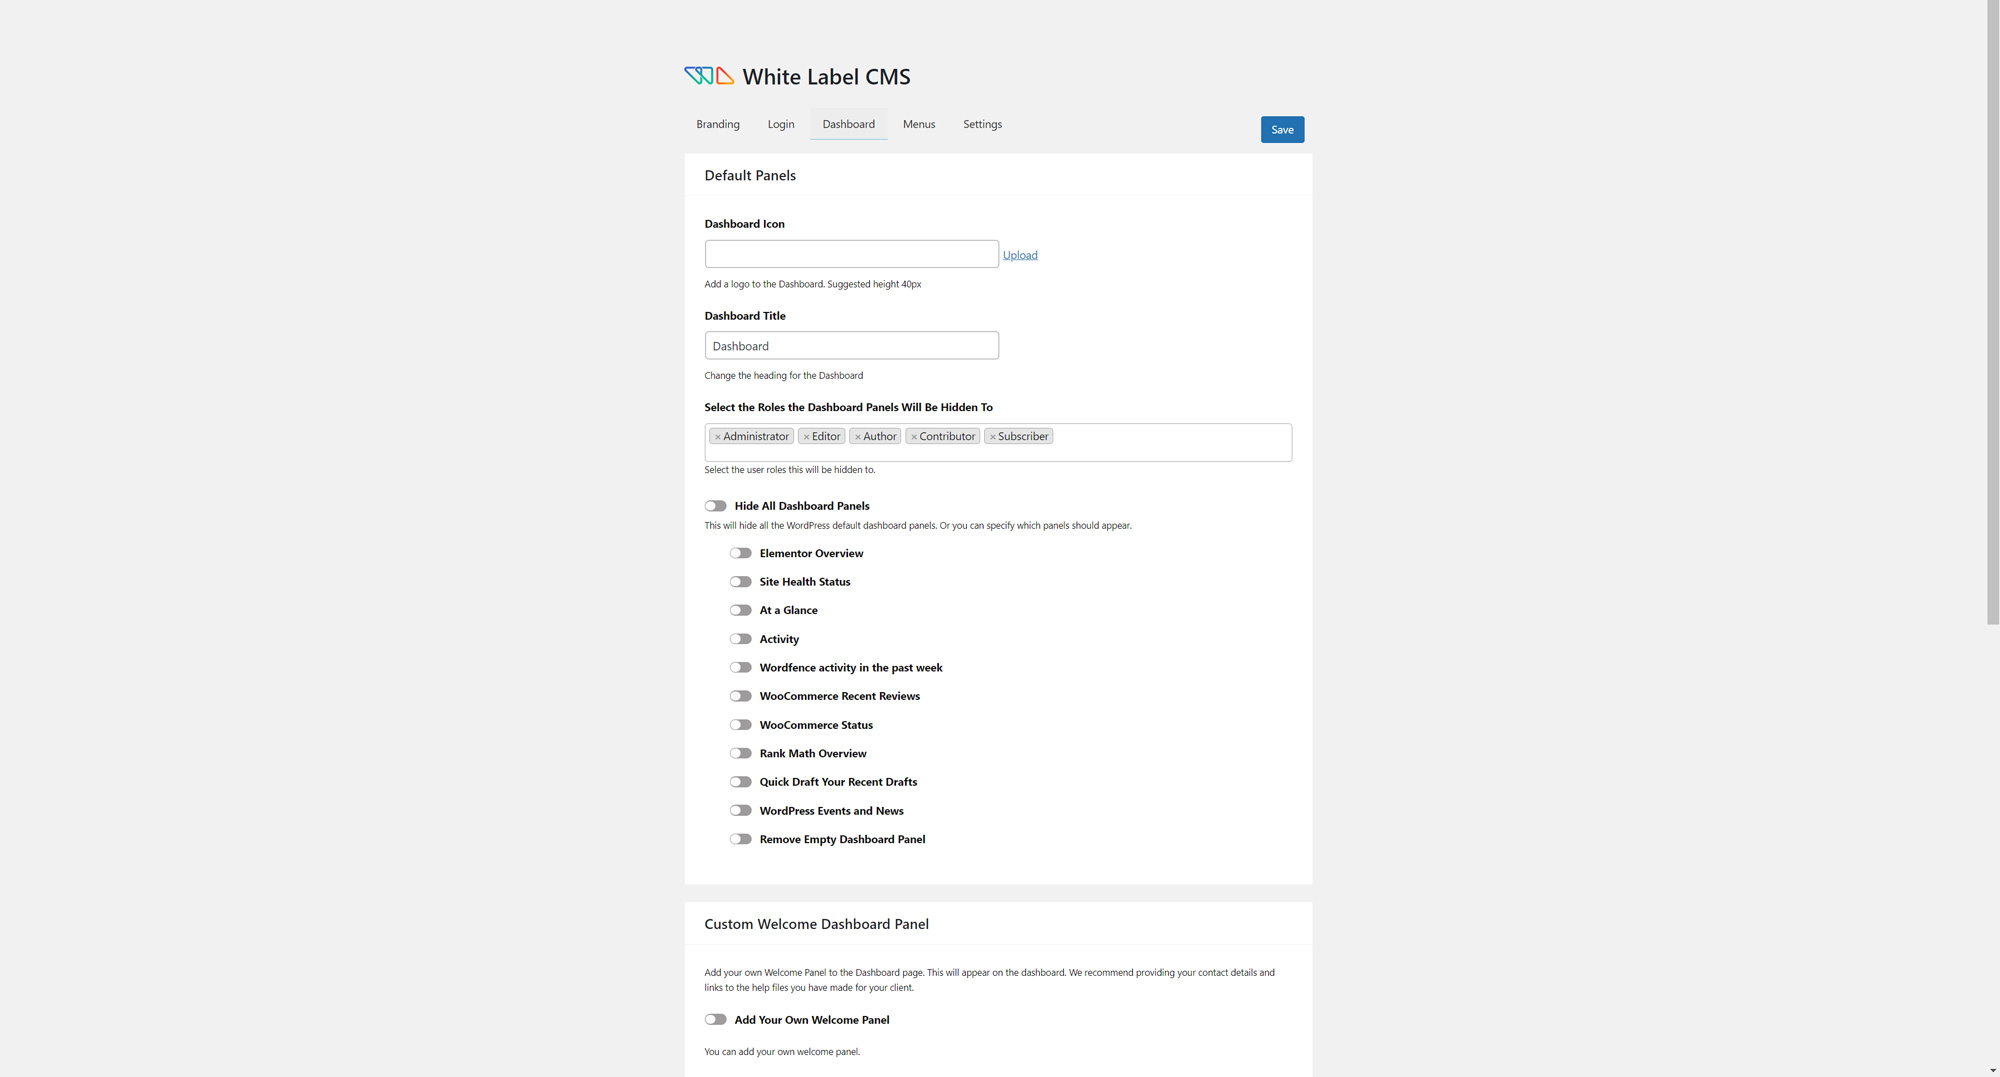
Dashboards can often be cluttered and daunting to clients. Simplification can often be a benefit to the client experience. Custom options can also be implemented for contact information and RSS updates, etc.
Default Panels
Default panel options allow for developers to hide the usual panels. This includes items such as: At a Glance, Activity, Quick Draft, etc. Custom icon and title can also be added into the dashboard.
Custom Welcome Dashboard Panel
A custom welcome panel can be added to the Dashboard that even White Label CMS recommends developers input contact information and a link to help sections. Also, a second custom panel can be added if necessary.
RSS Dashboard Panel
Allows developers to add a custom RSS feed as a Dashboard Panel. This is similar to when a theme or plugin adds a panel to the dashboard.
Menu
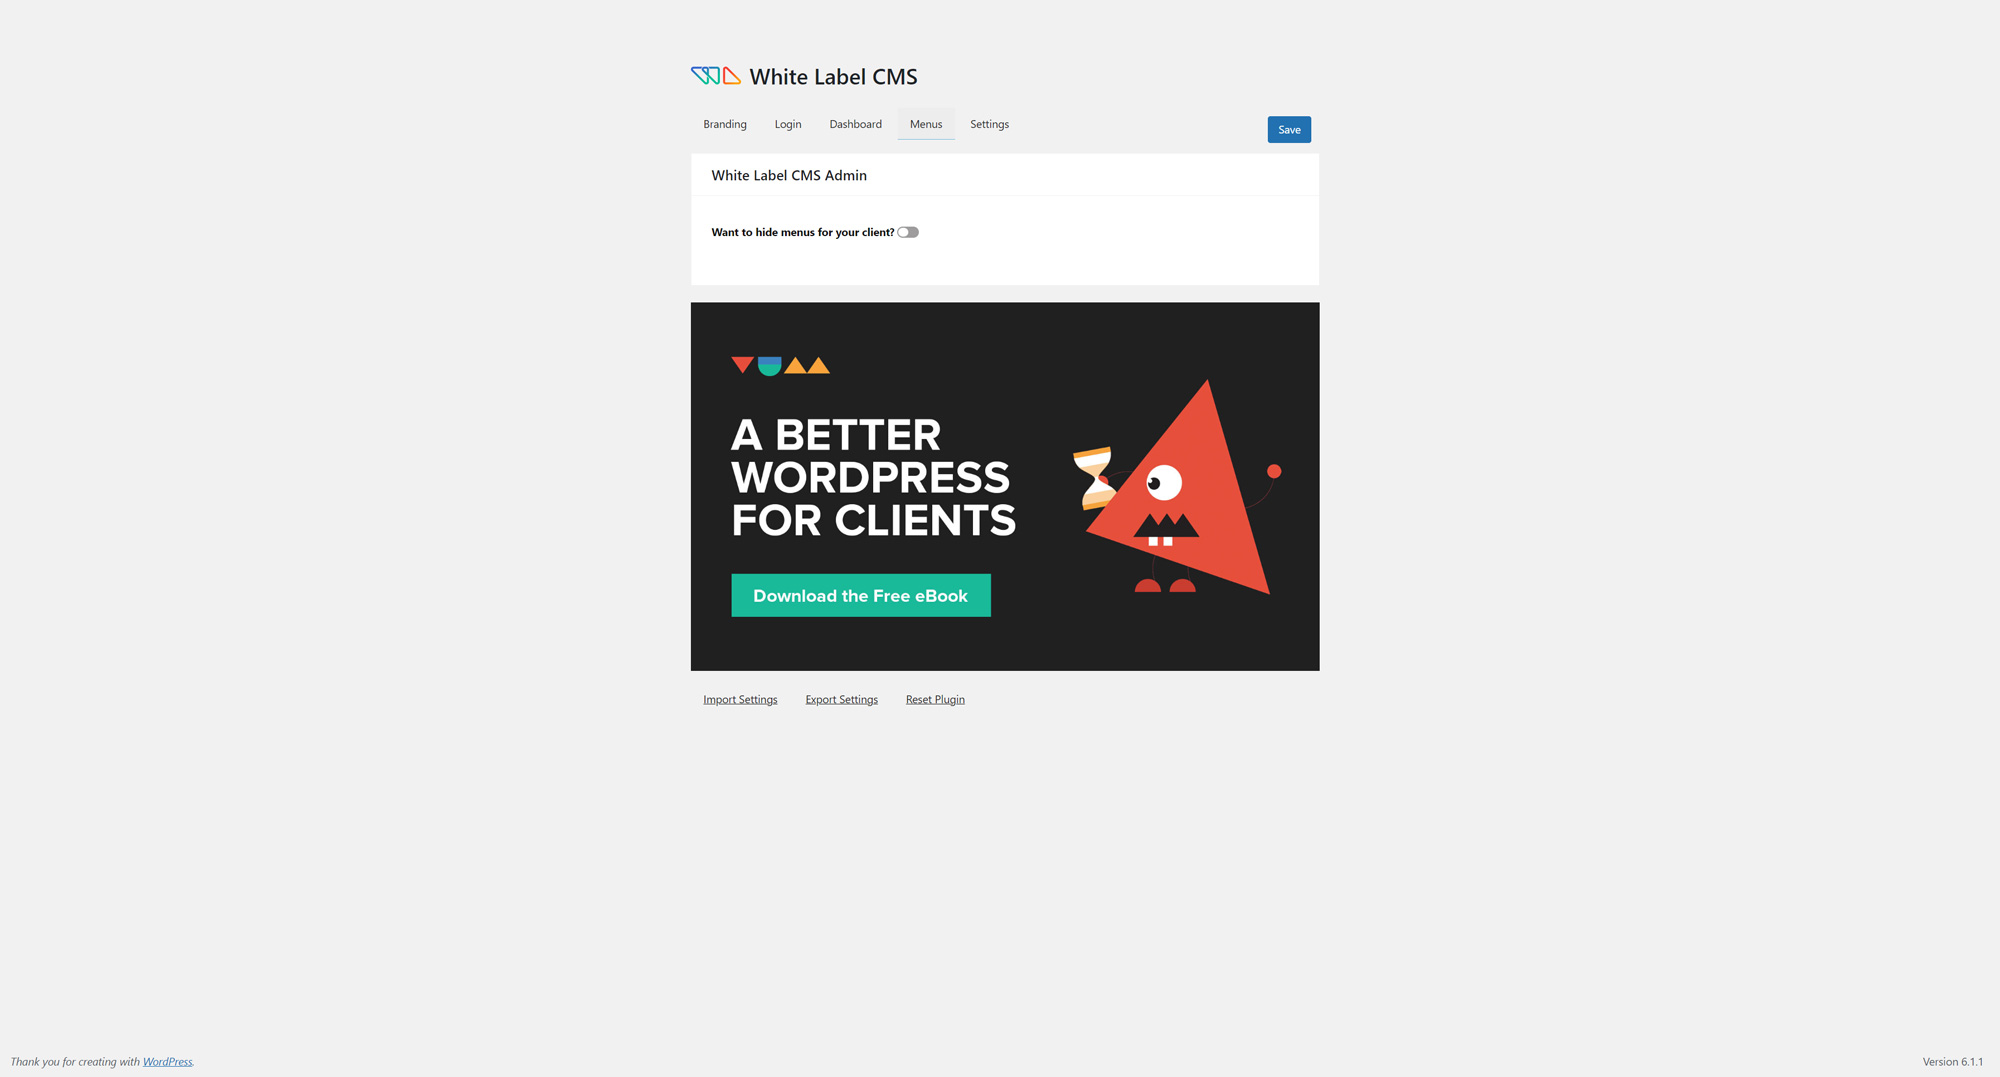
Some clients can be problematic. Customers and employees don’t need all the menus presented to certain admin levels. These options allow developers to limit the menus presented to clients, which if you want to hide the settings for White Label CMS from others you can here.
White Label CMS Admin
Once developers select hiding menus for the clients a new set of options opens up. All sidebar menus and admin bar menus are available for customization within this set of options.
Settings
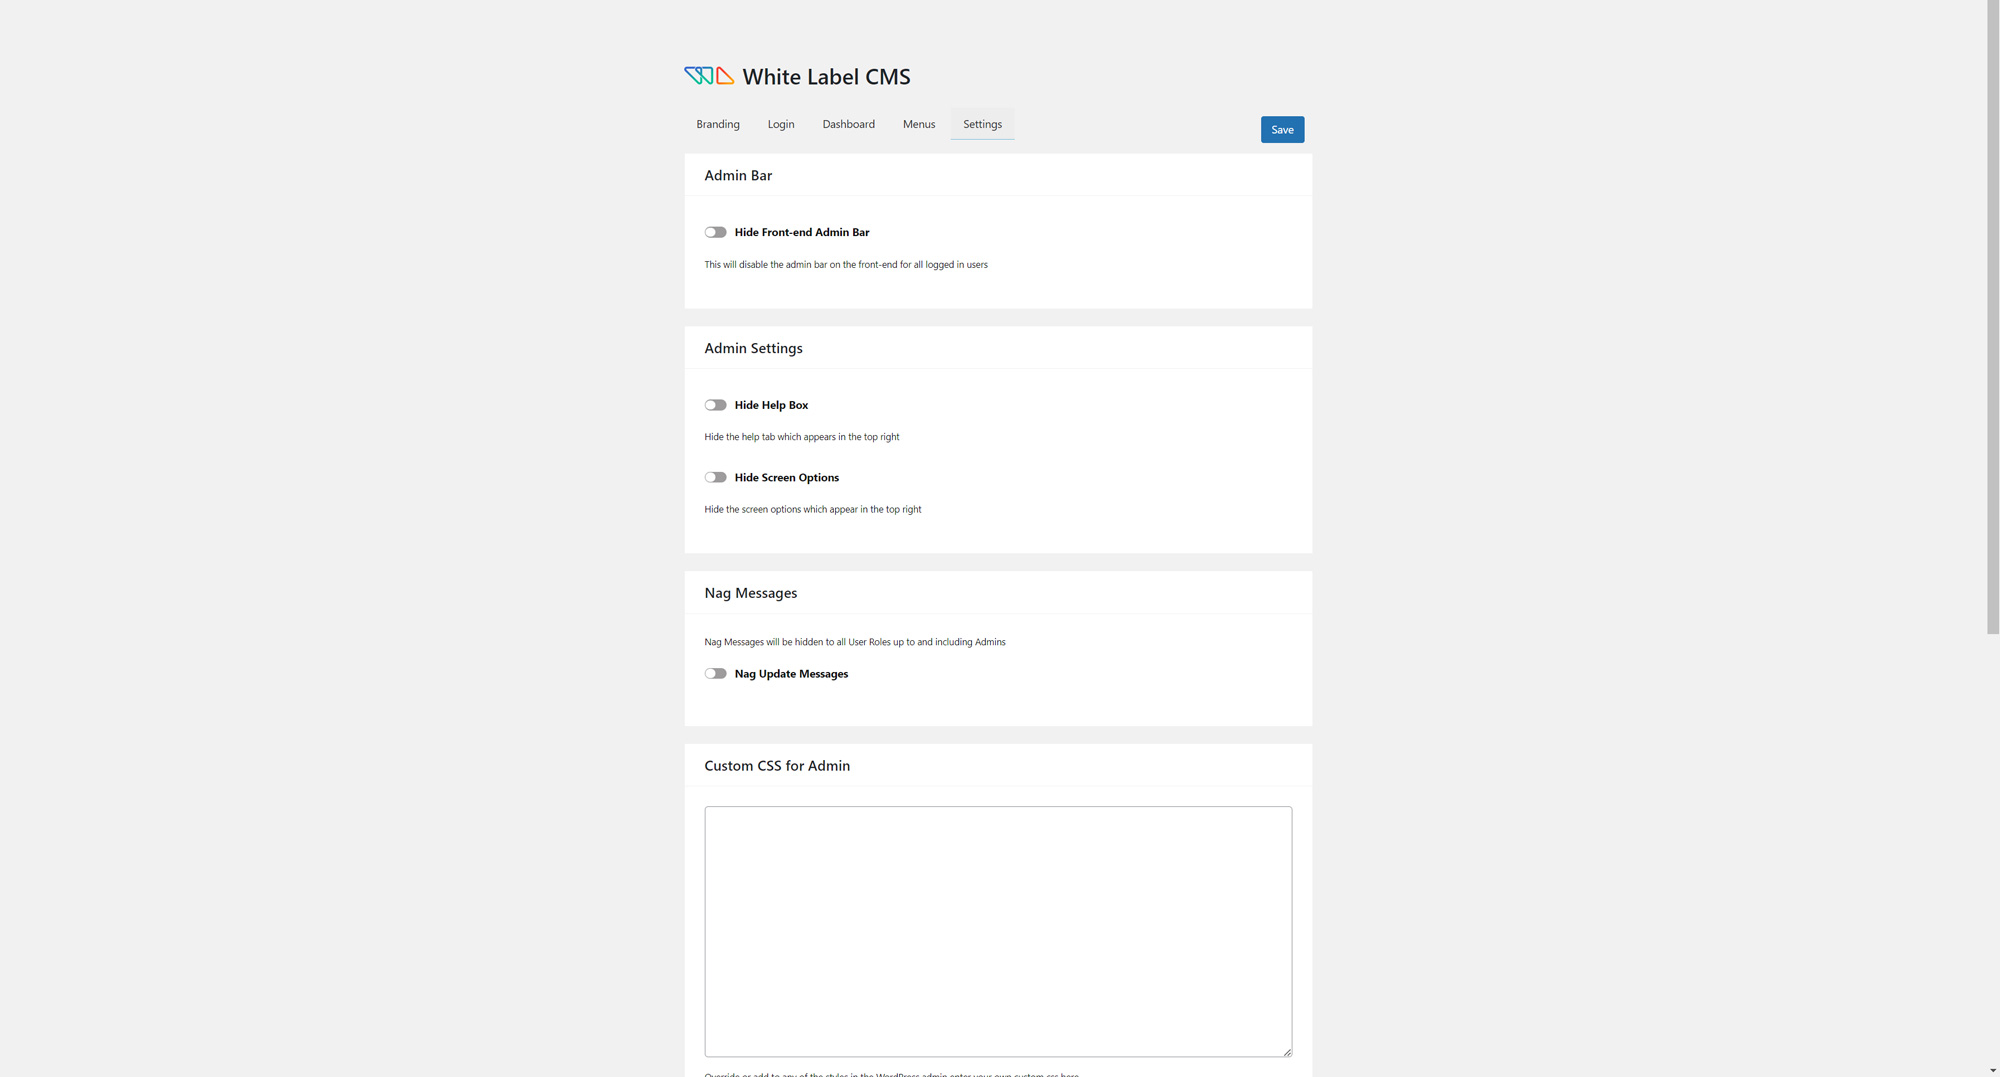
Settings options are for all the miscellaneous items that could be configured such as hiding the Admin Bar entirely or Help Box.
Admin Bar
Allows for developers to hide the Admin Bar entirely for all logged in users on the front end.
Admin Settings
Developers can hide both the Screen Options and Help Box options.
Nag Messages
Nag messages are often rather annoying and can even be downright unprofessional. Clients don’t need to see upsells, etc. so developers can hide these messages.
Custom CSS for Admin
Developers may add custom CSS for the WordPress admin.
Custom Editor Stylesheet
Enables the use of a custom stylesheet as long as all style rules are prefixed with .mceContentBody.
Conclusion
White labeling a wordpress site is sometimes a necessary step in the development process for the uninitiated. Not only does it restrict clients from accessing certain settings, but also add in branding and other useful features to the end user. Oftentimes I will at least brand the site and hide nag messages as well as include contact information for convenience’s sake. Developing a wordpress site is more than just white labeling, feel free to check out our other tutorials on wordpress development. Some standout examples include Rank Math, WP Dark Mode, and Improving Speed on WordPress Sites.


