Depth-Aware Haze Neural Filter | Adobe Photoshop Tutorial
With the release of Adobe Photoshop 22.0 in October 2020 Adobe released the Depth-Aware Haze beta neural filter. This new filter is not necessarily as revolutionary as many others in the current lineup but does offer a nice shortcut for designers. Originally designers would have to mask out the foreground, add a layer of haze behind the foreground and adjust accordingly. Now, that is all a memory of the past with this filter in Photoshop.
How to Use Depth-Aware Haze
Realistic haze with neural filters can be accessed via the following six steps.
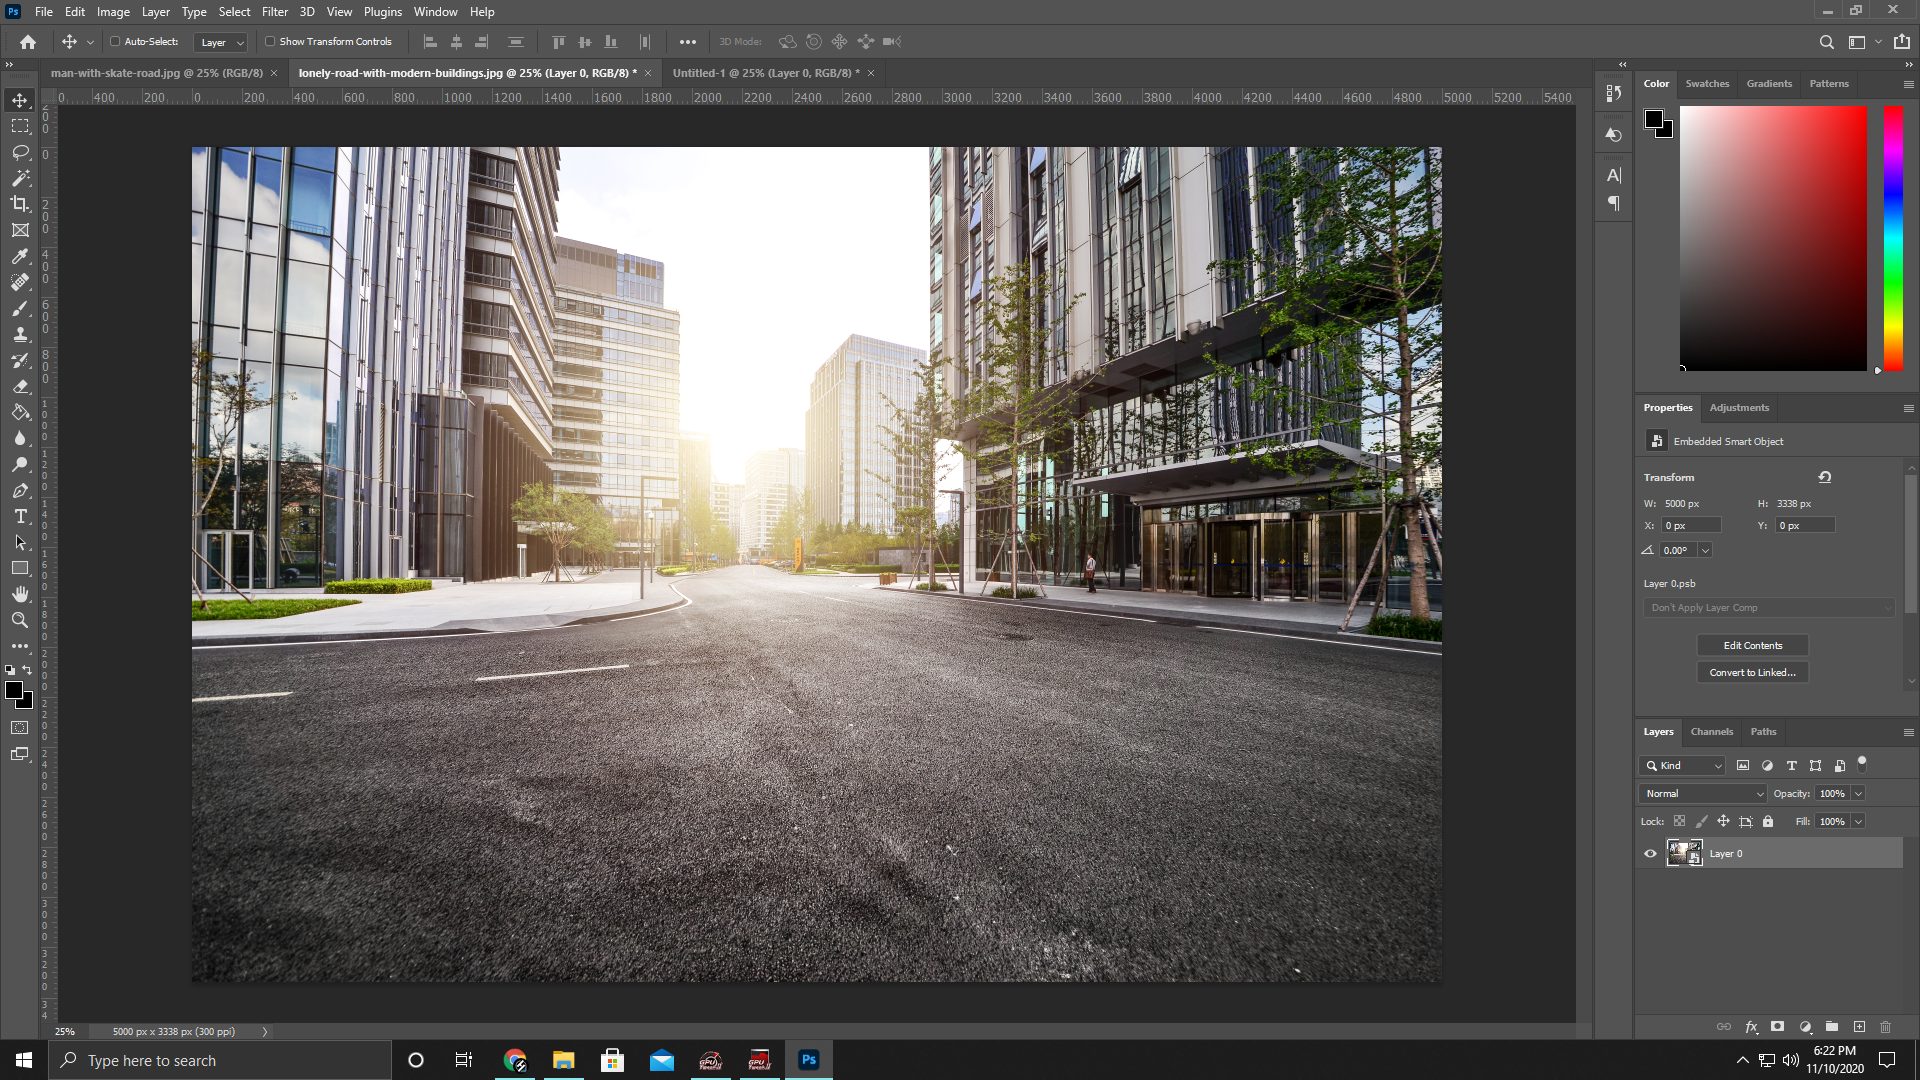
1. Open Image in Photoshop
Open a Photoshop document and select an image with which you wish to add haze.
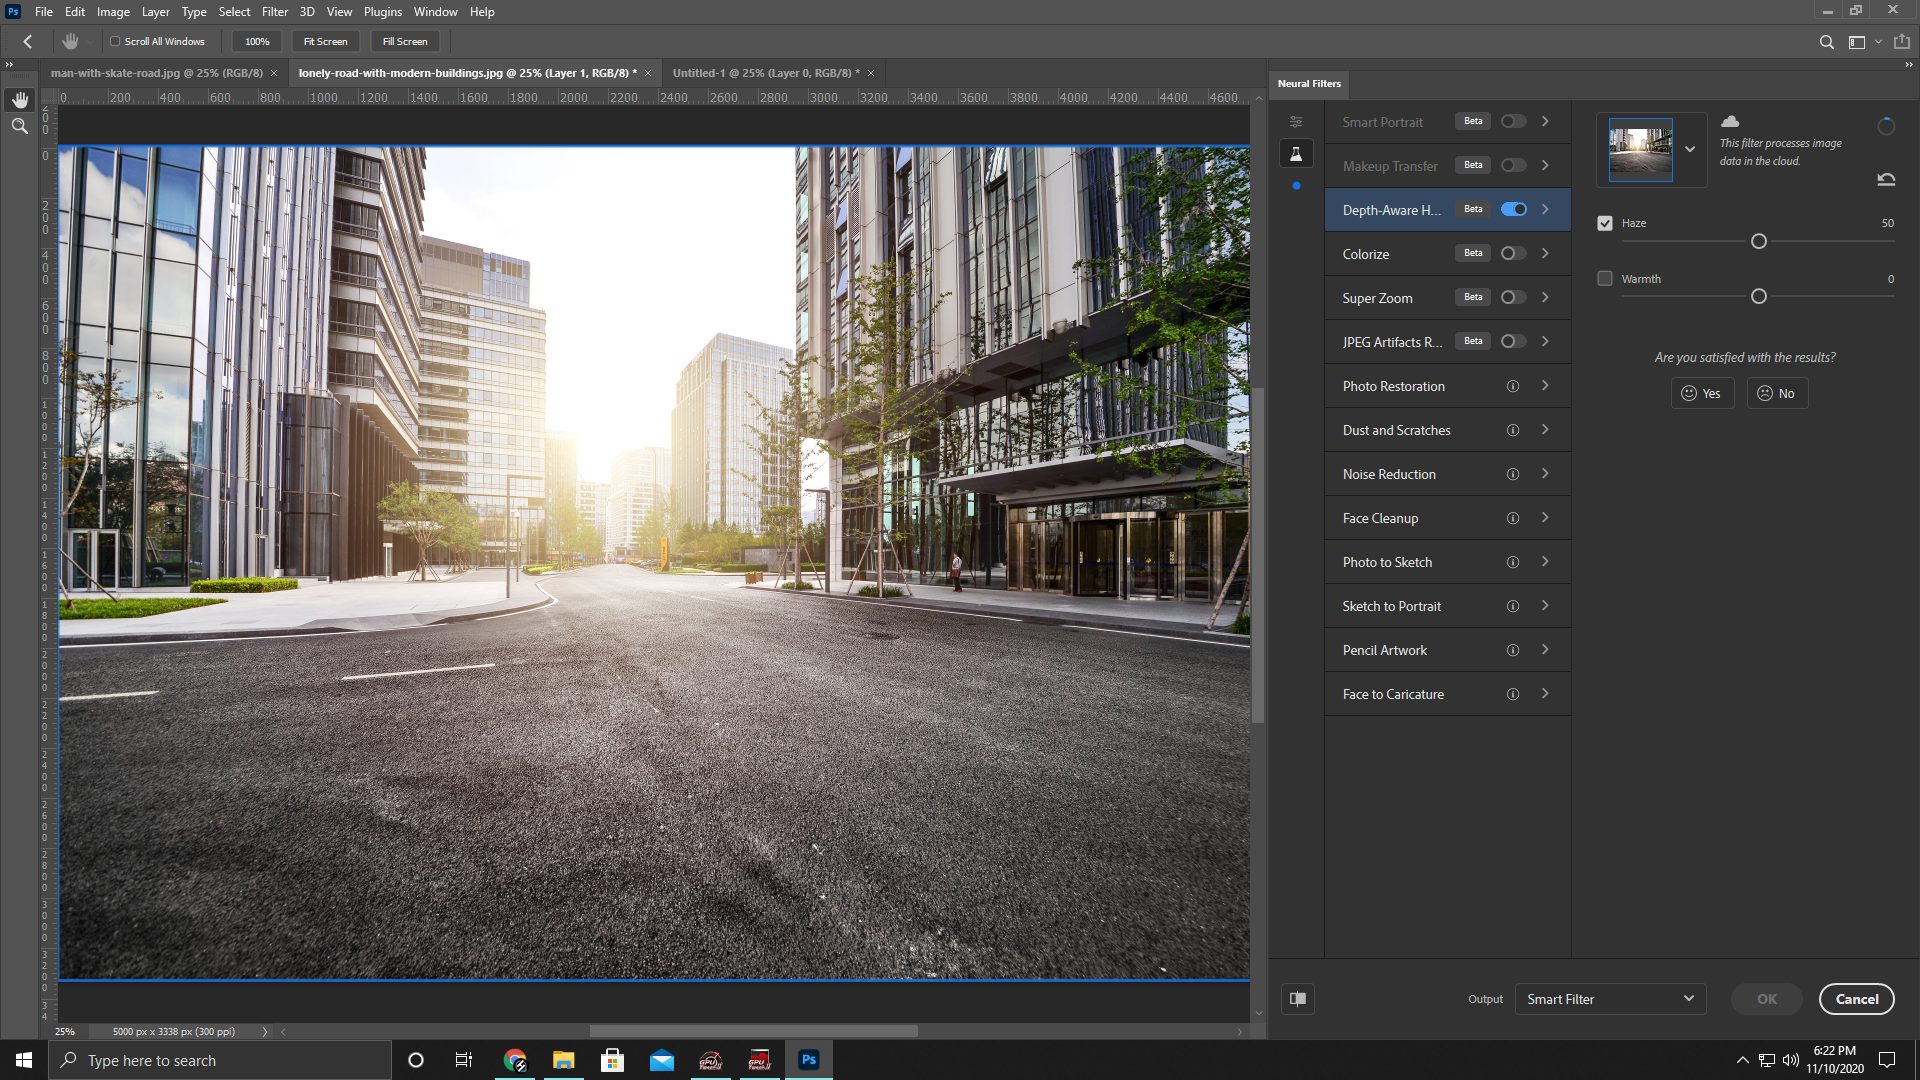
2. Access the Neural Filters Window
Go up to the top and select Filter > Neural Filters. The Neural Filters panel will load on the right side of Photoshop.

3. Select Depth-Aware Haze
Select Depth-Aware Haze from the Beta Neural Filters list.
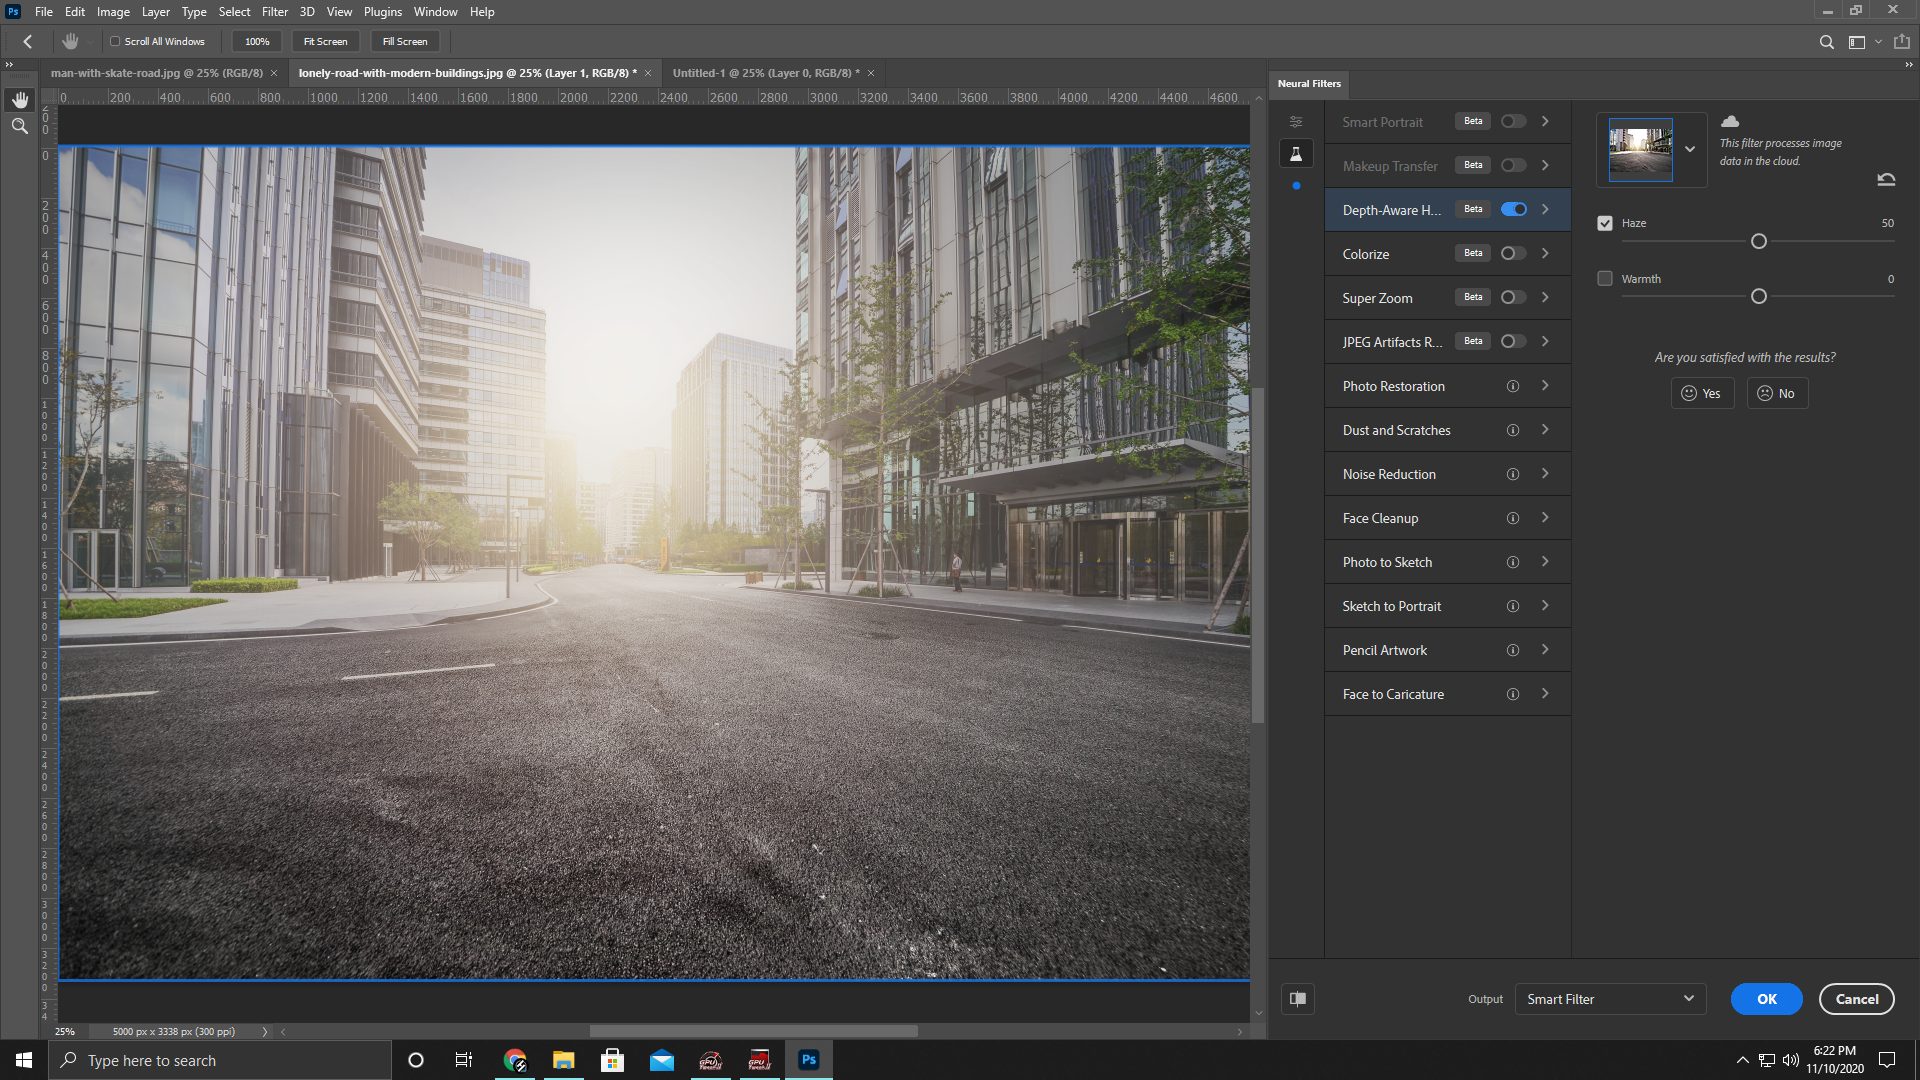
4. Adjust Amount
Add in the amount of haze desired in the image.
5. Adjust Warmth
Next we’re going to adjust the amount of warmth to the haze.
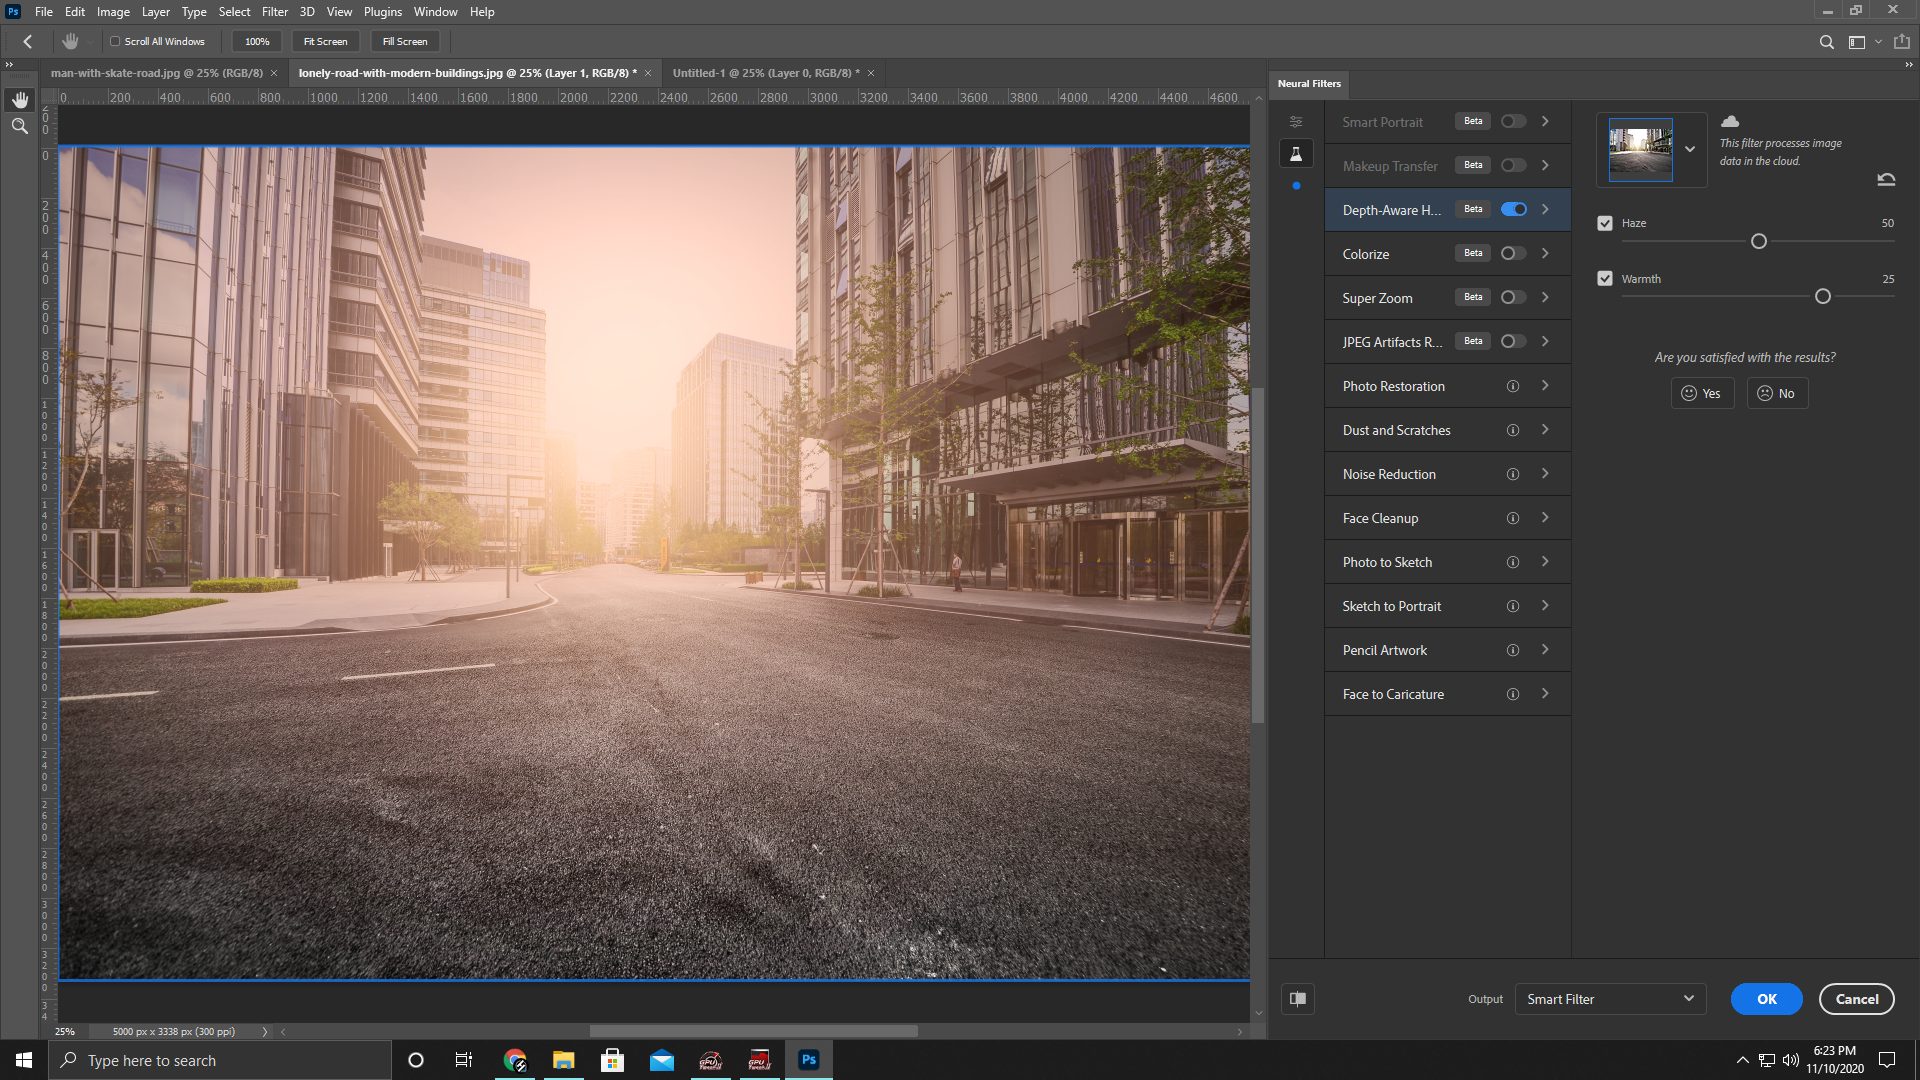
6. Output
Finally we’re going to select whatever output method you wish to use for the filter.
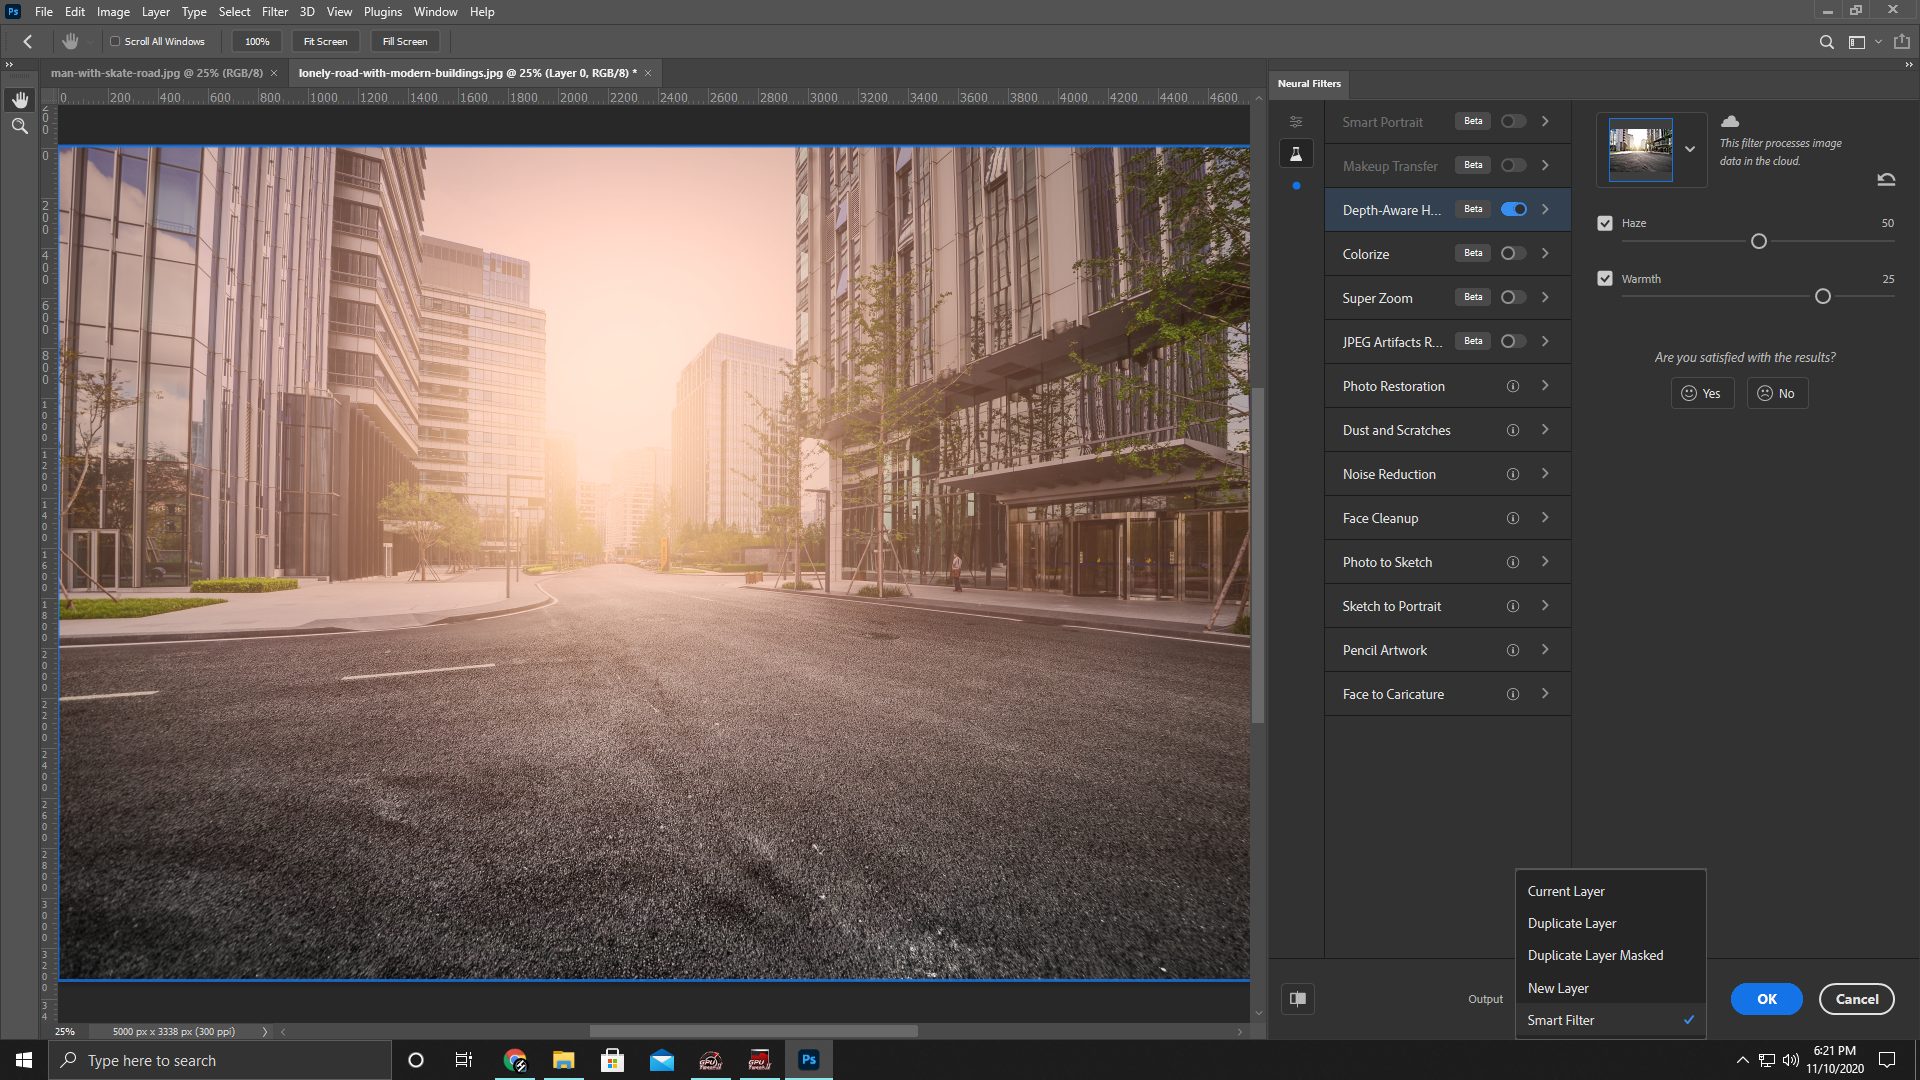
Controls
Amount
The amount slider determines how much haze is added to the image. Running on a 0 to 100 scale with 0 being none and 100 being thick amounts of haze.
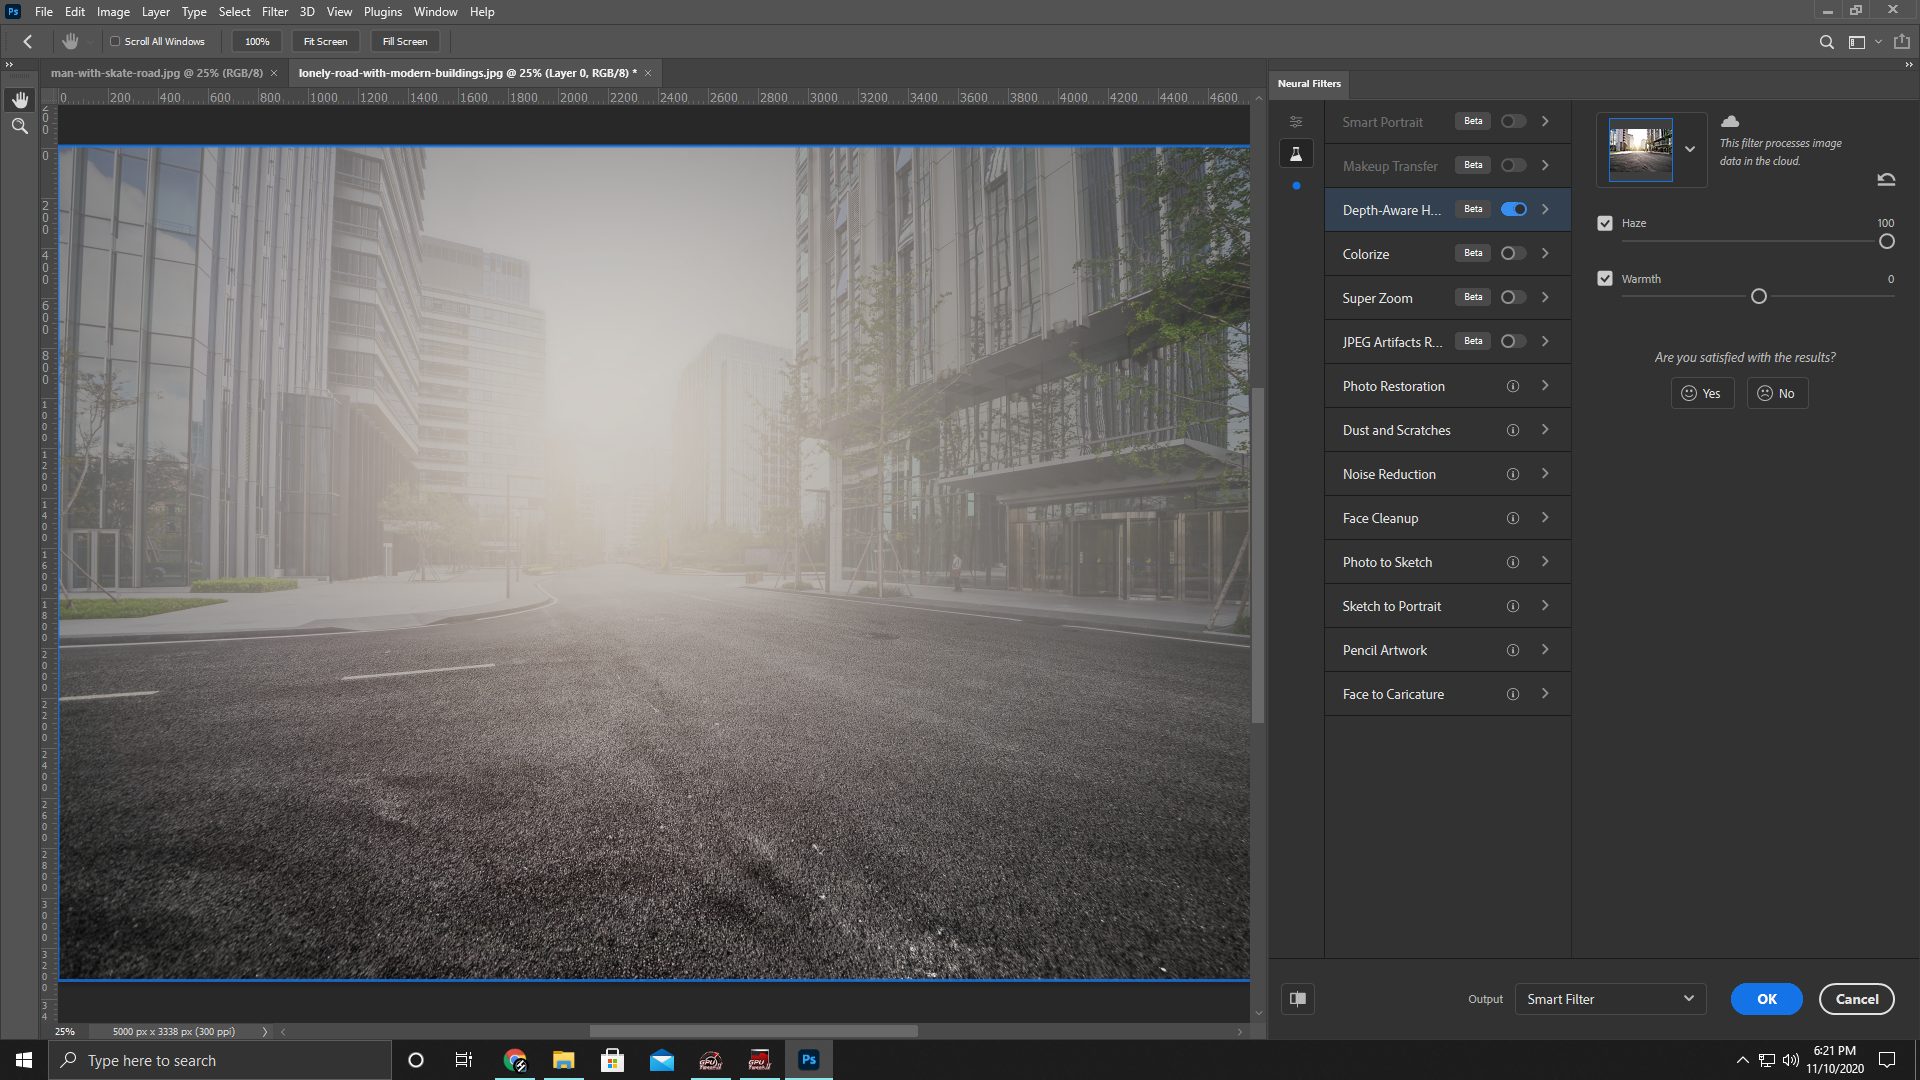
Warmth
Controls the color temperature of the haze. Also running on a -50 to 50 scale with 0 being no warmth being added and 50 being the maximum amount of color added to the haze. Use this to help make the haze look more suited for the environment.
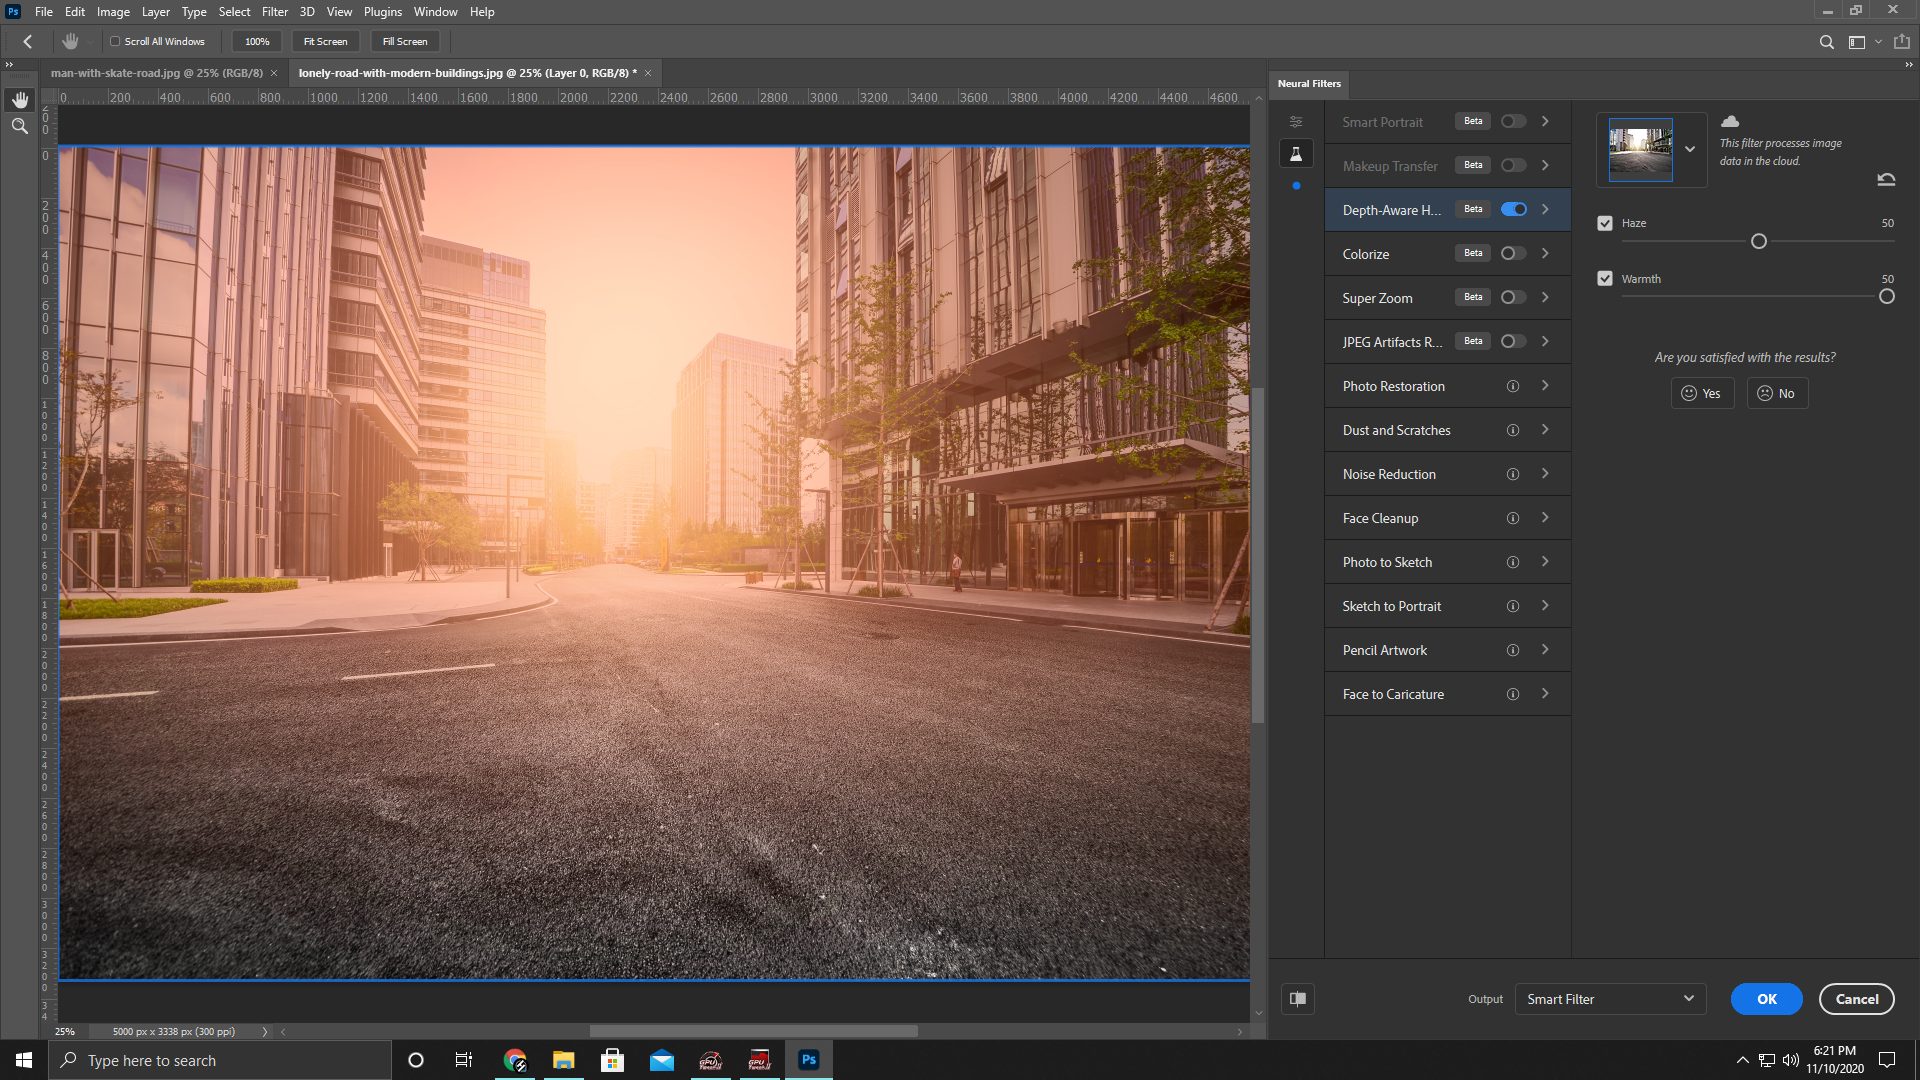
Conclusion
Depth-Aware Haze is a filter of which I do not find much use for, however that doesn’t mean it’s a wasted tool. With Photoshop’s additions of the Select Subject and Remove Background tools from the year prior this process was already streamlined, now it’s just simpler. Nice, sure, necessary? No. Check out our other articles on the 22.0 update: Neural Filters, Sky Replacement, and Pattern Preview.

