How to Use the Color Transfer Neural Filter in Adobe Photoshop
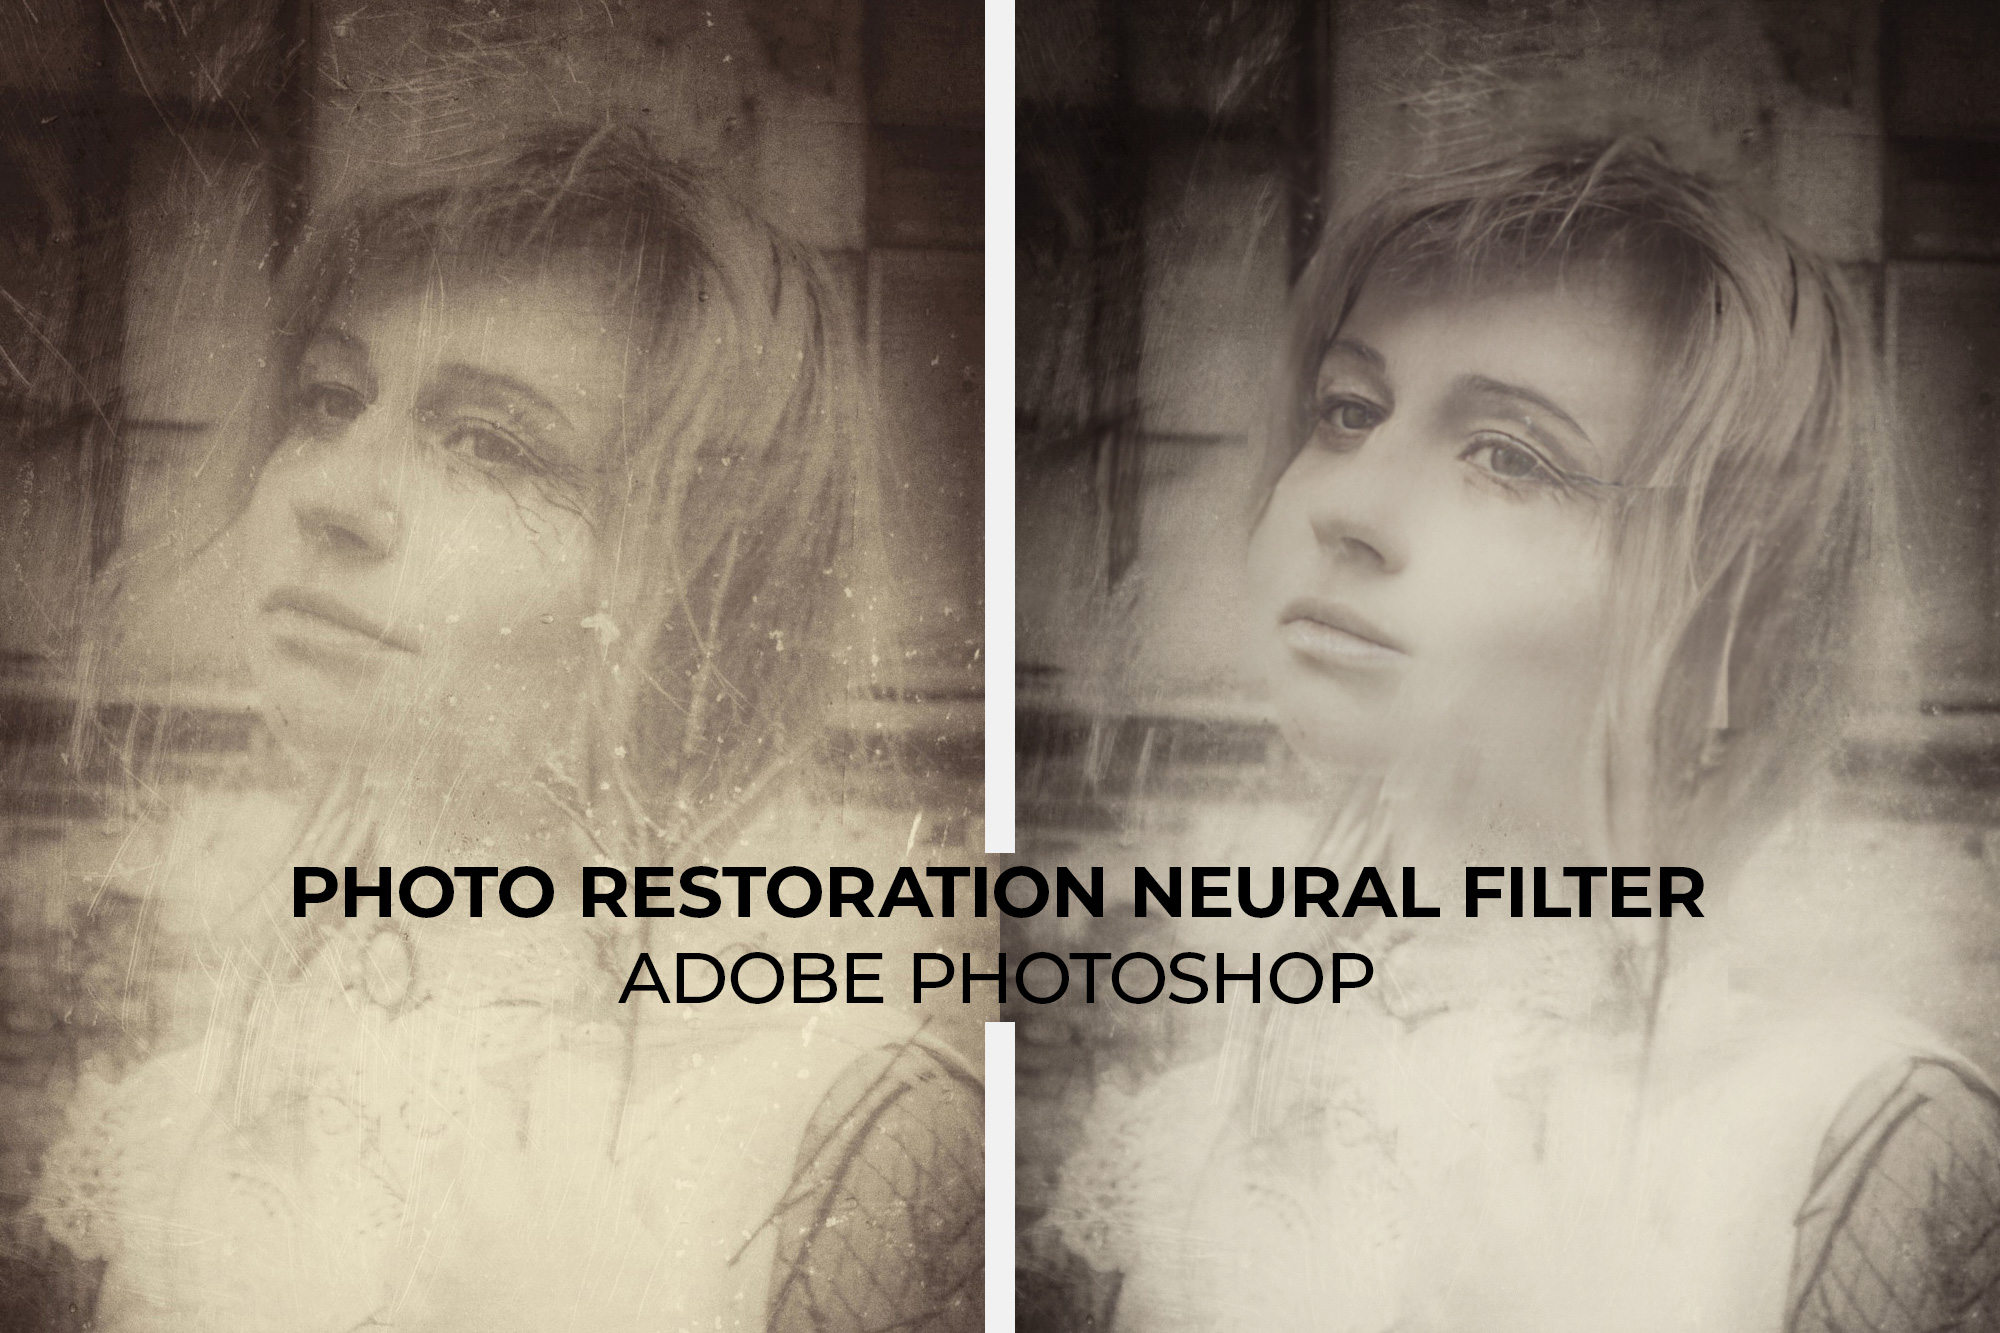
At Adobe MAX this year Photoshop received the 23.0 update which brought on a number of changes including new neural filters. The Color Transfer neural filter specifically looks to take the color value from one image and apply it to another image. This can come in handy when trying to apply things like sepia tones to images.
How to Use the Color Transfer Neural Filter
Integrating the colors from one photo to another is just six easy steps with the Color Transfer neural filter.
Step One: Open Photoshop
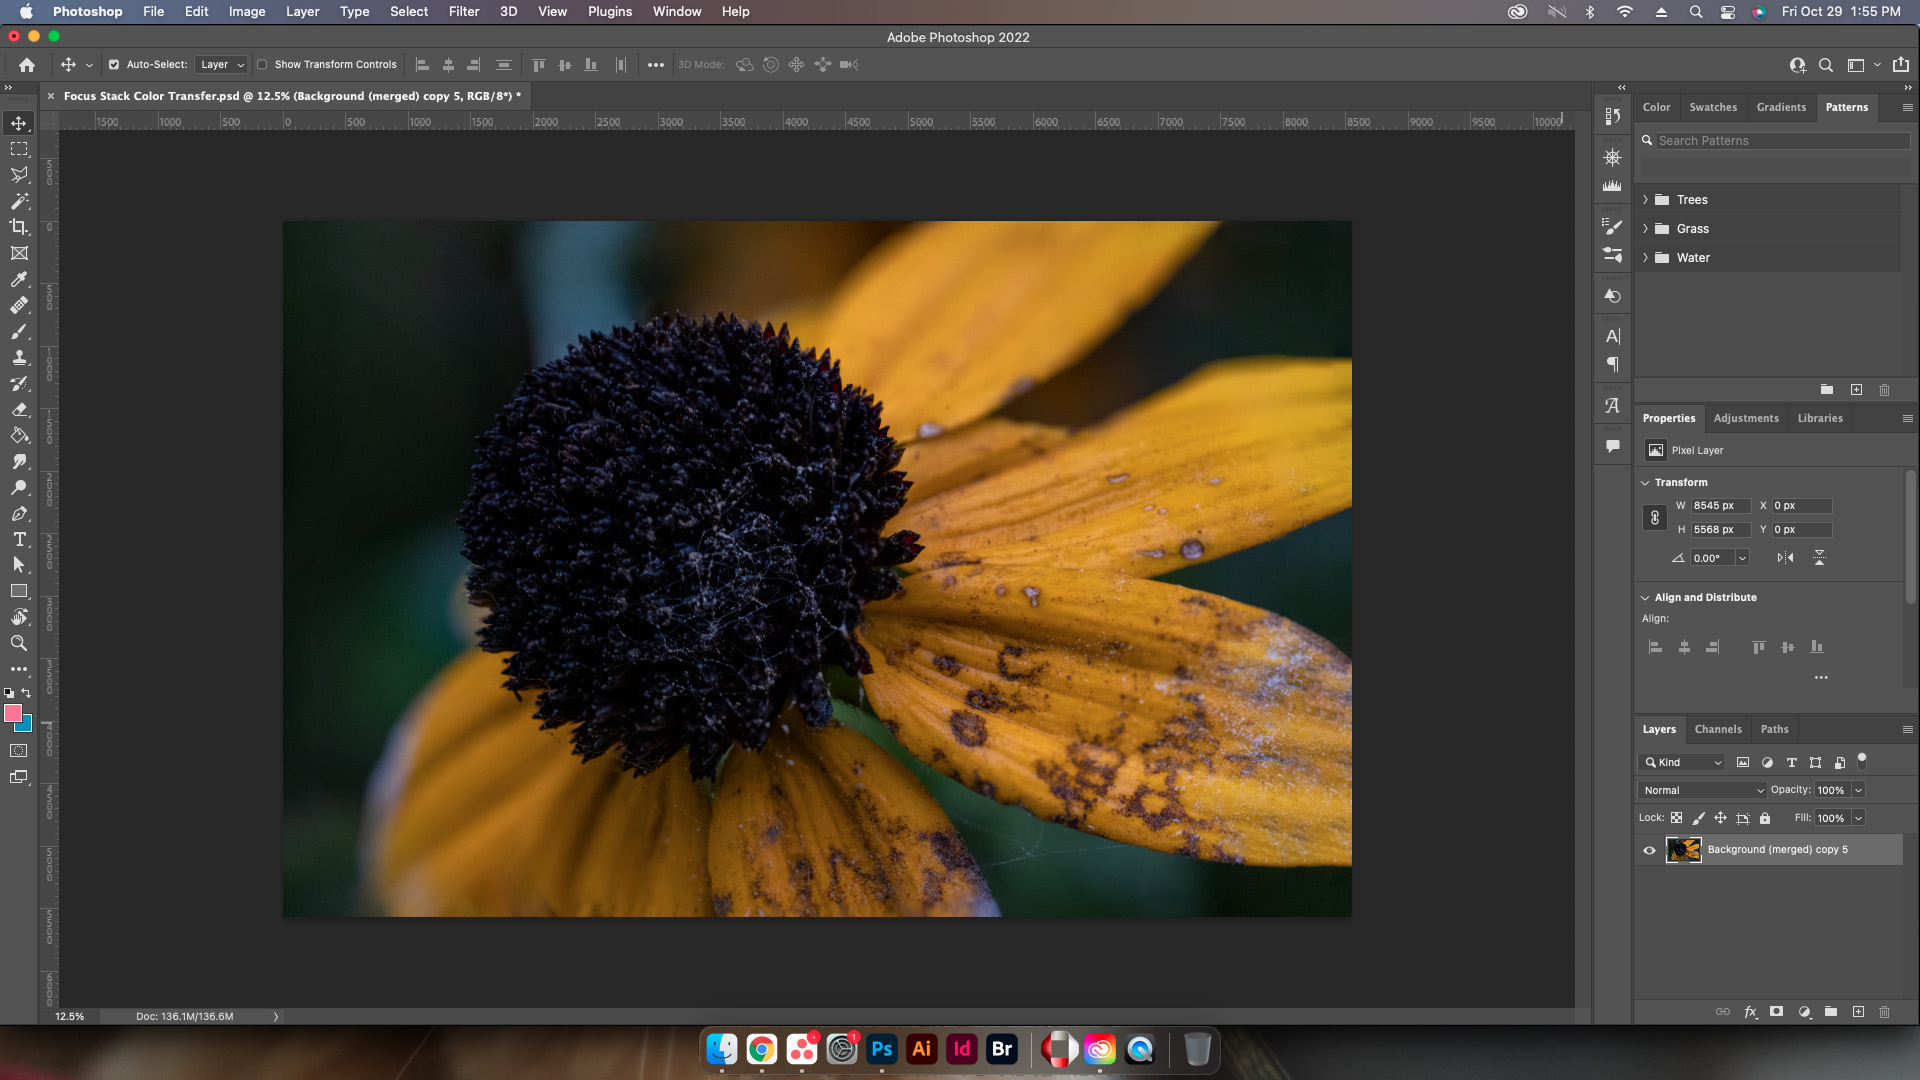
Open a Photoshop document with the image whose color needs to be changed. Unlock the layer to begin the process.
Step Two: Open Neural Filters
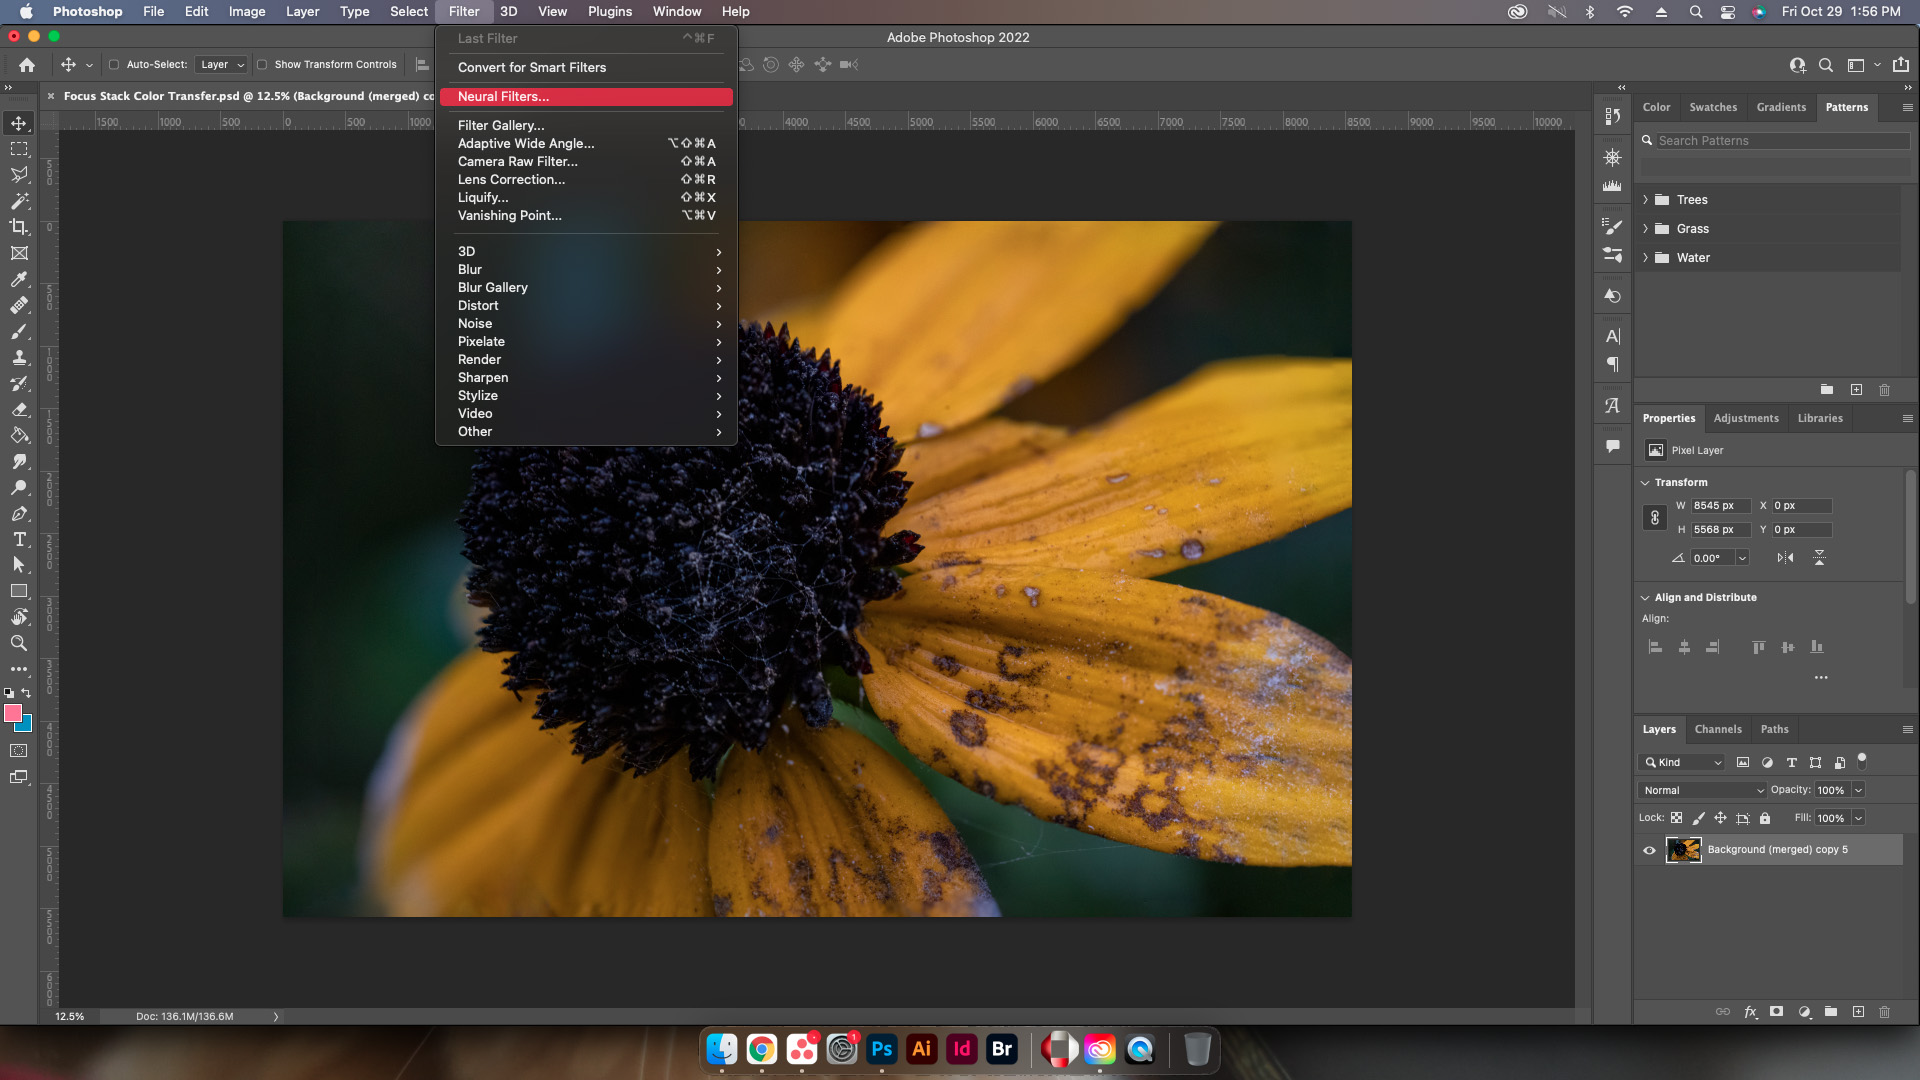
With the image layer selected, go up to the top and select Filter > Neural Filters.
Step Three: Select Color Transfer
The Neural Filters panel will load on the right side of Photoshop. Go ahead and select Color Transfer from the Beta Filters list. This may require a download to be able to use, simply select the cloud icon to get the download started.
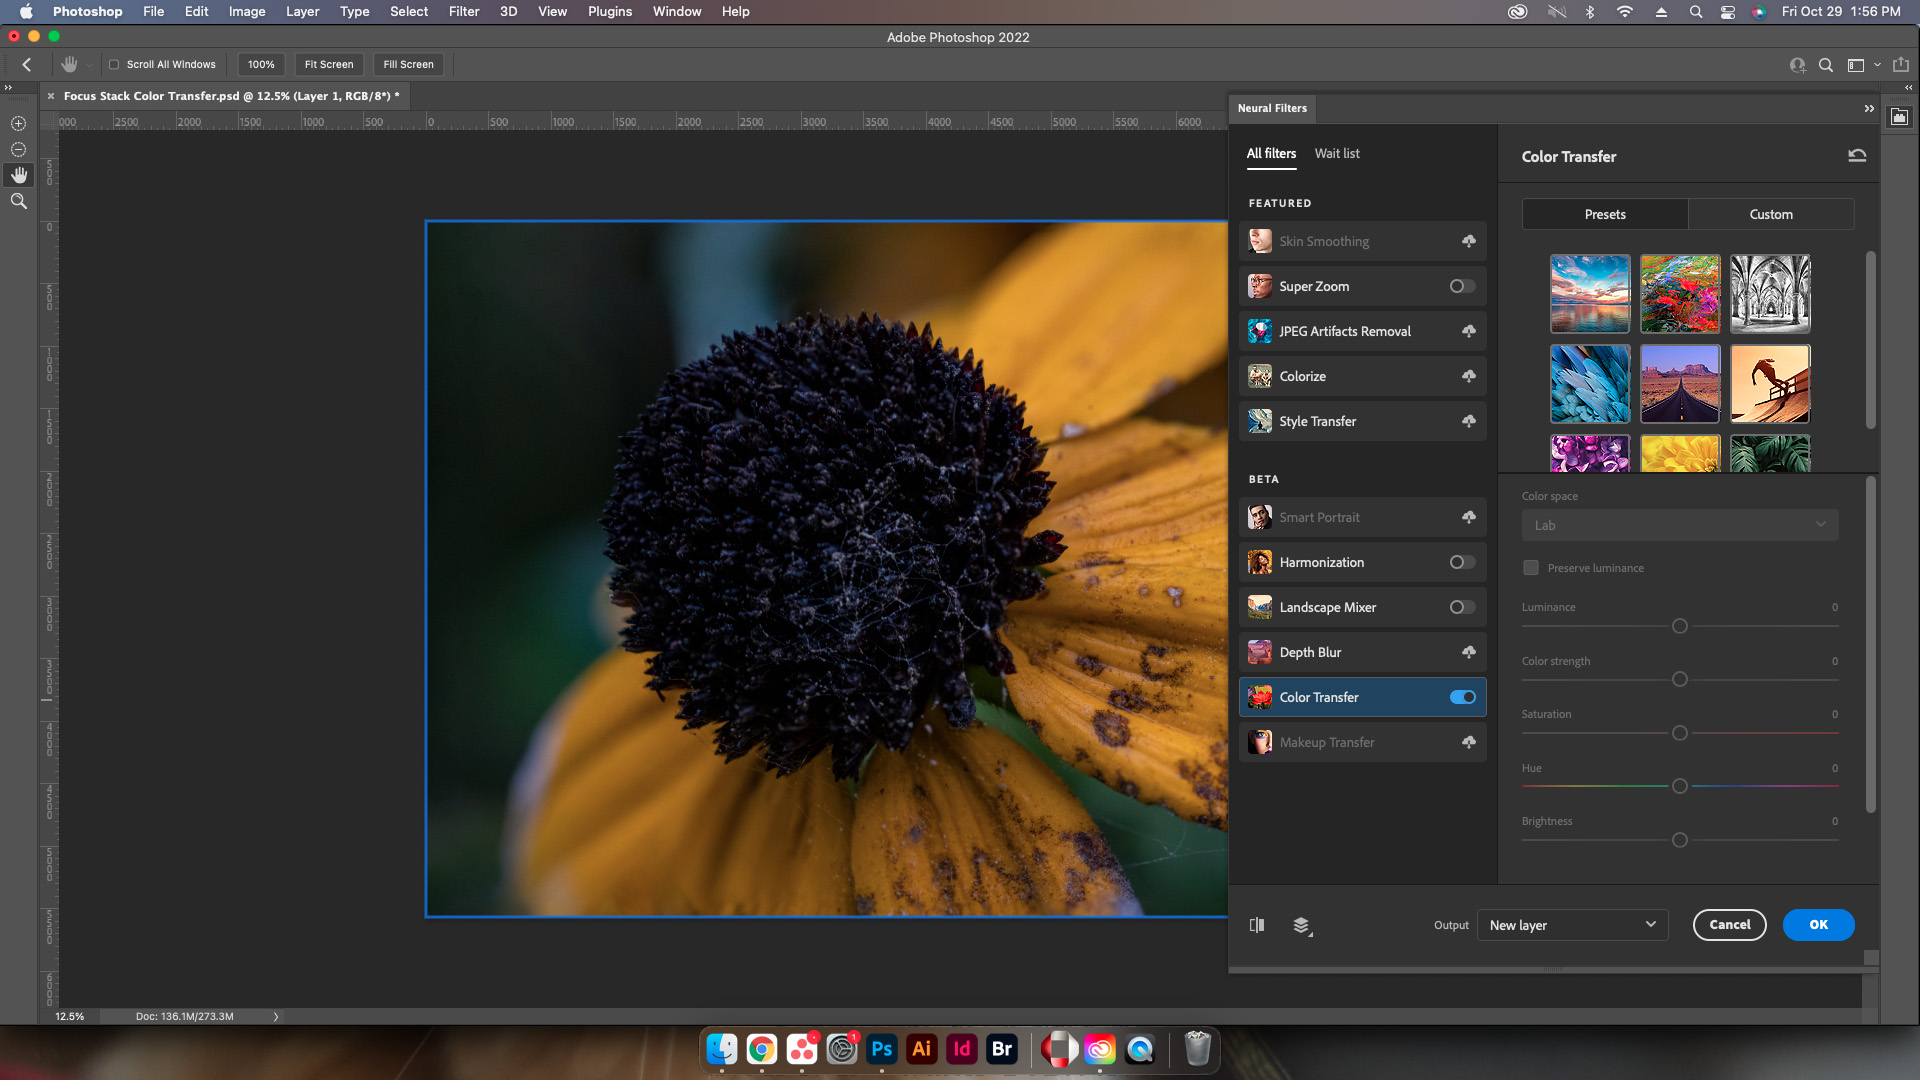
Step Four: Select Reference Image
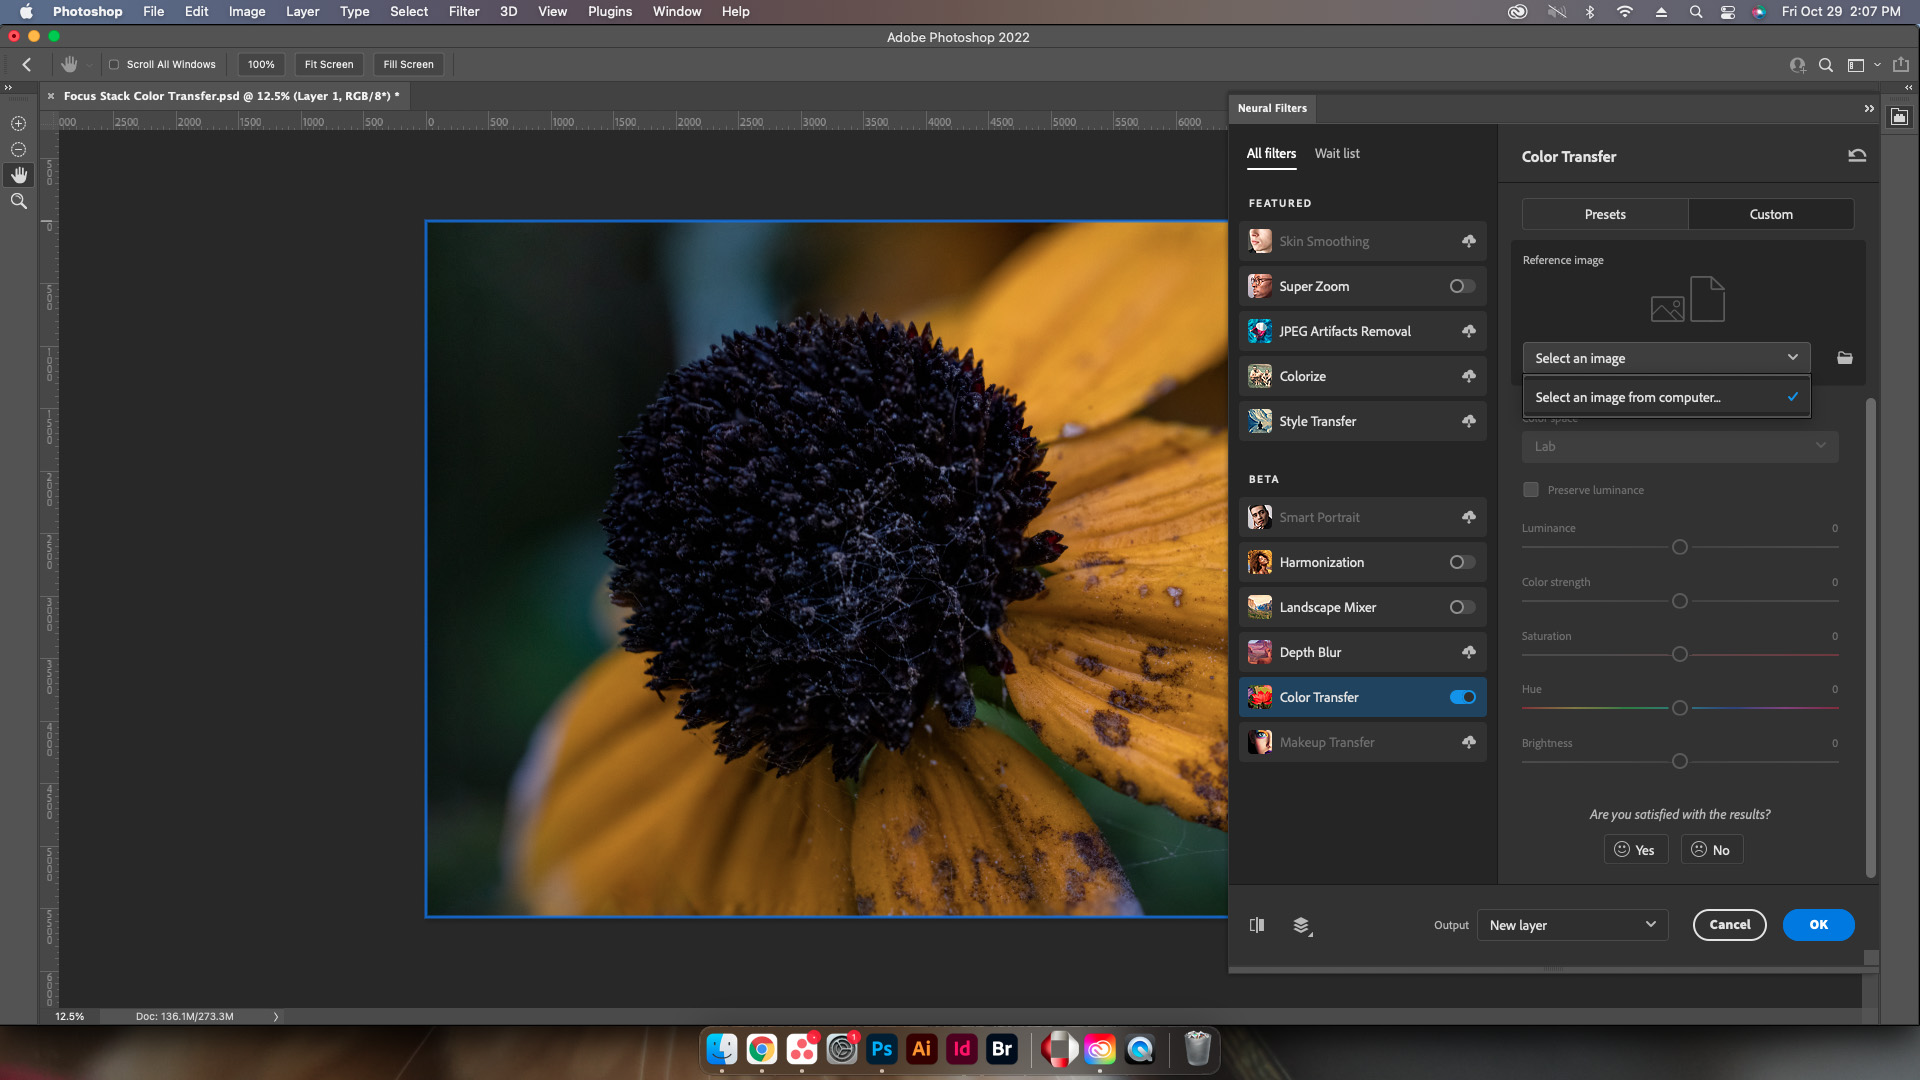
Select the image with the colors that need to be applied to the initial image using either a preset, or uploading a custom image. Weirdly enough this doesn’t let users select a layer for reference however this is a beta filter so that may be added later.

Step Five: Adjust Settings
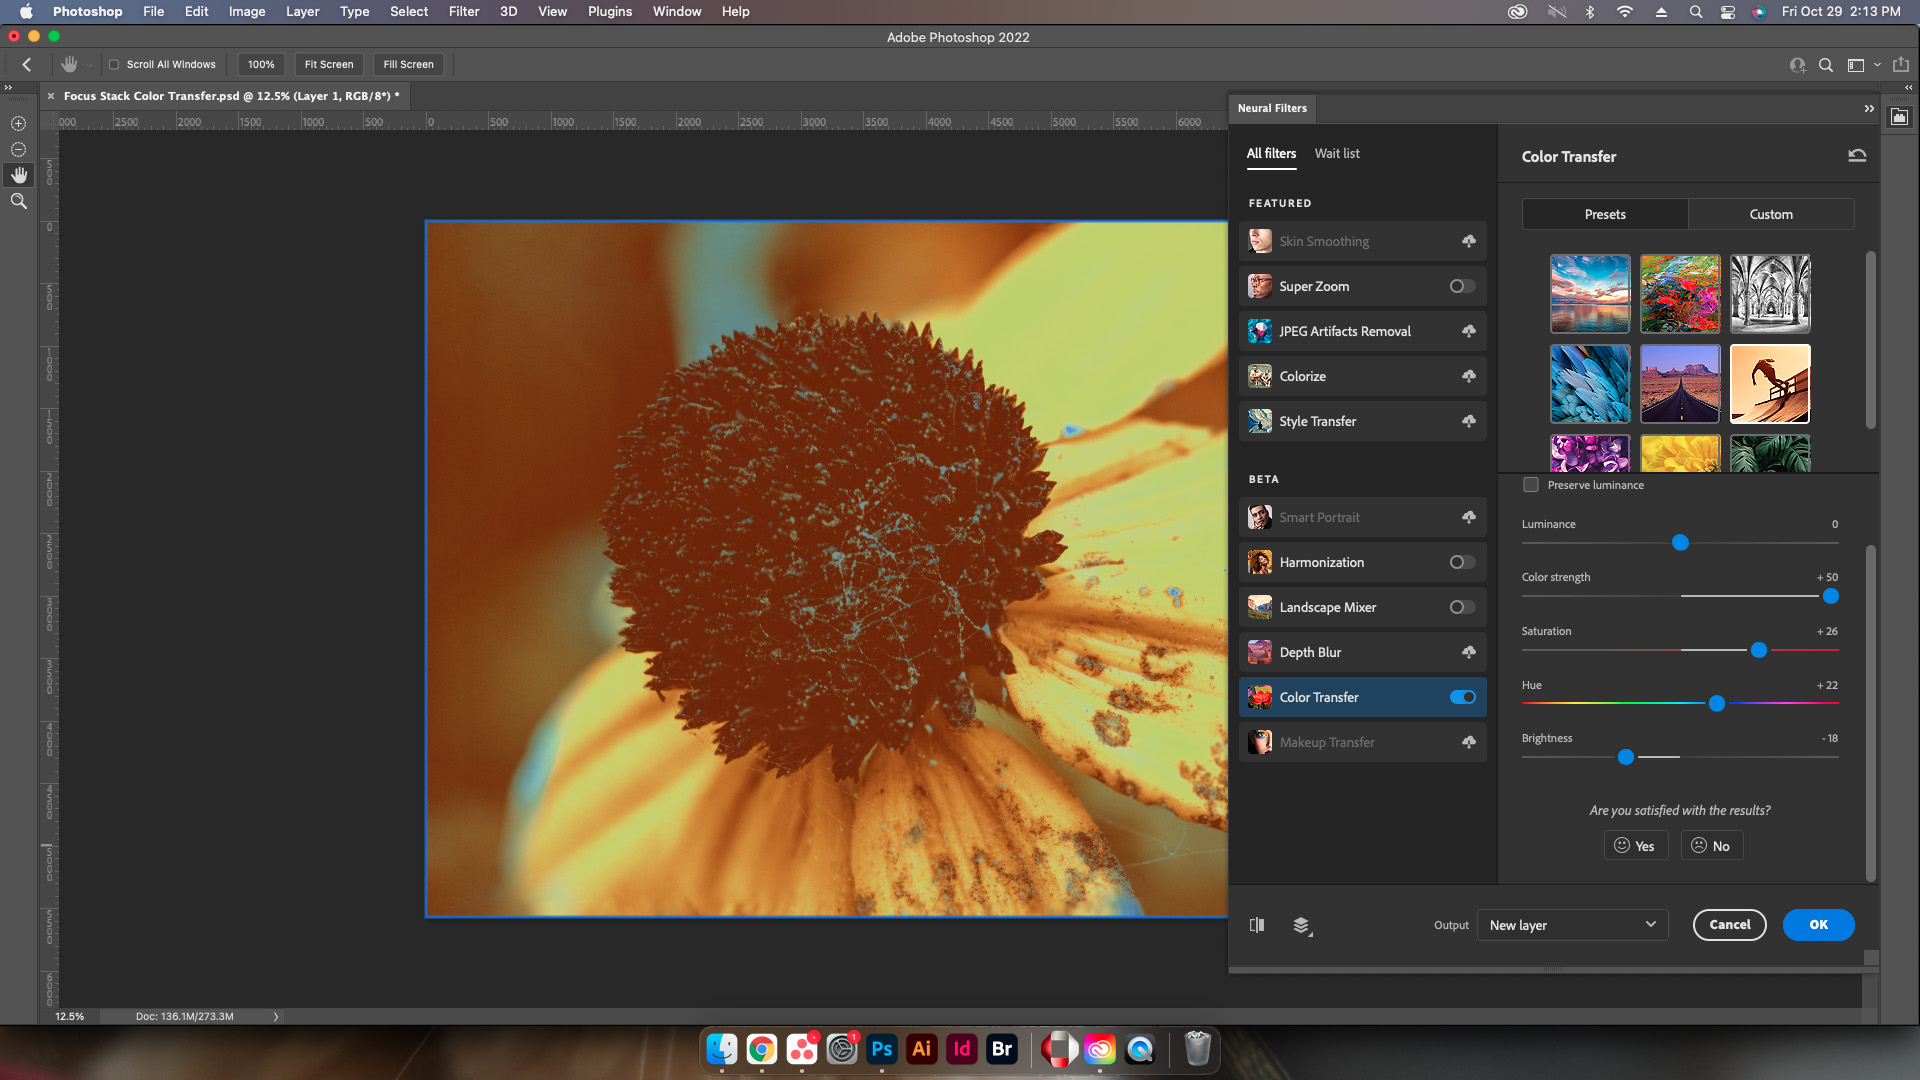
Adjust everything from the color science, to the hue, saturation, and brightness to get the best results.
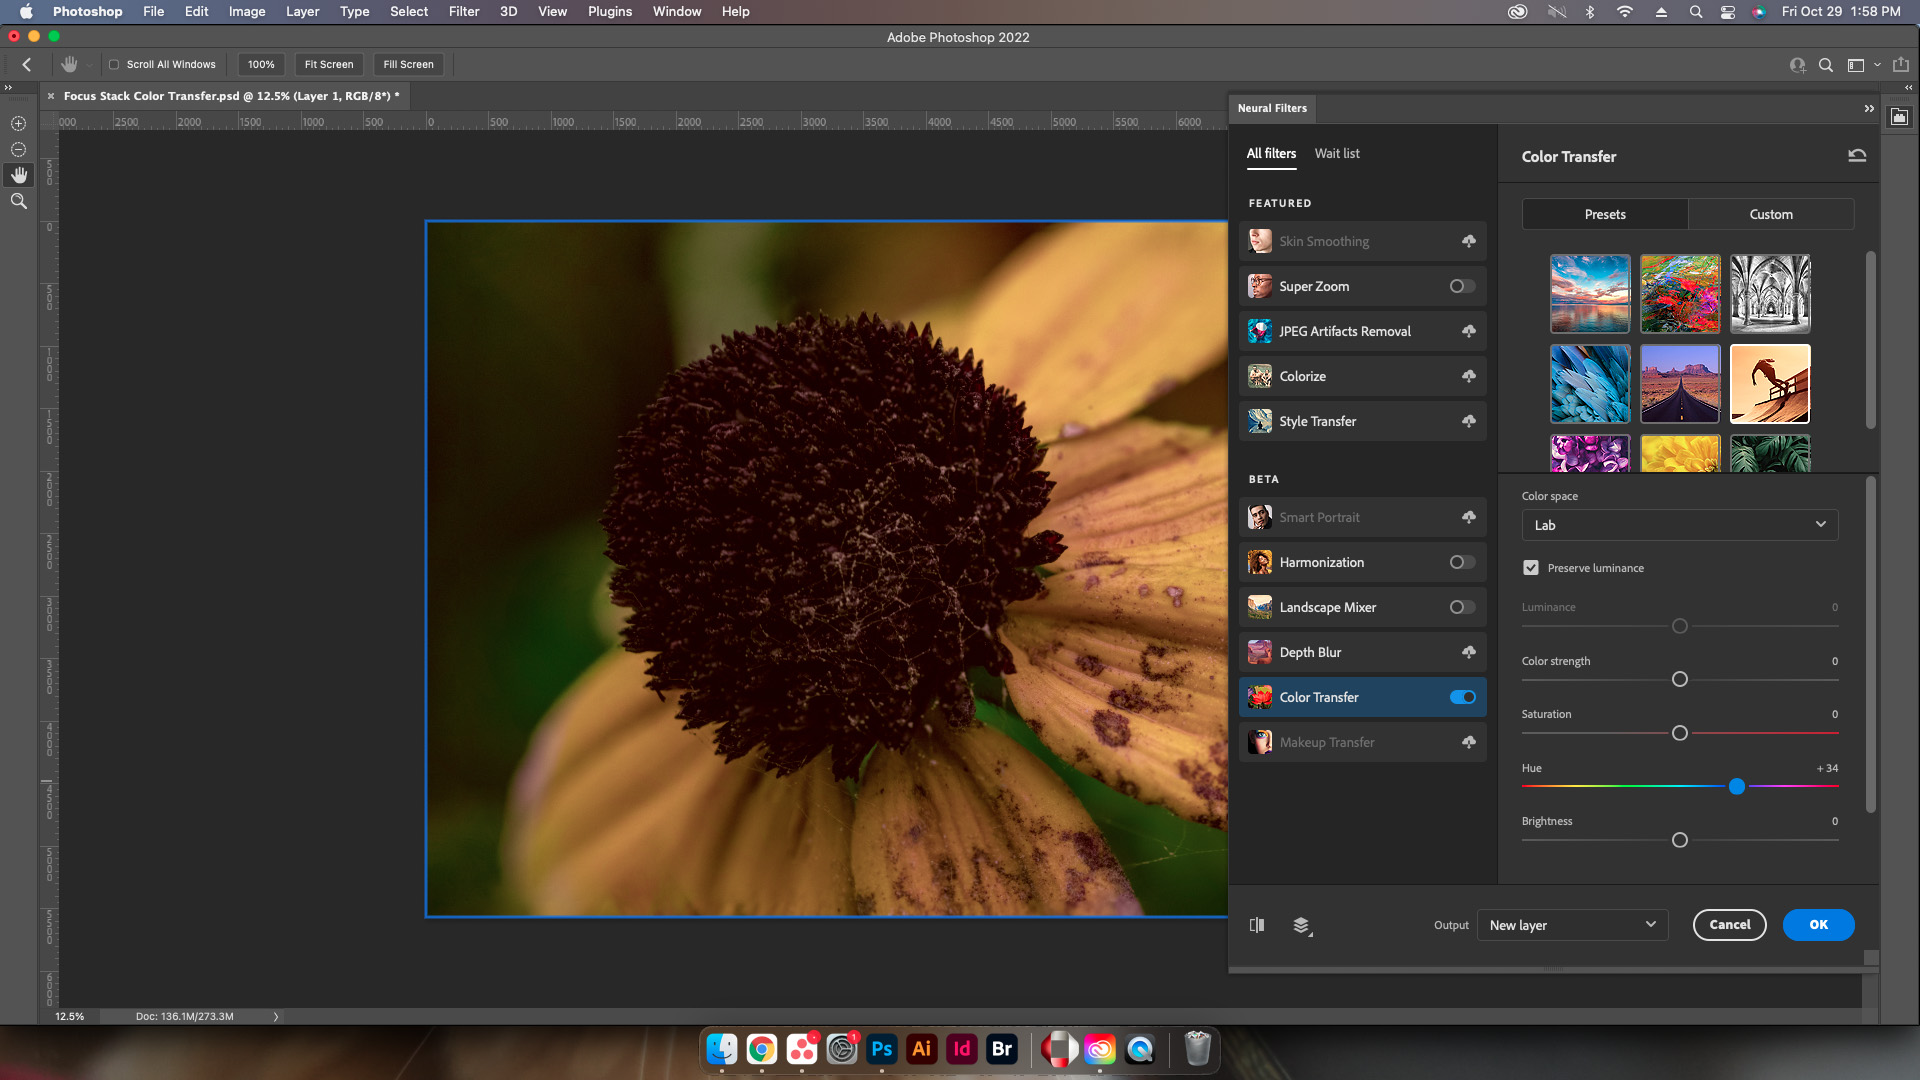
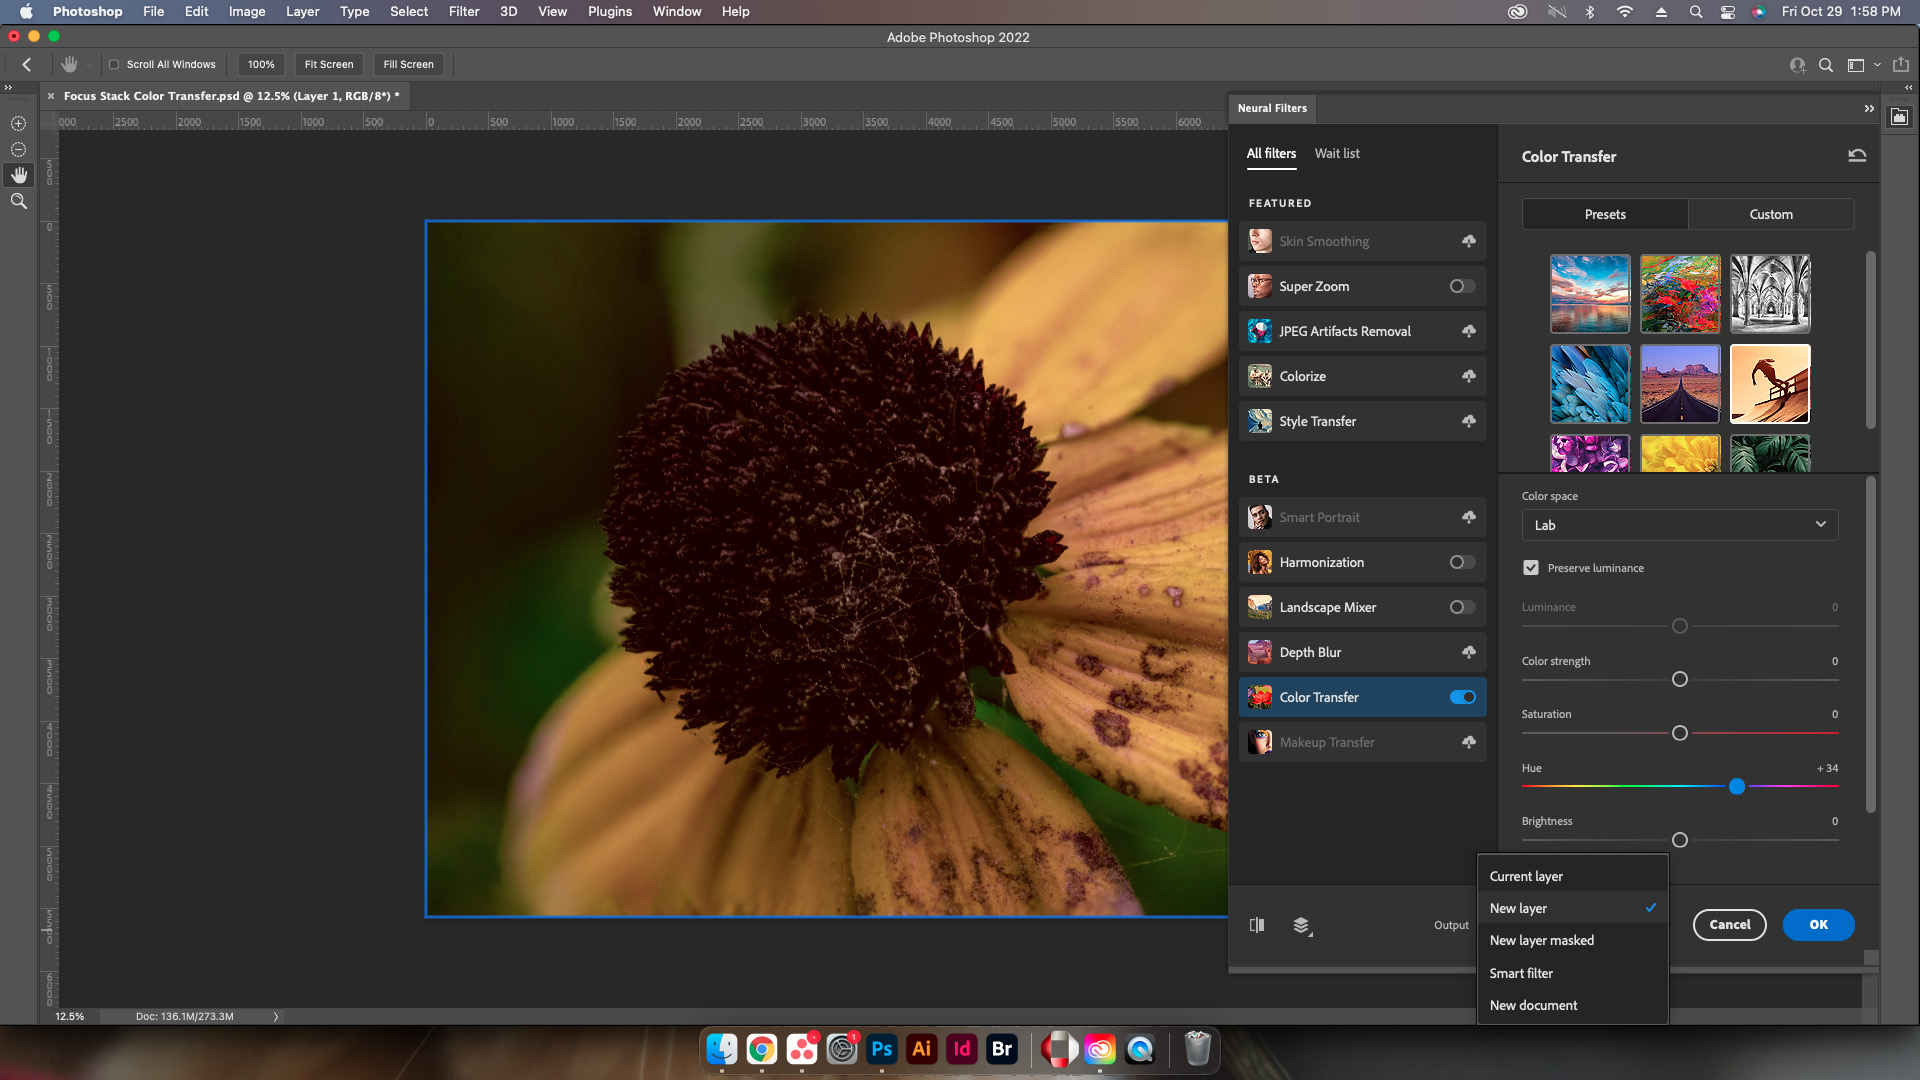
Step Six: Select Output Method
Select the correct output method desired and then click OK.
Controls
Preset/Custom
The presets included with this filter will work to automatically colorize the image of the selected filter. Now, while there are multiple options that are pre-made, Adobe allows designers to upload images with the colors desired to create their own preset.
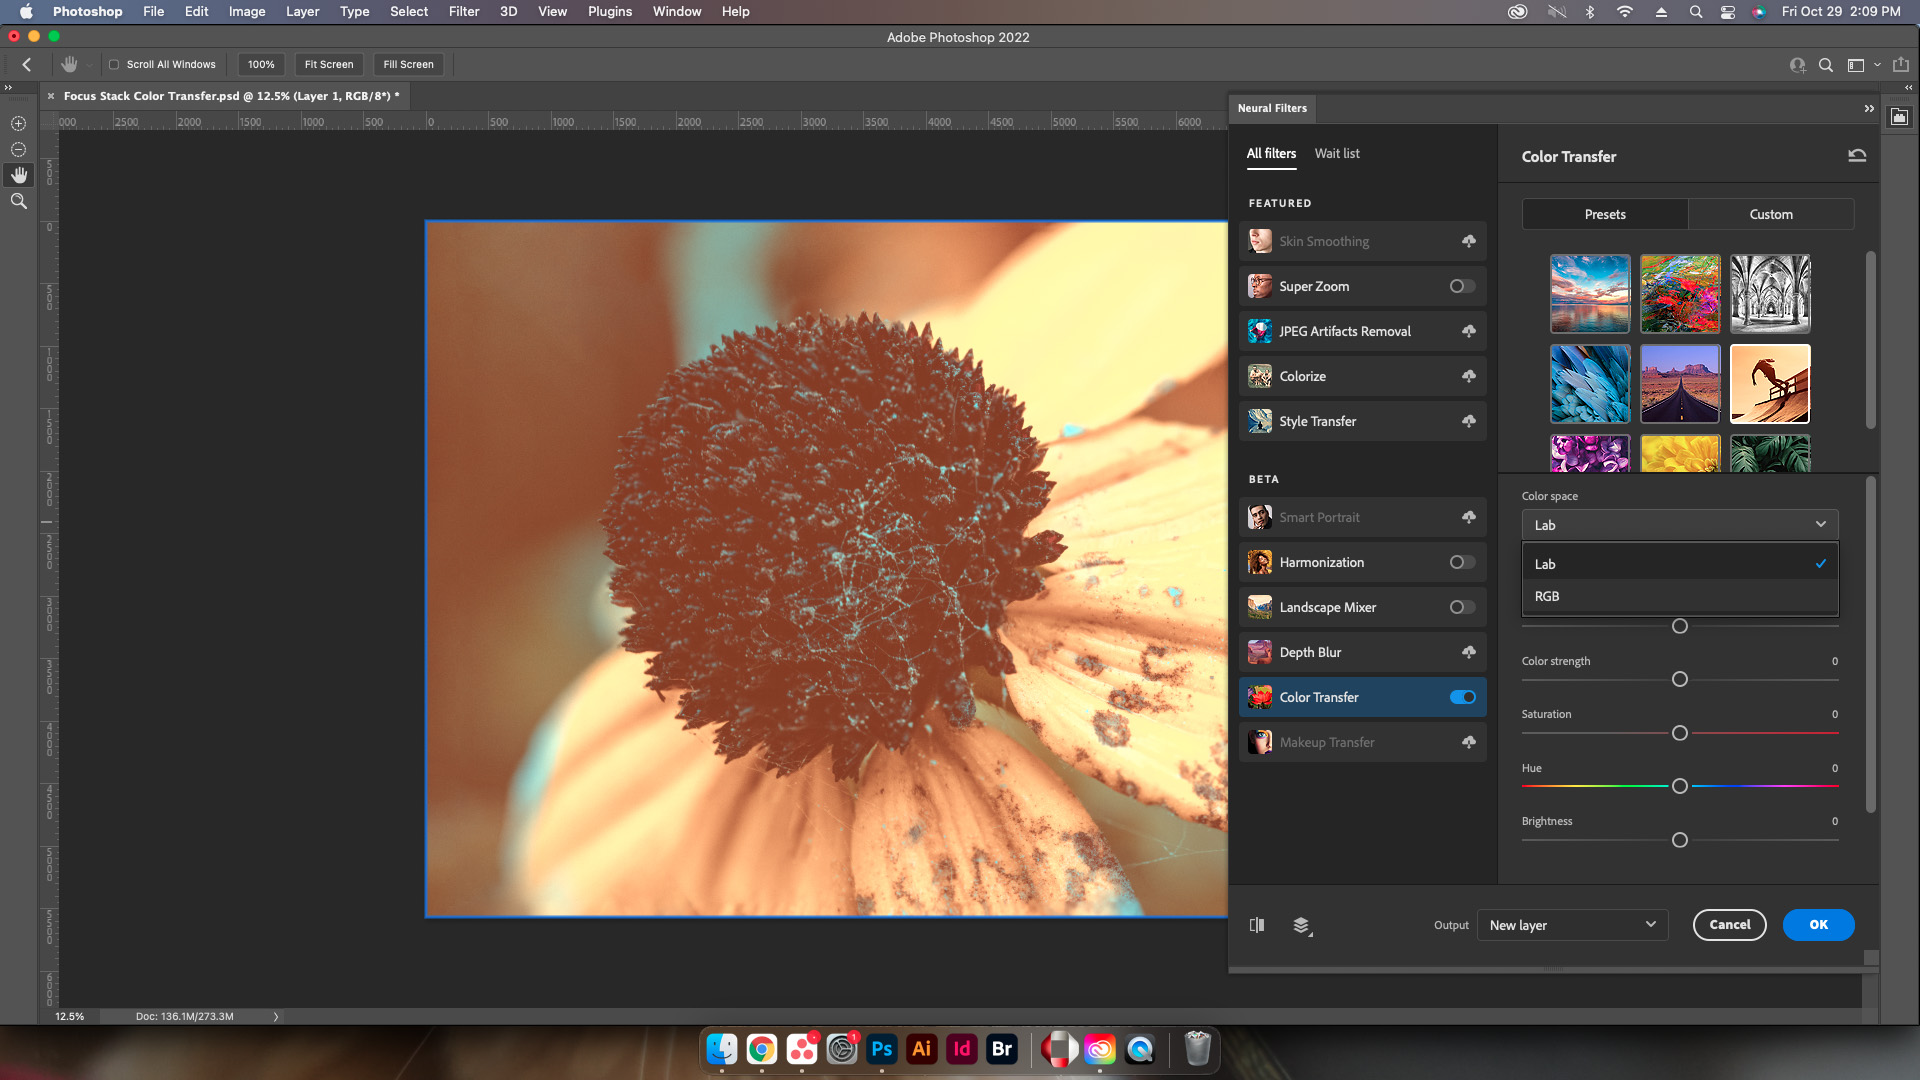
Color Space
A dropdown menu list that allows designers to choose between which color space to use for the conversion, either Lab or RGB.
Preserve Luminance
Next on the list is a simple checkbox to preserve the original luminance values of the image receiving the color change.
Luminance
Adjusts the overall value of emitted light via a slider adjustment.
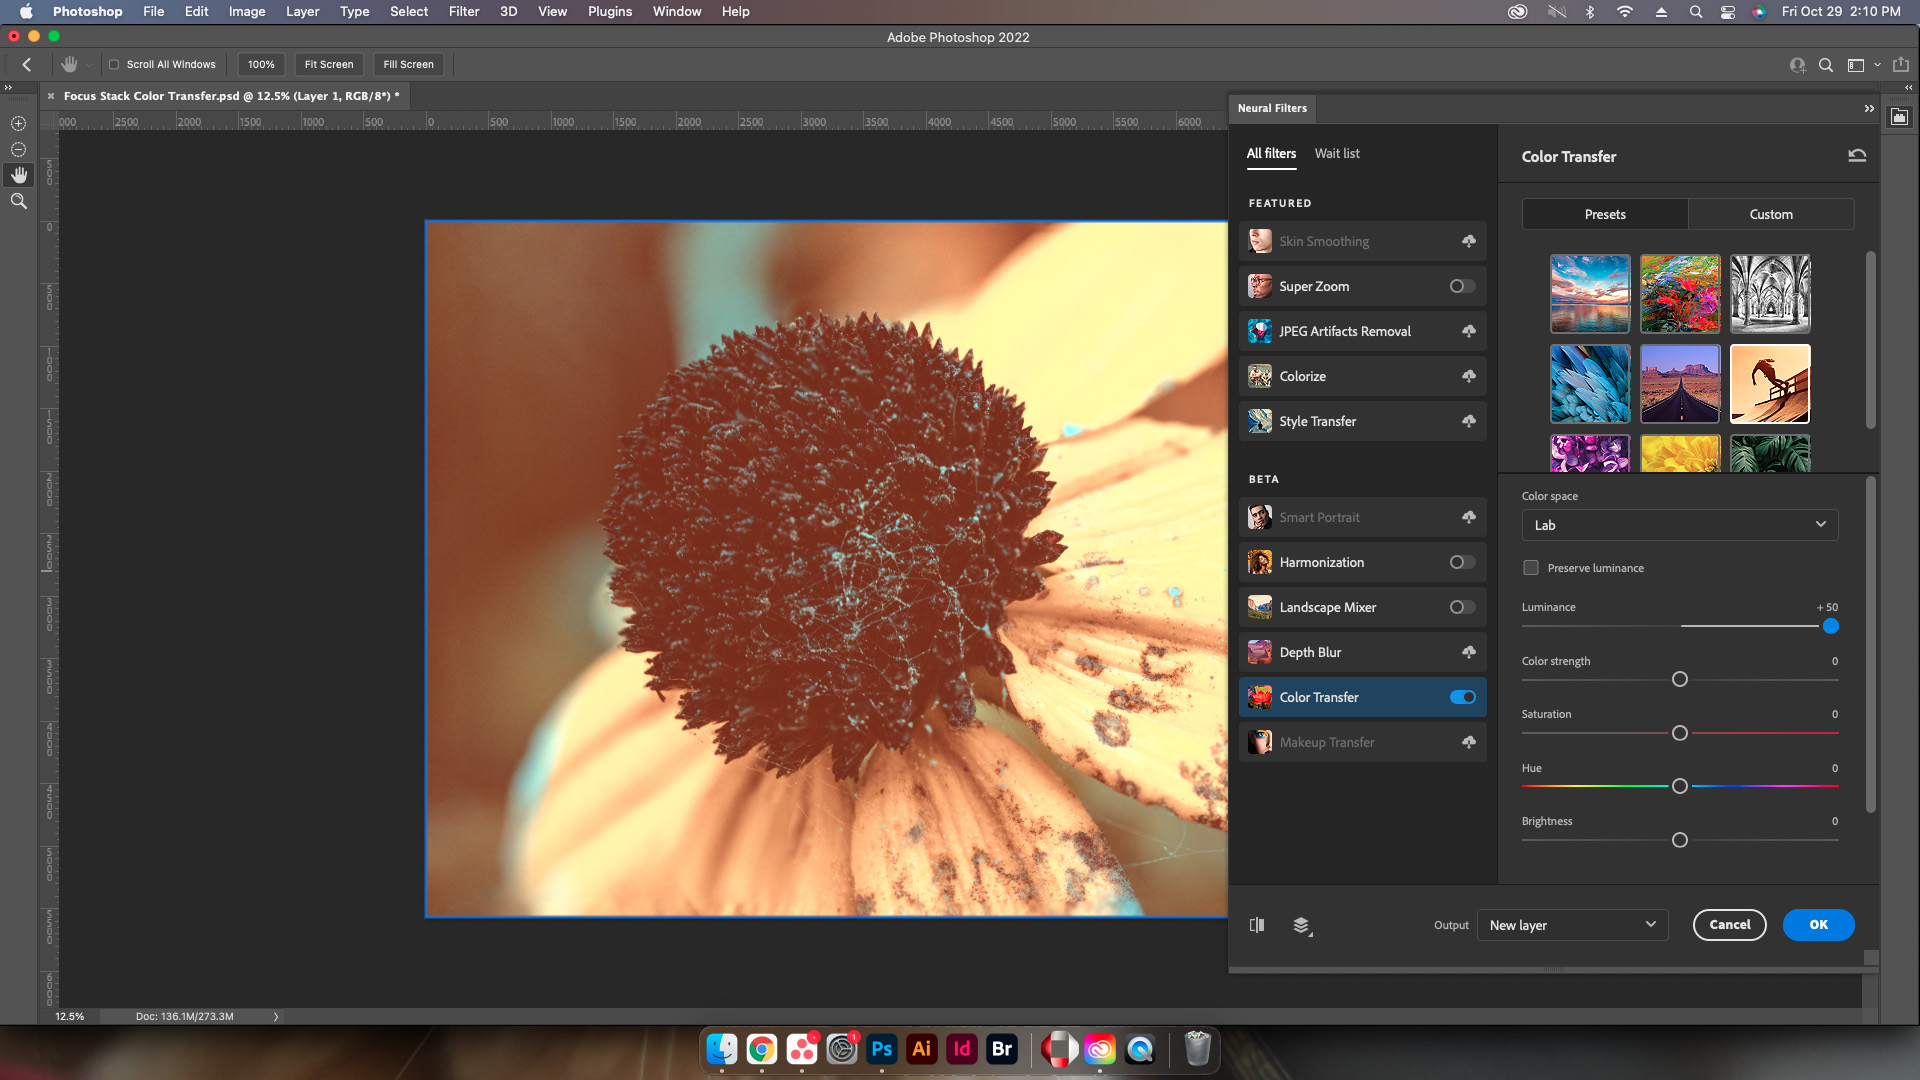
Color Strength
Color strength lets users tune the overall strength of the colors that are replacing the original colors
Hue
Allows users to control the overall hue change much like the hue and saturation editor within image adjustments.
Saturation
Another slider option is for saturation, and allows designers to either saturate or desaturate the resulting colors.
Brightness
Lastly, the brightness slider allows designers and editors to adjust how the light appears either dimmer or brighter.
Conclusion
While this neural filter is neat on the surface it seems lacking when compared to the other two newly announced neural filters. Color Transfer neural filter seems to be situational at best. One such example would be when trying to match the overall look of a sepia photo or a photo with a filter on it. Check out our other articles on the 23.0 update of Adobe Photoshop: Harmonization and Landscape Mixer Neural Filters, as well as Sharing Documents for Comment, Redesigned Subject Select, Object Selection Tool, and Working with Illustrator Documents in Photoshop.

